The Layout
This is not about the design of your van, your cabinet size, or where to place the bed. It’s about the construction process that will help you make your vision a reality in the easiest way possible.
Let’s face it. A vehicle is a rolling earthquake. In addition to that, you need access to various maintenance points to adjust door mechanisms, replace light bulbs, repair electrical connectors and switches, and a host of other reasons.
This means that our cabinetry must be accurately and solidly built so that things like drawer slides that have a tolerance of 1/32 of an inch will operate reliably for years, be light in weight, but allow access to vehicle maintenance points when required. With most build methods accuracy with light weight, and maintenance accessibility are all somewhat mutually exclusive (or really expensive).
Using cross-dowel and C-channel construction, we get the best of all worlds. Cabinets that are strong, stay properly aligned as the vehicle shakes, rattles, and rolls, and yet can be disassembled and reassembled if necessary.
To do this, I’m going to present a slightly different way of measuring and laying out your cabinets. Rather than measuring and building to the inside and/or outside dimensions of a cupboard or cabinet, we’re going to build everything based on centerlines.
So what do I mean by “centerlines”?
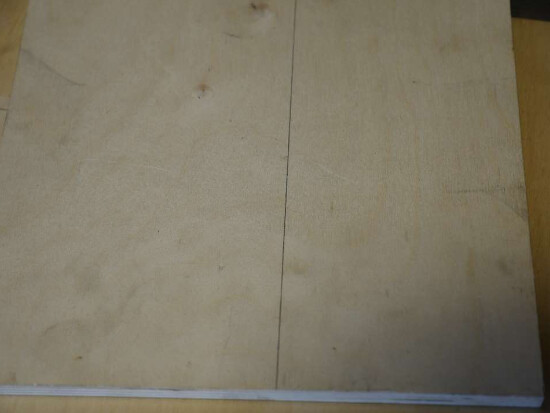
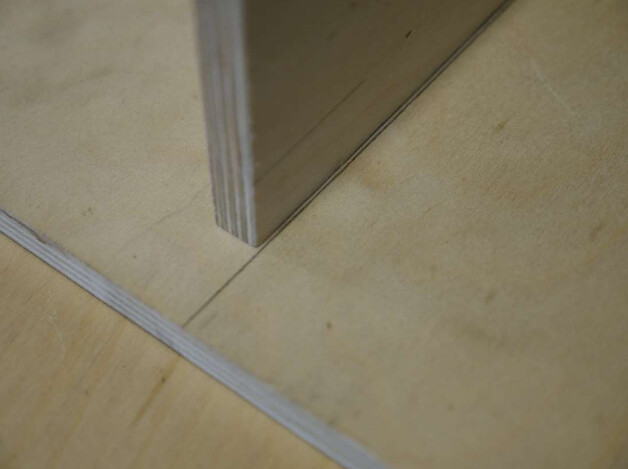
Here is a piece of wood with a construction line drawn on it. Normally we would place our vertical piece of wood to one side or the other of this line depending on which dimension we were measuring, inside
or outside.
By placing the piece this way, we can line up the edge of the wood with the line to make sure it is accurately placed. We would then glue, screw, nail or secure it with angle brackets to hold it in place.
If you’ve ever tried to nail, screw, or glue the edge of a piece of plywood, you know that none of these methods makes a very strong joint. Kreg Jig! You cry. Well, we tried that and it doesn’t come close to cross dowels for strength, and joints made with a Kreg jig are not meant to be disassembled. Don’t get me wrong, I’m a big fan of Kreg Jig construction and have made many cabinets and pieces of furniture using that method. It’s just not ideal for building out a camper van.
L-Brackets, you say. Well, yes, brackets are certainly an option, but how many brackets do you need. Holding the piece in place while attaching brackets can be annoying and when the job is done you notice you’re not exactly on the line any longer.
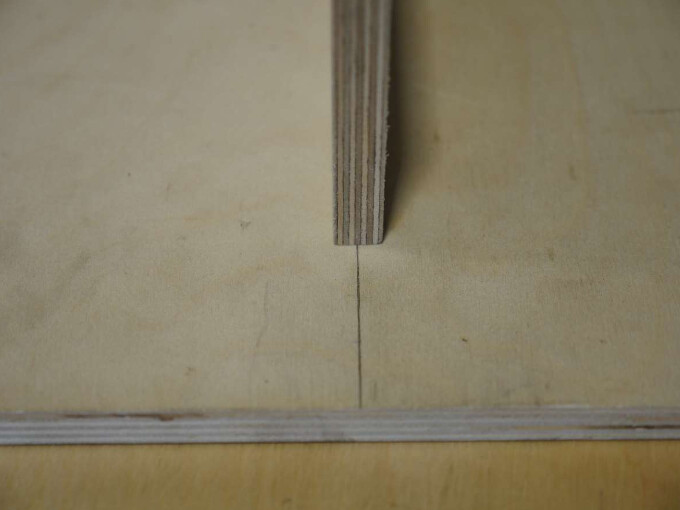
Here’s that same piece of wood with the same construction line, but now the piece to be joined is sitting on the center line. This creates a couple of problems. The vertical piece is covering the line so how do I align it if I can’t see both ends? I also haven’t solved the attachment problem. I’m still stuck with glue, nails, screws & etc.
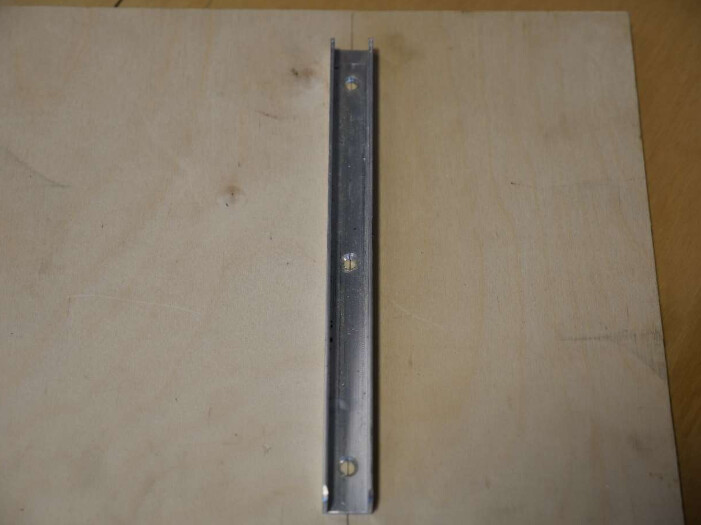
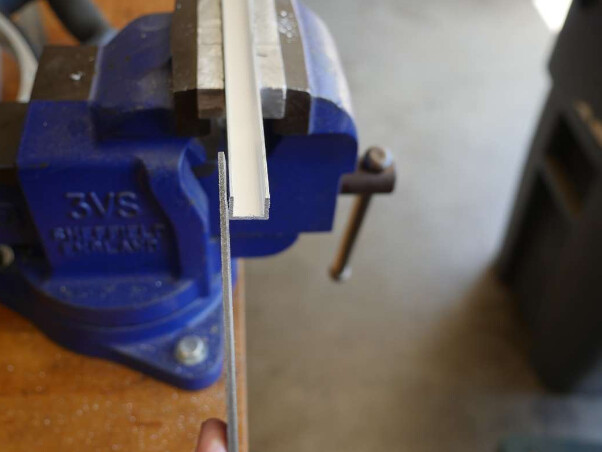
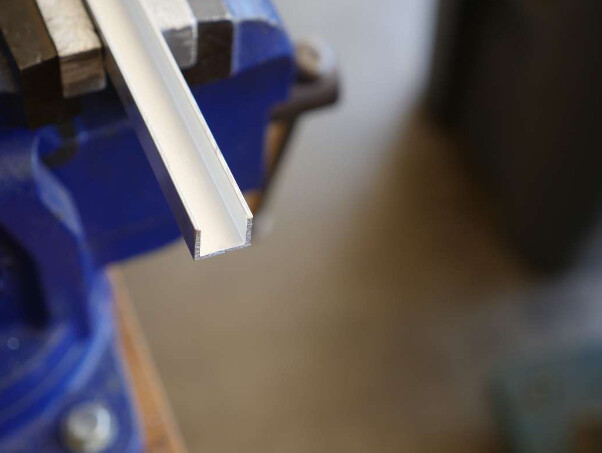
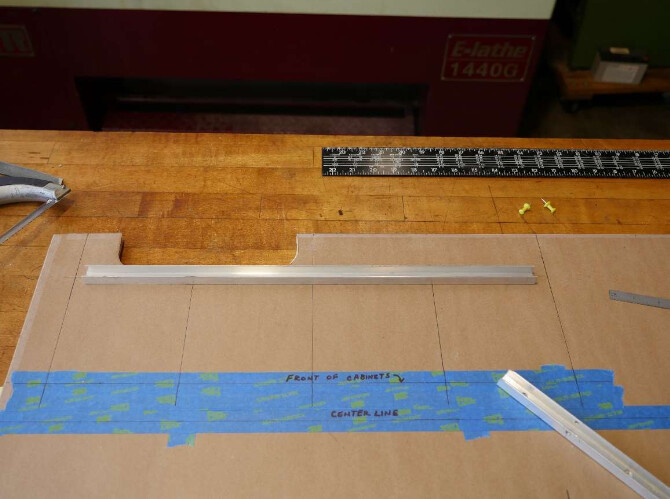
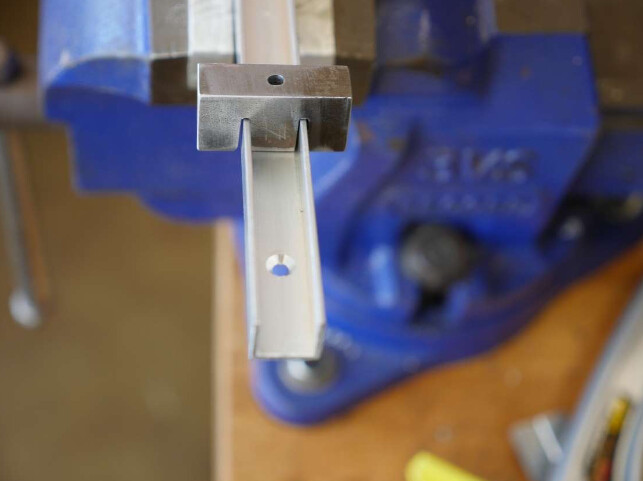
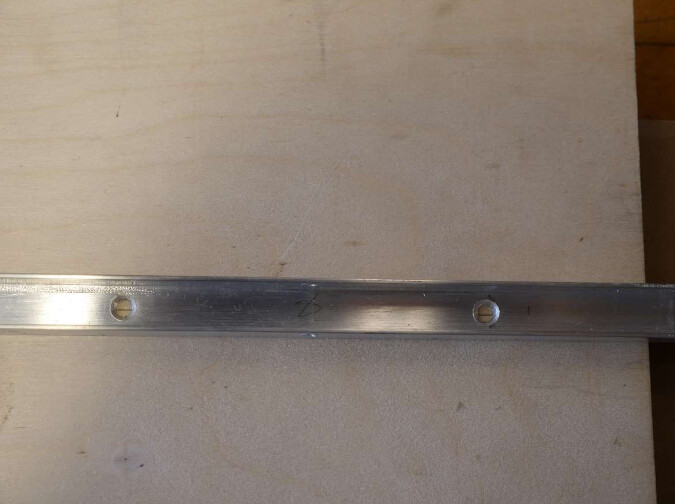
We can make our own brackets out of C-channel. Here’s a bracket that I made in about 5 minutes. Notice the holes down the center of the bottom of the bracket? They line up perfectly with our construction line.
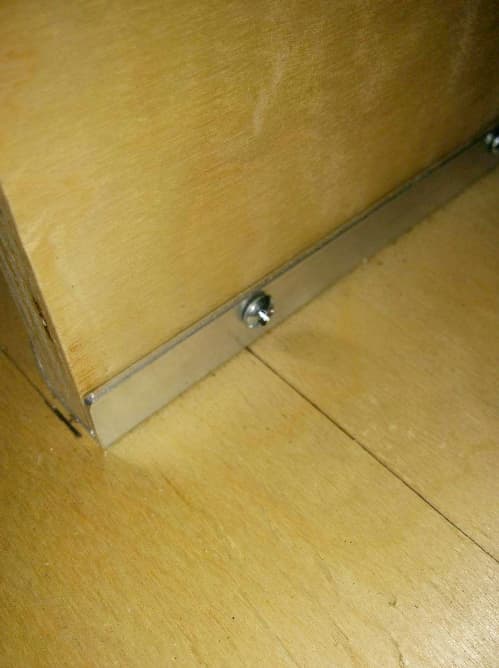
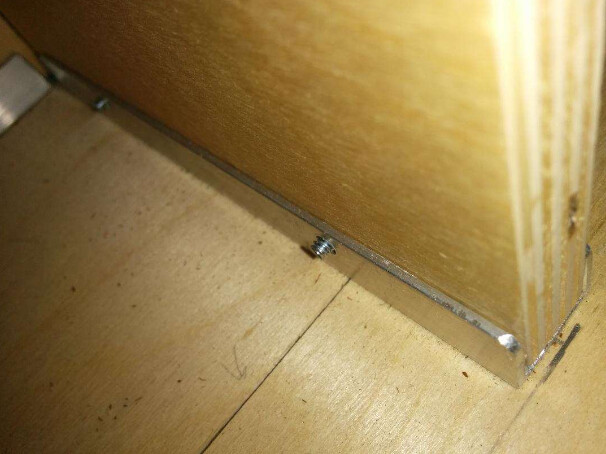
If we screw the channel down to our plywood with flat headed screws we can drop our vertical piece in place and it will be perfectly aligned and captured so that it can’t move left or right, or warp out of position.
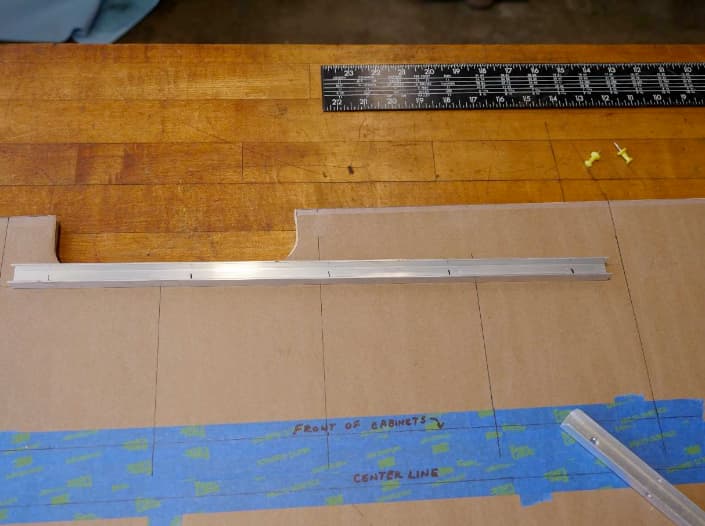
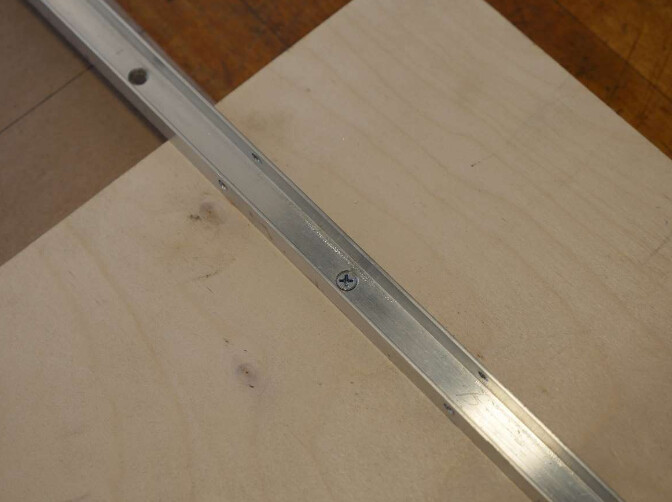
If you look closely at the C-channel in the above photo, you’ll see holes drilled into the sides of the channel. These holes go all the way through both sides of the channel. When we’re happy with the placement of the vertical piece we drive a ¾” long #6 screw through one side of the C-channel, through the wood, and out the other side of the channel. The vertical piece of wood is now captured in place. It can’t move up or down, left or right, and it’s right on the centerline.
Now that you have the general idea of how we’re going to secure our cabinets to the floor, and understand how we’re going to use centerline measurements, it’s time to begin the layout.
The Vehicle Centerline
The sides of a vehicle are rarely symmetrical. As an example, one side of the van has a door, the other side doesn’t. The distance across the van in front of the wheel wells may be different than the distance behind the wheel wells. Nothing is square and nothing is vertical. We need a starting place to make sure our measurements will work no matter where we are in the van.
I make my two starting axes a center line down the middle of the cargo area and the edge of the floor at the rear of the van. Everything is measured from these two axes. One down the center and one across the back.
The edge of the floor (or threshold) at the rear of the van is pretty straight forward and is plenty accurate enough for our purposes. The centerline can take a bit of fiddling.
Using Blue Tape
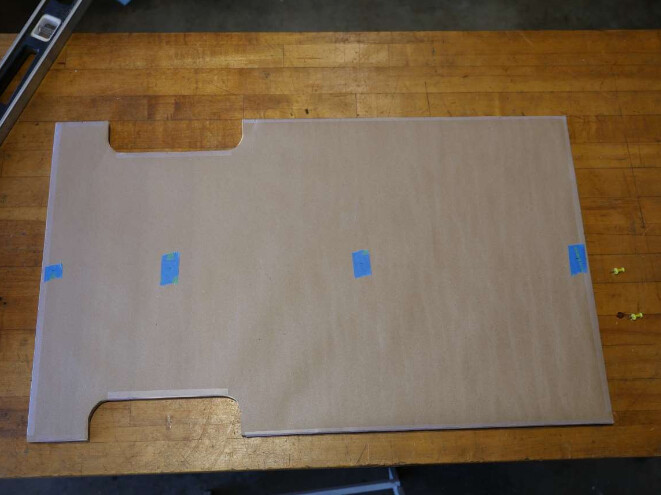
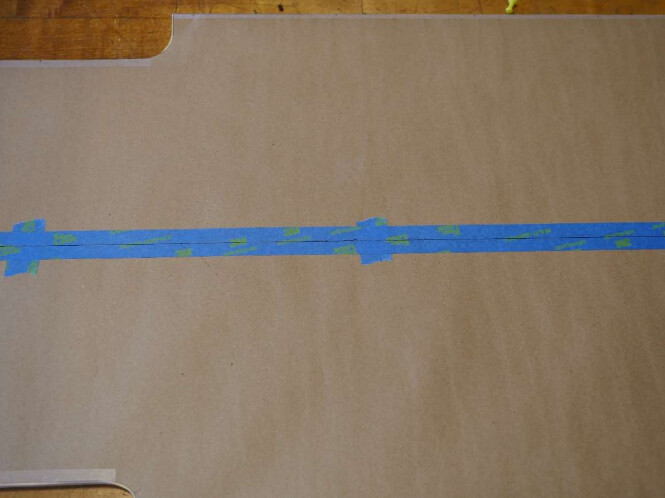
If you haven’t installed your floor covering, then you can mark up the wood floor directly. Use light pencil marks in case you need to erase. If you have your floor covering installed, then place a piece of blue tape down at the points you want to mark and make your marks on the tape in pencil or ink.
The two support columns supporting the rear doors are probably very symmetrical so that’s a good place to start. Measure between these two points and make a mark in the center. Next measure between the center of the wheel wells and make a mark on the floor. Most of the time the column that supports the side door on the passenger side has a column on the opposite side of the van so measure between these two points and make a mark in the center. Finally measure between the columns behind the driver’s and passenger’s seats and make a mark in the center.
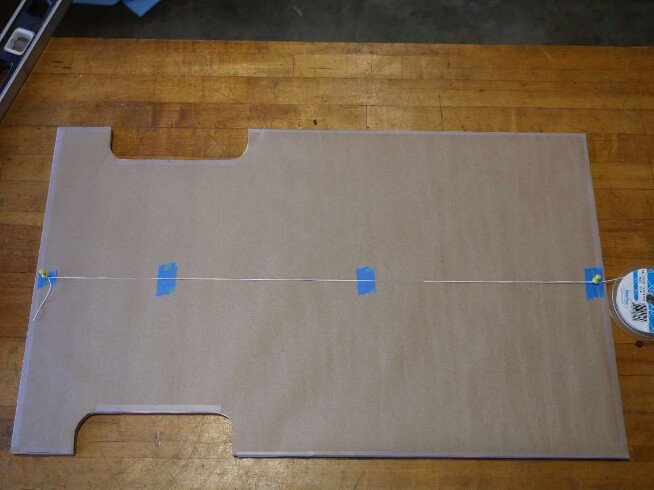
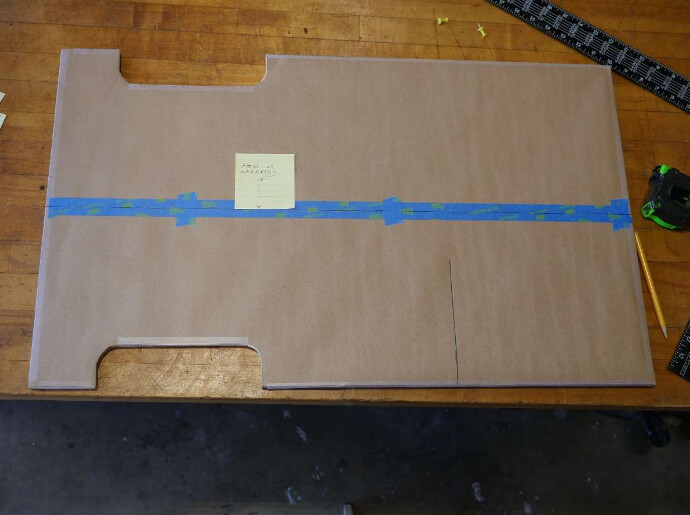
Now stretch a string from the center mark in the front behind the seats to the mark between rear door columns. Thumbtacks or push pins will help here. If all is well, all the marks in between should fall on the line of the string.
Assuming everything lined up, draw a solid line down the center of the cargo area using a straight edge between the marked points. If your straight edge is too short to cover some of the marked points, add others along the path using the string as your guide. On a finished floor, stretch a length of blue tape down the center of the floor and then draw your center line on that.
You now have two accurate points from which to make all your measurements – the rear edge of the floor and the centerline you’ve just drawn.
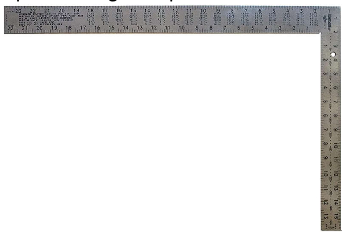
A tool that I fine extremely useful when doing layouts is a Framing Square. This is an “L” shaped ruler that is 16 inches in one direction and 24 inches in the other. I use this for measurements that are under 24 inches. It’s a perfect straight edge for drawing lines between marked points. You can use it to check if something is square or at perfect right angles, and even check how far off from vertical the sides of your van are. I often use it as a straight edge along with a utility knife when cutting foam insulation. It’s a very useful device and it’s very inexpensive at around $10 at the big box hardware stores. A framing square and a good tape measure cover most of what you need to mark up a layout.
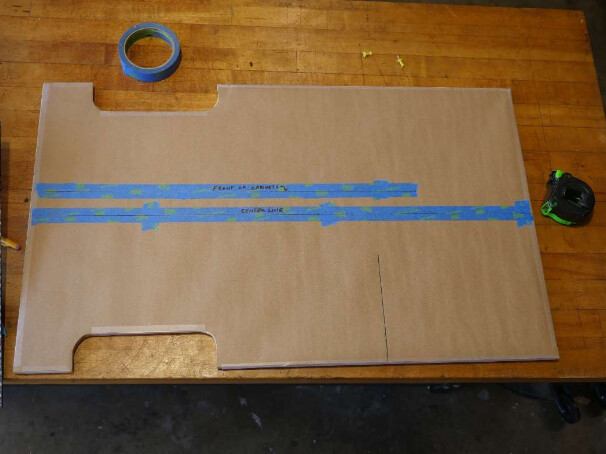
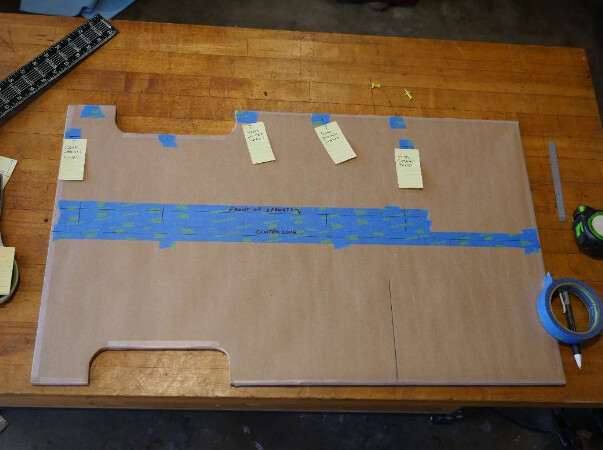
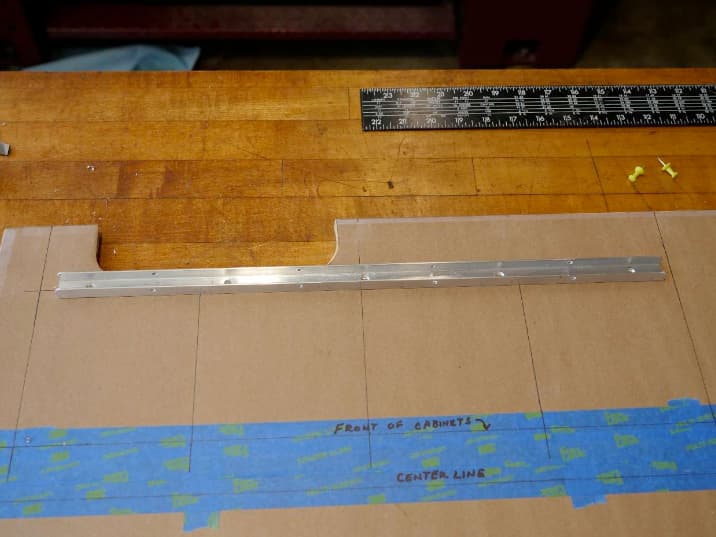
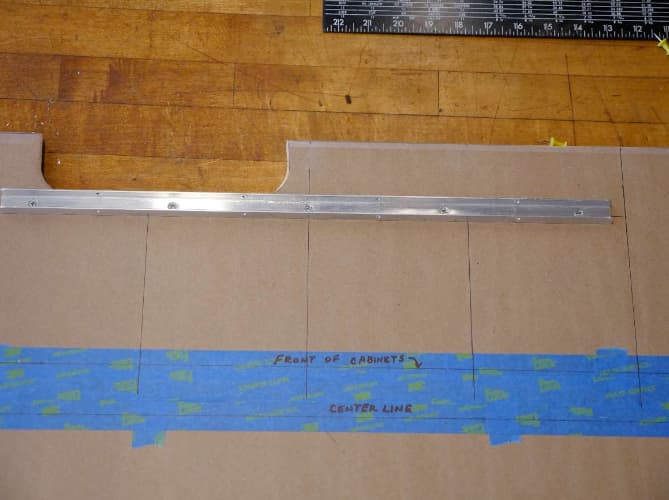
Now that we have a reference line down the center of the build space, we need to decide where the front edge of the cabinet we’re building will fall. In this case I’m building the bed and it’s lower cabinets. I’ve determined where the front edge will be in reference to the reference centerline.
Once I know where the front edge of the cabinet will be I run blue tape the length of the cabinet and strike the front edge line on the tape.
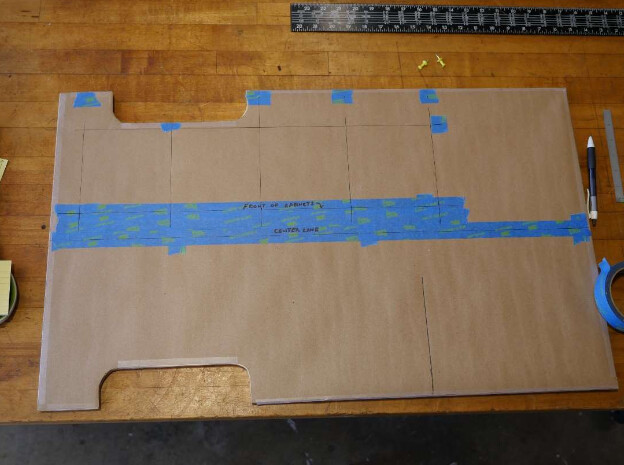
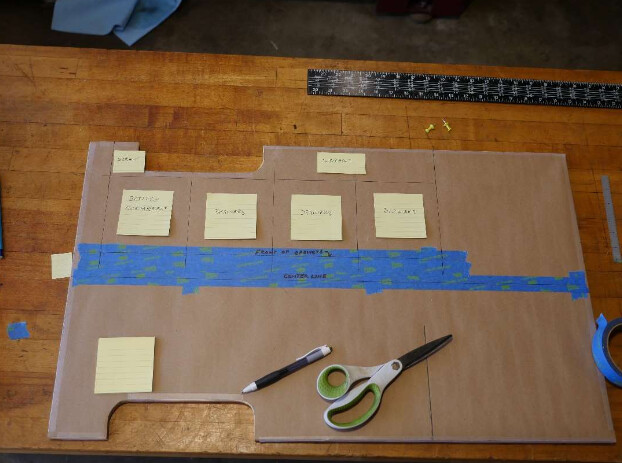
Using the edge of the floor at the rear of the vehicle as my reference, I mark the positions of the ends of the cabinets and the dividers in between, on the front cabinet line. I’ve added additional blue tape so that I can extend the construction lines at least an inch in front of the cabinet. This extended line will be very useful later.
Again using the rear edge of the floor as the reference, place bits of blue tape and mark the rear position of the cabinet ends and dividers as well as the rear wall of the cabinet. I’ve marked the ends and dividers at the wall of the vehicle, but you’ll probably find it easier to mark the rear wall of the cabinet in front of the wheel well and then mark your dividers along that.
Once you are happy with the placement of all the vertical elements of your cabinet, draw lines directly on the floor showing where all the verticals will be placed. These lines will be hidden under your cabinet so they won’t be visible. Of course you can place blue tape and draw your lines on that and then mount your cabinet over the tape, but it won’t be practical to remove the tape once the C-channel is in place.
The two ends of the cabinet will extend to the wall of the vehicle. The dividers in the middle will meet the rear cabinet panel in front of the wheel well. I’ll use the wheel well space as storage accessed from above.
C-Channel Mounting System
Using C-channel to attach our cabinets to the floor has some significant benefits over using glue, or L- brackets. Unfortunately there is no commercial source for pre-drilled C-channel so we’ll have to do it ourselves.
The backbone of our cabinet is the back panel so we’ll prepare that piece first. Cut a piece of 1/2 inch channel about 1 inch shorter than the distance between the centerlines for the two end panels. Clean up the burrs on the cut end with a file.
Remember that our layout lines are where the center of our channel will mount so we need to leave room at each end for the channel that will be holding the end panels.
Now mark the bottom of the channel for where you’ll drill the mounting holes. I usually put a mounting hole about 1 inch from each end, and then I divide up the space in between so that I have holes space 4 to 6 inches apart. We’ll be using relatively small screws into plywood so don’t skimp on the screws.
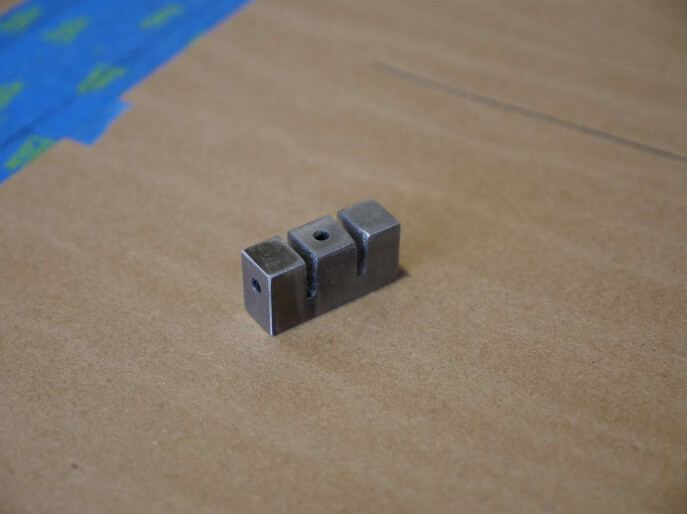
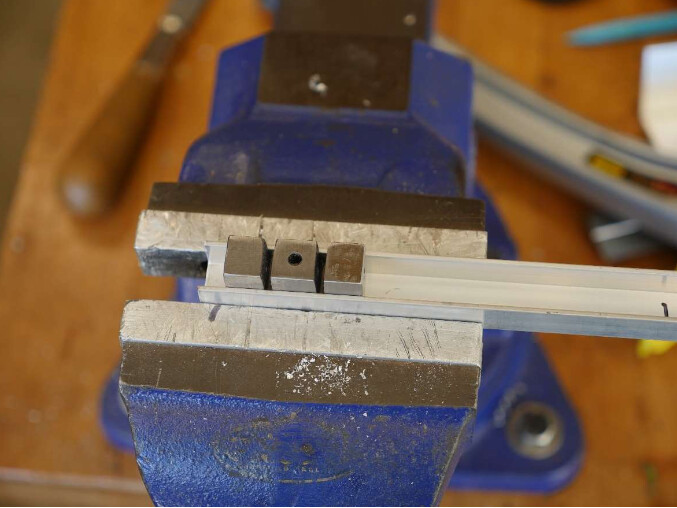
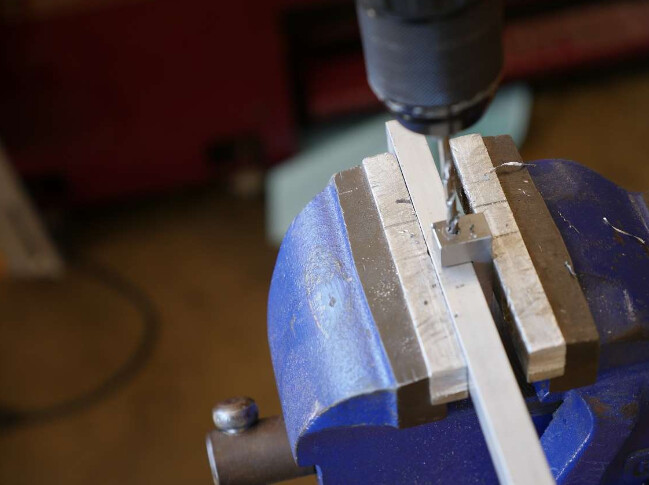
Now we need to drill holes at our marked positions in the center of the channel. I originally used my milling machine to do this but the set-up was a pain so I made a small jig that makes the job simple.
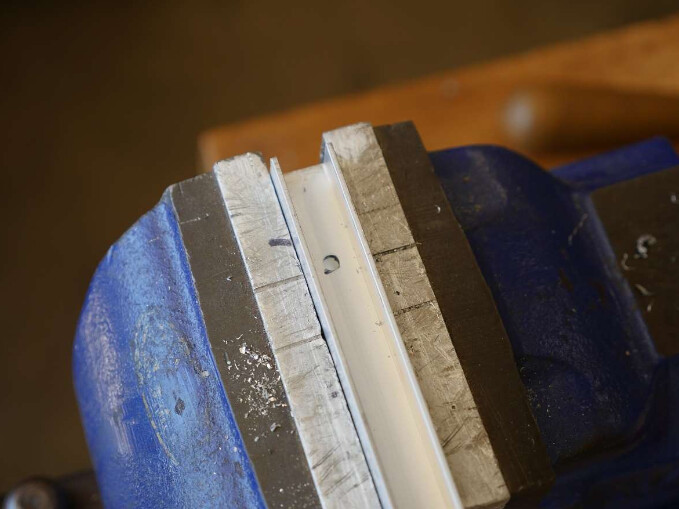
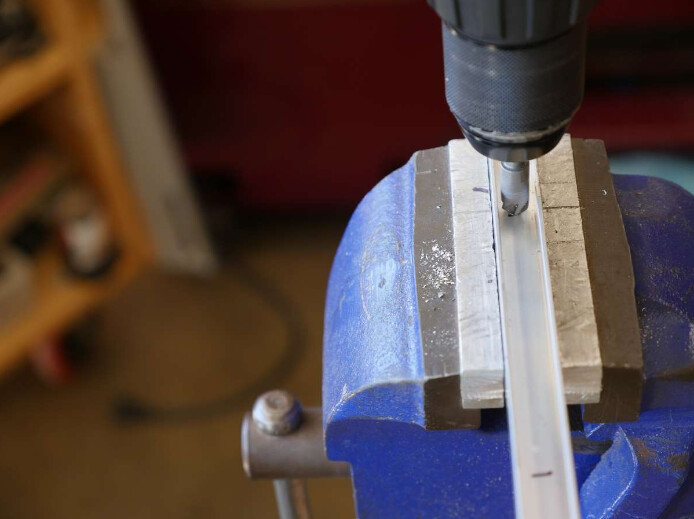
Place the C-channel in a vise with the point that you want to drill between the jaws. (Always move the channel as you’re drilling so that the hole you are working on is between the jaws of the vise.) Now I drop the drilling jig into the center of the channel and using a 5/32 drill bit, drill a hole through the bottom of the channel. Keep moving and drilling the channel until you’ve drilled all the bottom holes.
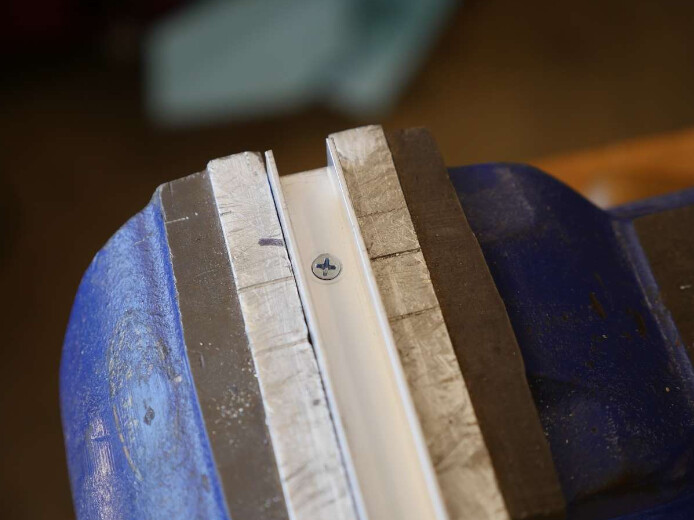
Next, using your 82 degree, 3/8 inch counter sink bit, counter sink all the bottom holes until the head of a #6 flat head screw is flush with the bottom of the channel.
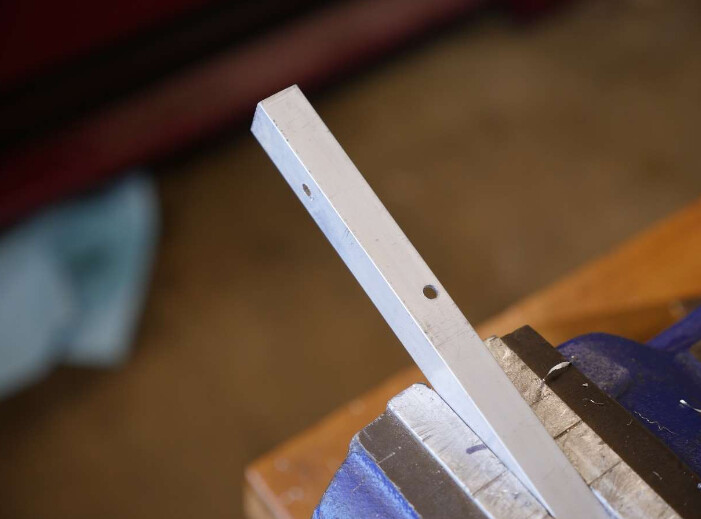
Now we need to drill the holes in the sides of the channel. Place the jig so that the channel is in the slots and the center of the jig is flush with the bottom of the channel. I generally position the side holes between the bottom holes. If there are 4 bottom holes then there will be 3 side holes centered between them.
Now clamp the jig and channel in a vise and drill through both sides of the channel.
Repeat this process until all the bottom and side holes are drilled. Take the drilled channel and line it up so the bottom holes of the channel are centered on the back panel layout line.
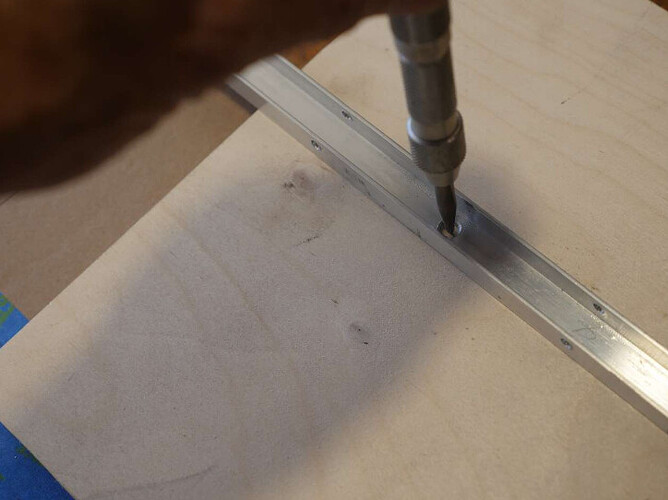
Now take your automatic center punch and place the point as close as you can to the exact center of the hole and directly on the layout line.
Press firmly on the punch to create a punch mark, then repeat until you’ve punched all the holes. Double check to make sure all your punch marks are in the center of the hole and directly on the layout line.
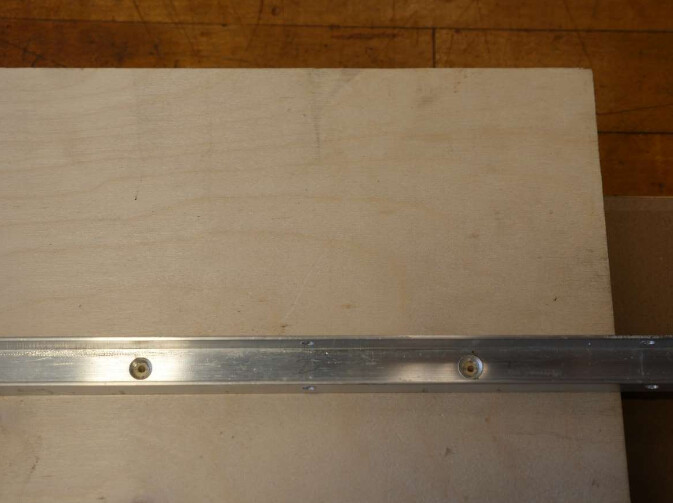
Using the punch marks to guide the point of the screws, drive 5/8 inch #6 flat head screws until they are flush with the bottom of the channel. Repeat until all screws are installed.
Repeat the above process until you have cut, drilled, counter sunk, and installed all the C-channel for the cabinet. The channel for the end panels and cabinet dividers can come right up to the front edge layout line. The end panel channel pieces will extend back to within an inch or so of the van wall. The channel for the dividers should be cut to about ½ inch of the cabinet’s back panel.
Congratulations! Your foundation has been laid. We’re now ready to add the plywood to our cabinet build. Be sure and leave the blue tape showing the extension of the layout lines in place we’ll be using these lines as we assemble our cabinet using cross dowel construction.
MORE TO COME
2. Before You Start The Layout
4. The Basic Cross Dowel Joint
