Before You Start The Layout
One of the first decisions you’ll need to make is what type of floor covering you want to use. You can use sheet goods like vinyl or linoleum, interlocking flooring, or tiles. If you choose sheet goods or interlocking flooring, you’ll probably want to cover the entire floor so you should install your floor before you layout the cabinetry. In my case, I used Perfection Floor tiles (puzzle type gym flooring is similar) and installed my cabinetry first and then cut the tiles to fit around them.
If you install your floor covering first, then you’ll use blue tape for much of your layout marking so that you don’t mark up the floor where it would be visible. If you decide to install your floor covering after you build the cabinetry, then you can do all your markups directly on the Baltic Birch floor. Here you can see that my flooring does not cover the entire floor.

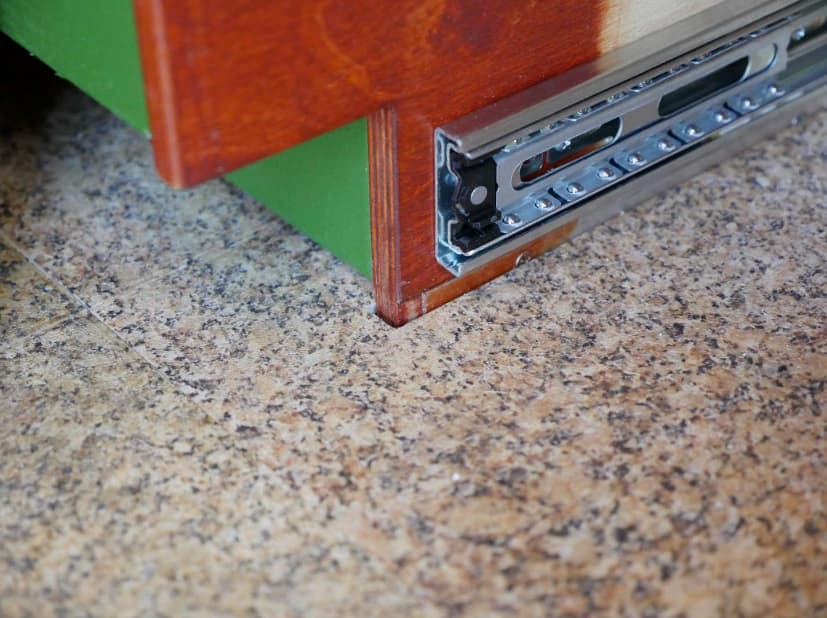
My floor tiles are about ¼” thick and I cut them to fit around the cabinets. The cabinets and the door thresholds hold the floor solidly in place without any glue. This allows me to remove individual tiles if one gets damaged. Here’s a detail showing how a slot was cut into the floor tile to accommodate the vertical side of the cabinet.
Even though I installed my flooring after the cabinets were done, I’ll be using a modified version of the blue tape method here. If you are going to install your flooring later, then by all means do your markups directly on the wood floor.
Regardless of what floor covering you choose, I recommend that you install thresholds at the rear and side doors right away. This will keep you from damaging the edges of the plywood and protect the insulation.
I use 1/8 or 1/16 inch thick aluminum angle for my thresholds. I prefer 1/16 inch as it creates less of a “trip strip” in the door way but 1/8” is more robust and you may prefer it. Choose the width of your angle so that it covers the floor layers. A small gap at the bottom is acceptable, but you want to protect the insulation and top floor edge from damage. Assuming you used 1/8” sub-floor, 1” of insulation, and ½” Baltic Birch, you’ll need at least 1 ½” aluminum angle with vinyl or linoleum. You’ll need 2” aluminum angle if you decide on the thicker ¼” floor tiles. Either size is available from Home Depot and I assume Lowe’s as well. It can always be ordered from Grainger, MSC Direct, and McMaster Carr.
Installing a Threshold
I’m going to show how I install a threshold in the side door opening. The same procedure is used at the back door.
If you anchored your floor at the tie-down locations, you’ll need to temporarily remove the bolts between the wheel wells and the front of the van on the passenger side. You won’t need to remove the floor, but you’ll need to lift the edge at the door opening about an inch and a half to do the work.
The floor doesn’t need to be anchored as the rest of your construction will tie it solidly together, but some people may want to do so. If you didn’t anchor your floor then you’re good to go. If you anchored your floor with sheet metal screws - - shame on you!
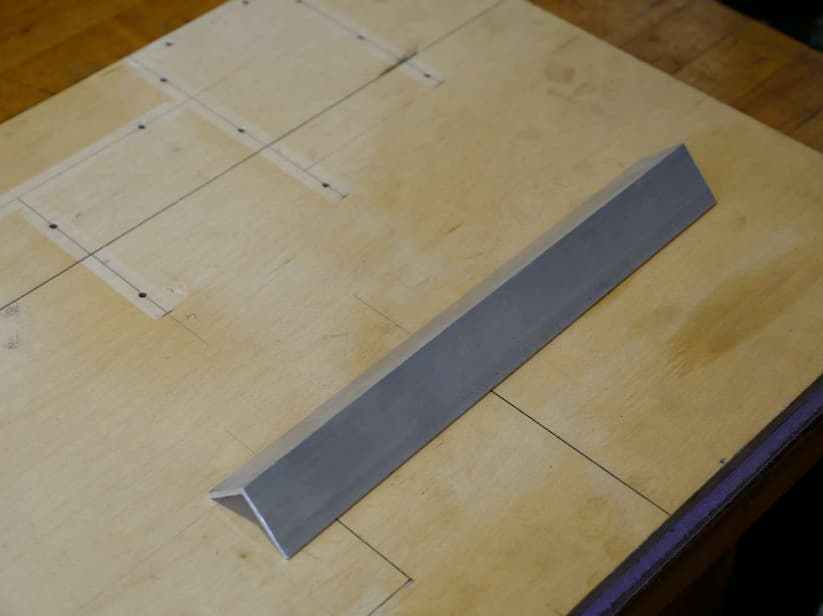
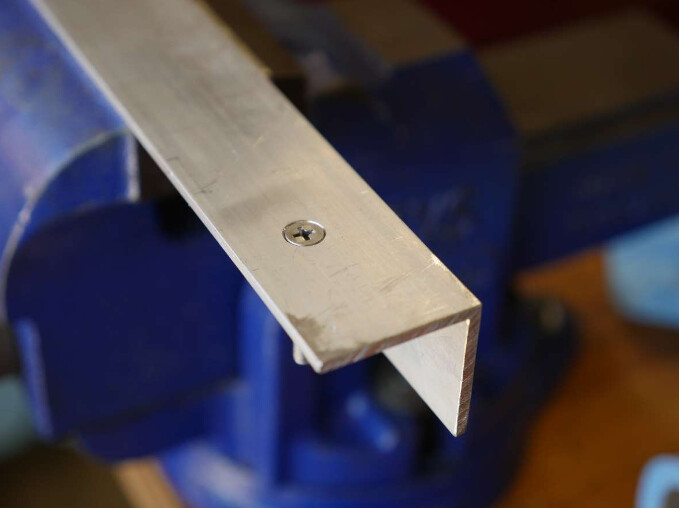
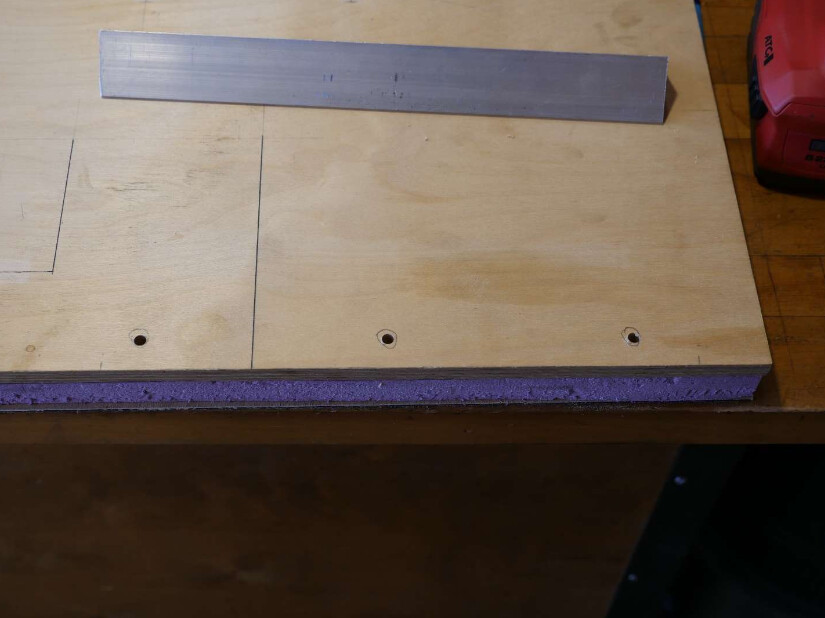
Cut a piece of aluminum angle to fit across the door way. Make it a nice fit, but don’t try to make it so tight that it interferes with the weather stripping around the door frame. I’m using 1/8” by 1 ½” aluminum angle here as this is what I had in the scrap pile and it’s about the right size.
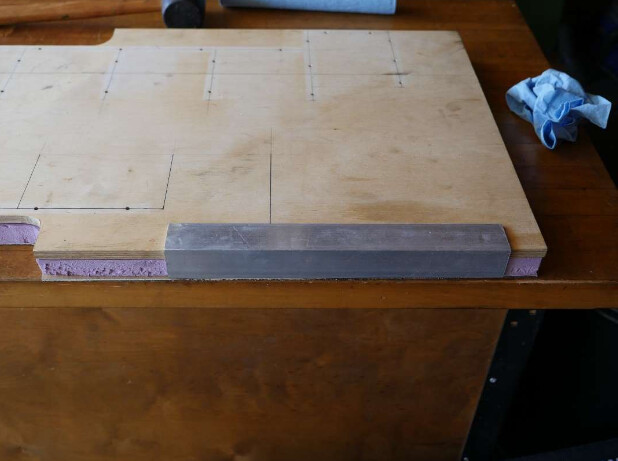
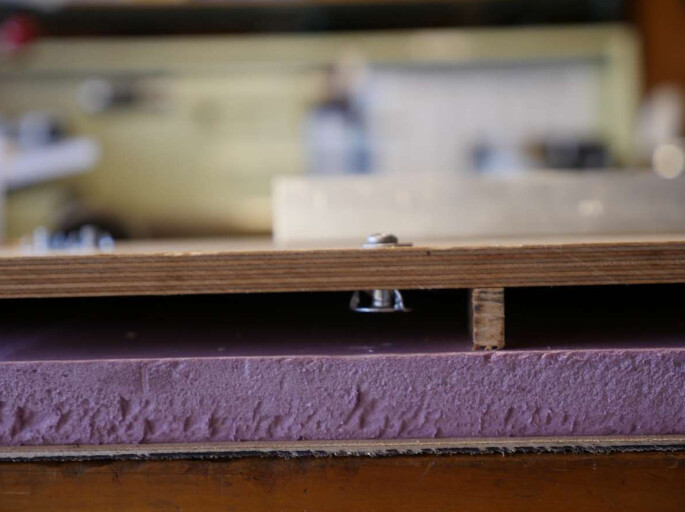
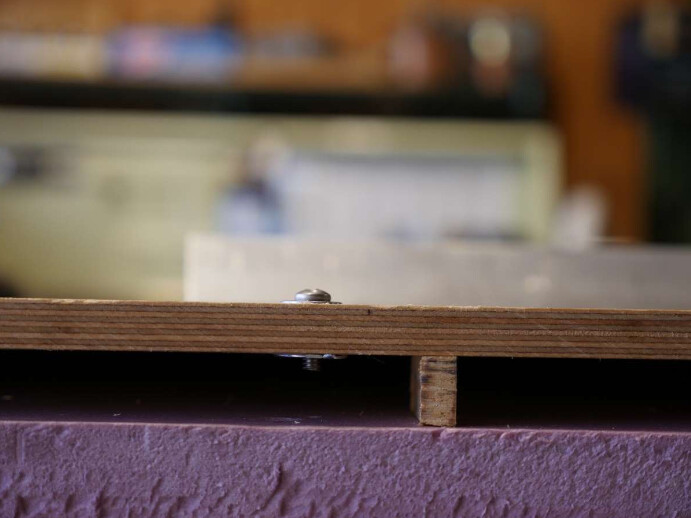
As you can see, it just about covers the 3 layers of floor and this is fine.
You’ll want to drill some holes in the top of the angle so that you can mount it to the floor. I use 10- flat head screws and drill 7/32 holes, using the same drill bit used with the cross dowel jig. I generally put a mounting hole an inch or so from each end and then holes in between, spaced 6 to 8 inches apart. No need for perfect accuracy here. I place them about the center of the width of the angle I’m using.
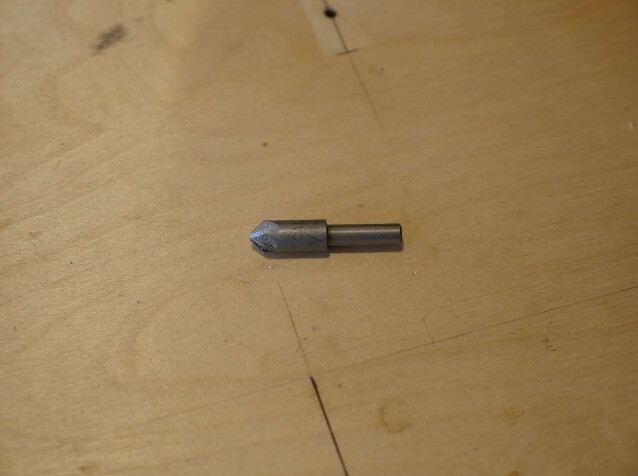
For the next operation you’ll need a counter sink bit. A 3/8 inch 82 degree counter sink works well for the 10-24 screws we’ll be using for our threshold and for preparing ½” C-channel later in the layout process. They’re available on Amazon for around $10.
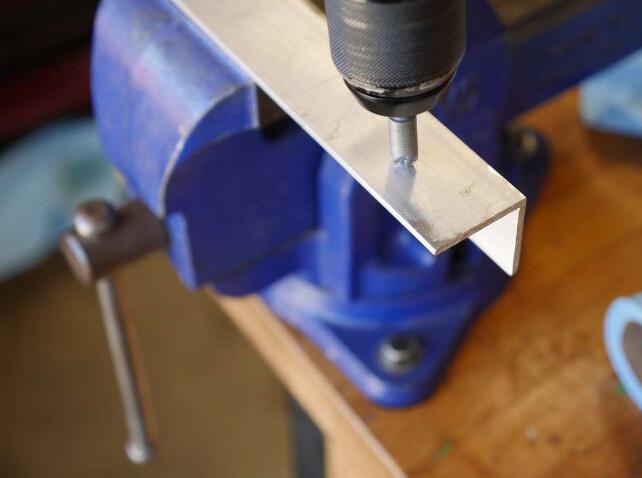
Mount the counter sink bit in a drill and hold it vertically over the hole. Run the drill at low speed and apply lite pressure. Counter sinks howl and screech if run to fast. They like 300 – 500 RPM not 2,000. Stop and clean the flutes often as they will gum up and quit cutting.
Check the depth of the counter sink to make sure the head of the screw is flush. This is too high so keep going.
Here it is nice and flush. Rinse and repeat with all the other holes.
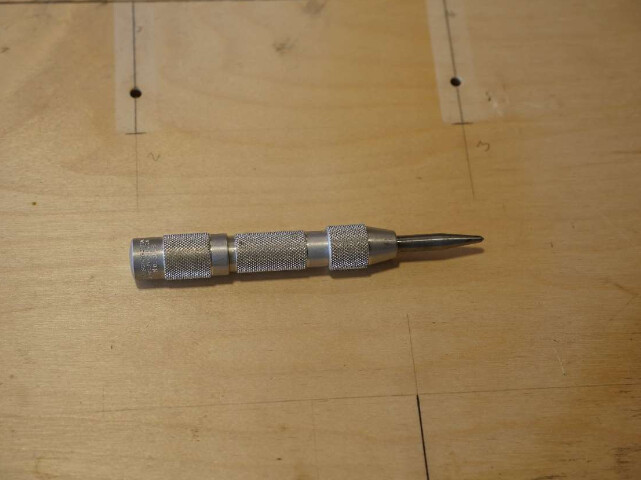
For the next step you’ll want an automatic center punch. You’ll use this every time you drill a hole or start a screw so it will get a lot of use. Available at the big box hardware stores for about $15.
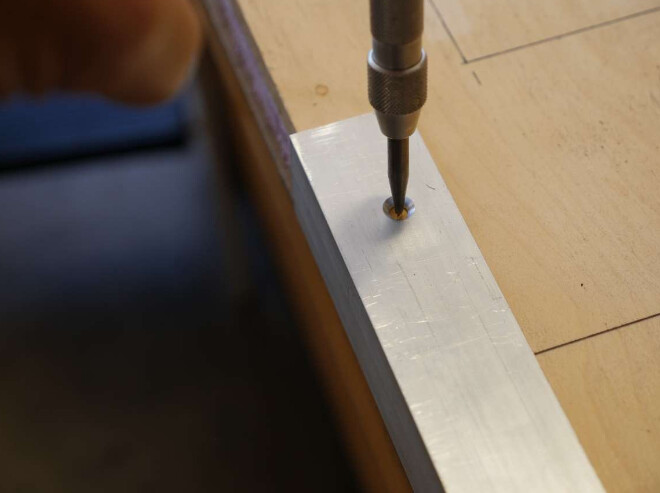
Place your drilled and counter sunk threshold in the doorway. Position it where you want it and then put the point of the center punch in the center of a hole and press down firmly. The punch has a snap action spring that will place a punch mark just as though you hit it with a hammer.
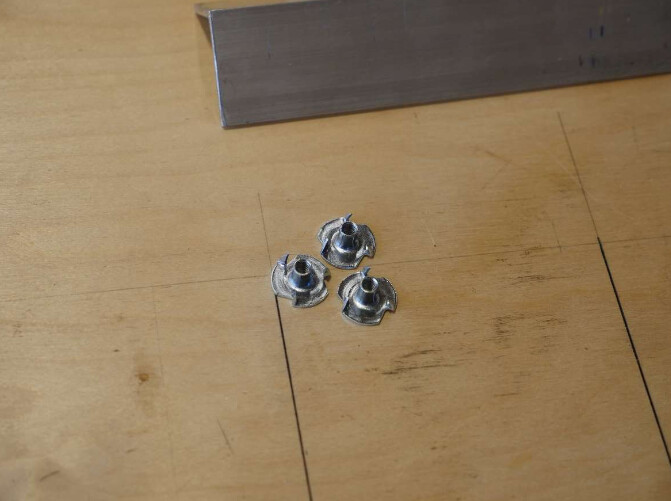
Repeat until all holes are marked. Next we’re going to install T-Nuts. We may want to remove the threshold multiple times for various reasons like installing the floor covering, or to run wires or plumbing across the doorway behind it. T-Nuts are available at most hardware stores. I’ve found 10-24 and ¼- to be the most useful but I keep a small stock of 6-32, 8-32, and 3/8-16 as well.
10-24 T-Nuts require a ¼” hole so drill a ¼” hold at each of the marked spots. Many people struggle with keeping the drill in the exact spot they want to drill the hole. The drill wanders. Here’s how to do it so you’ll be successful about 90% of the time.
Place the point of the drill bit in the center punch mark. Hold the drill as vertical as possible and with the point of the drill bit resting lightly in the center punched mark, bring the drill to full speed BEFORE you apply pressure. If you do this right, the drill bit will center perfectly on the mark and then you can apply the necessary pressure to complete the hole. Drill all your holes.
T-Nuts are normally set in place by turning the piece of wood over, setting the T-Nut in place, and striking it with a hammer. This is not possible without removing the floor and that’s a lot of work. Instead, we’re going to seat our T-Nuts by drawing them in place with a 10-24 screw.
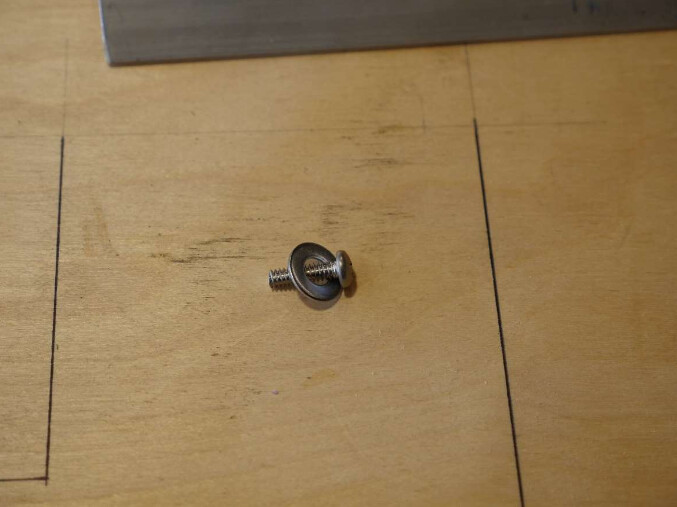
For this you’ll need a 10-24 Pan Head screw and a flat washer. The screw should be a little longer than the thickness of the wood. Our wood is ½” thick so we’ll use a ¾” screw.
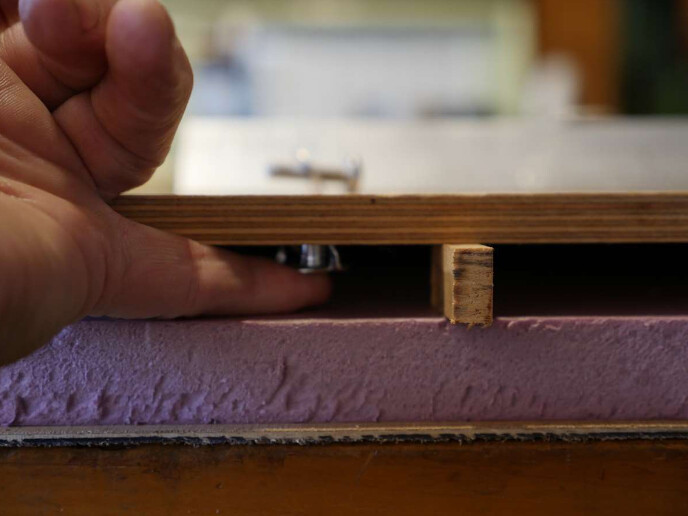
You should have removed any tie-down screws. Now lift the edge of the Baltic Birch plywood 1 inch or so and hold it up with a couple of scraps of wood.

Now place a T-Nut, with spikes facing up towards the wood into one of the holes and hold it there with a finger. If you have fat fingers just raise the floor a bit more.
While holding the T-Nut in place thread the 10-24 screw and washer into the T-Nut from above.
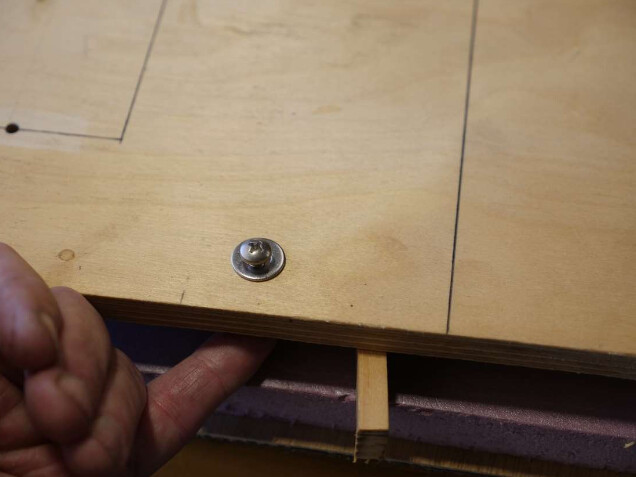
Now tighten the screw. This will draw the T-Nut up and seat it into the plywood. Keep tightening until the base of the T-Nut is flush. Then repeat until all your T-Nuts are installed.
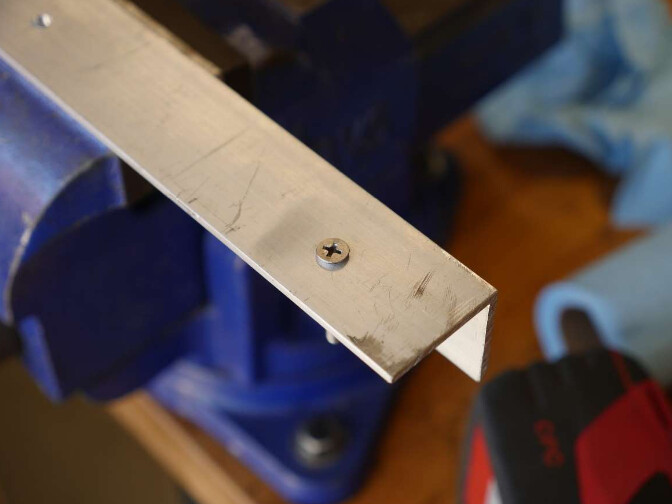
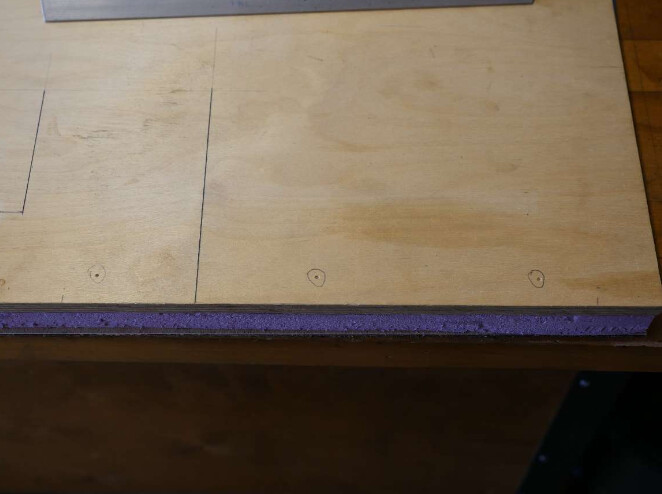
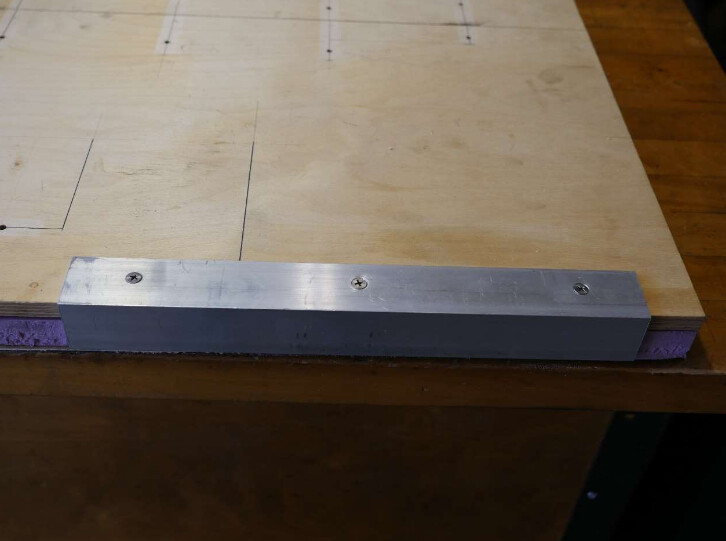
Once all the T-Nuts have been installed, remove your wood spacers and set the aluminum threshold in place. All the holes should line up perfectly. Install ½” or ¾” 10-24 flat head screws to secure the threshold. It should look something like this when it is done.
When you’re ready to install your flooring you’ll remove the threshold, install the flooring material and then replace the threshold over the floor covering. This will help hold it in place without glue or nails. Remember that any flooring you install will raise the threshold by the thickness of the flooring material. A small gap at the base is no big deal but you want to cover as much of the entire floor sandwich as is practical in your situation so keep this in mind.
By removing some of the insulation behind the threshold, you’ll create a protected space to run electrical wiring and/or plumbing behind the threshold. This is how I run the main electrical feed from the driver’s side of the van where my batteries are located, to the fuse block that distributes power on the passenger side of the van. My wiring runs behind the threshold across the back doors.
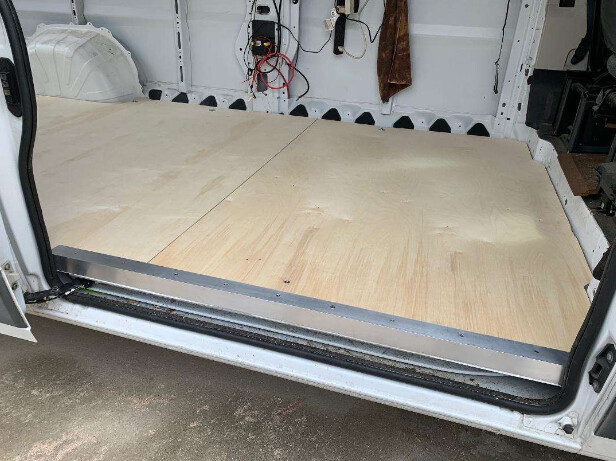
This is a photo of a threshold installed at the sliding door of a 159 Promaster.
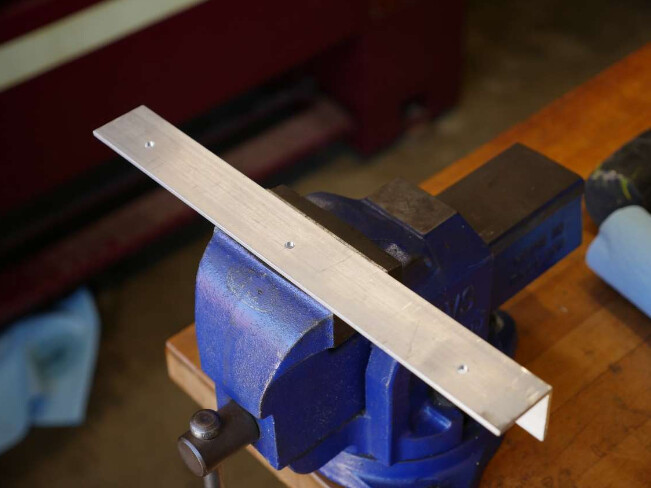
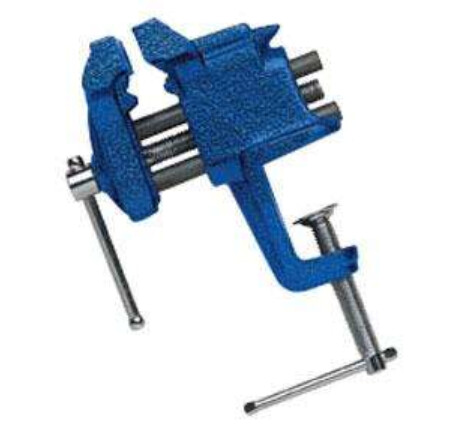
Early on in this tutorial I used a bench vise to hold the aluminum angle while I drilled and counter sunk the holes. To me a vise is an absolute must have. You don’t need anything fancy. An inexpensive clamp-on vise is just fine. This 3” Irwin Vise is typical of what you’ll find at the big box hardware stores and costs about $20. It isn’t fancy but will do most everything you need. Think of it as a 3rd hand.
More to come…
1. Van Build with Cross Dowel Construction, The Floor
3. Layout and C-channel