The head and foot boards present very similar problems as the cabinet dividing panels. The only real
difference is that they are taller, at about 36 inches and now the rear cabinet panel, which acted as the
“outside” and carries the through holes for the middle dividing panels in our previous tutorial, becomes
the “inside” panel that carries the cross dowels. The headboard and footboard are the “outside” panels
and only have through holes.
The rear cabinet panel is in front of the wheel well, but both the headboard and footboard extend from
the front line edge of the cabinet, past the wheel well to the wall. This places the rear cabinet panel
several inches away from the rear edge of the headboard and footboards so we’ll be unable to use the
jig to make the through holes in these panels.
We’ll proceed just as we did with the divider panels. The method for laying out where to place the cross
dowels in the ends of the rear cabinet “inside” panel are exactly the same as for the divider panels.
Decide where you want your cross dowels, mark, then extend the lines a couple of inches and draw the
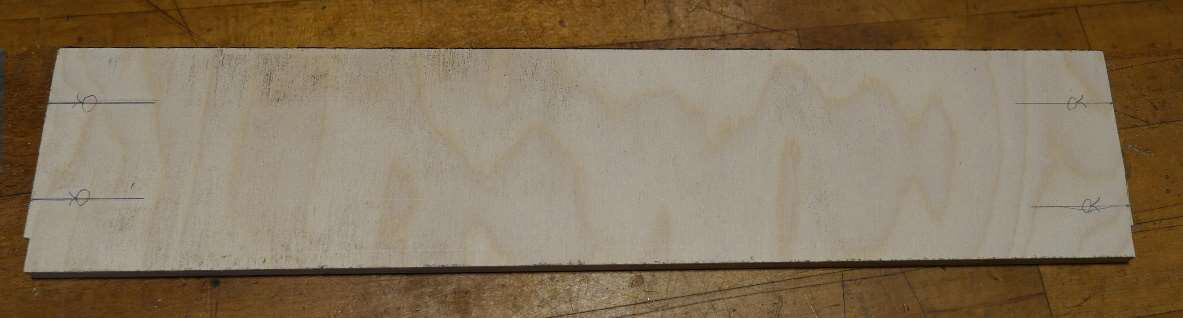
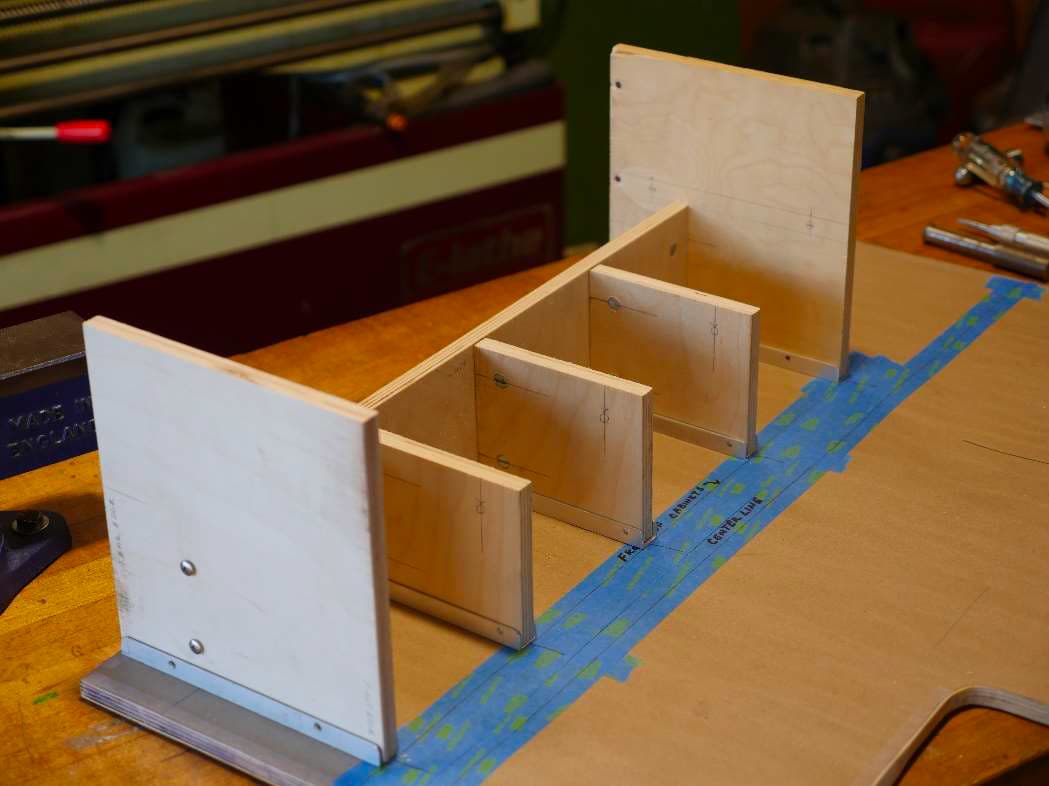
proper symbol to remind you that this is where the cross dowels go. Here’s the back of the rear panel
showing both ends marked to be drilled with the jig. (You don’t see the layout lines we drew for the
divider panels because they are on the front side of this panel.)
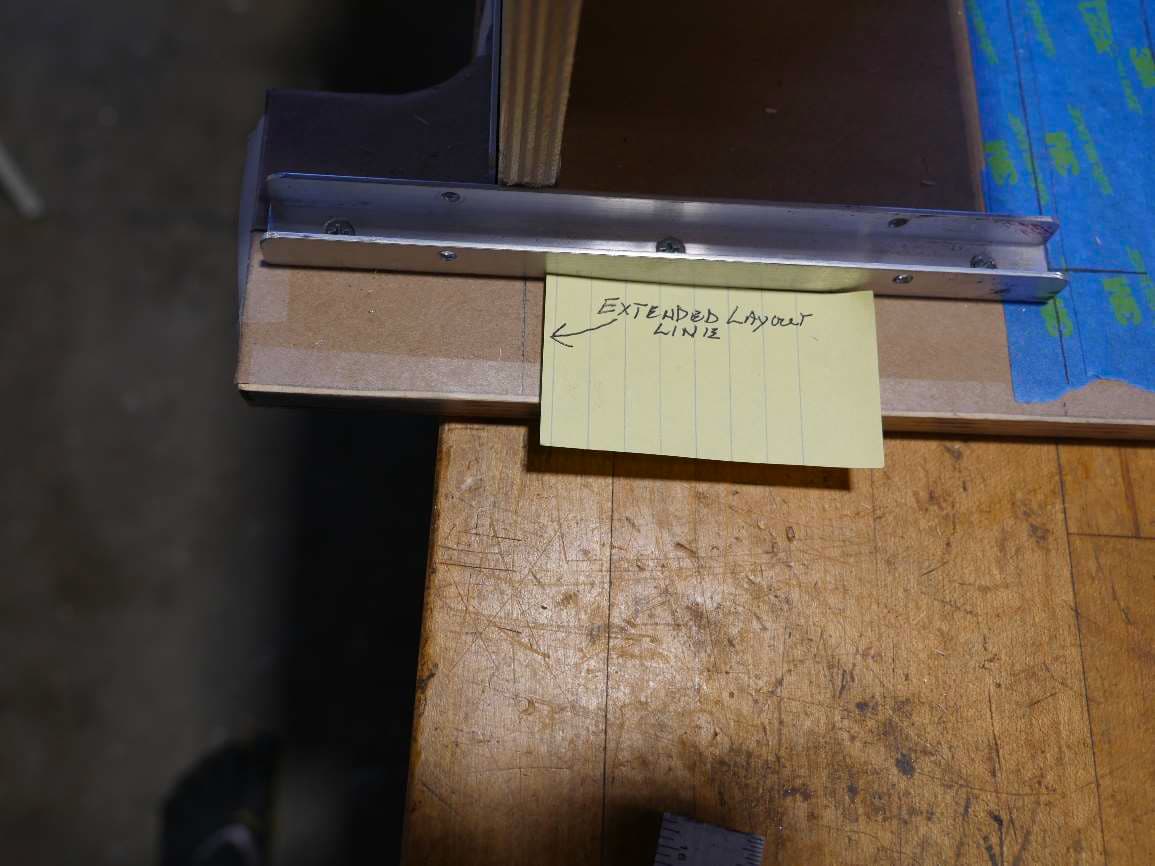
You should have extended the layout lines on the floor well beyond the location of the C-channel
positions they were used to locate. Here you can see the layout centerline for the cabinet rear panel is
extended past the C-channel that will hold the headboard. The same was done at the footboard
location at the other end of the cabinet.
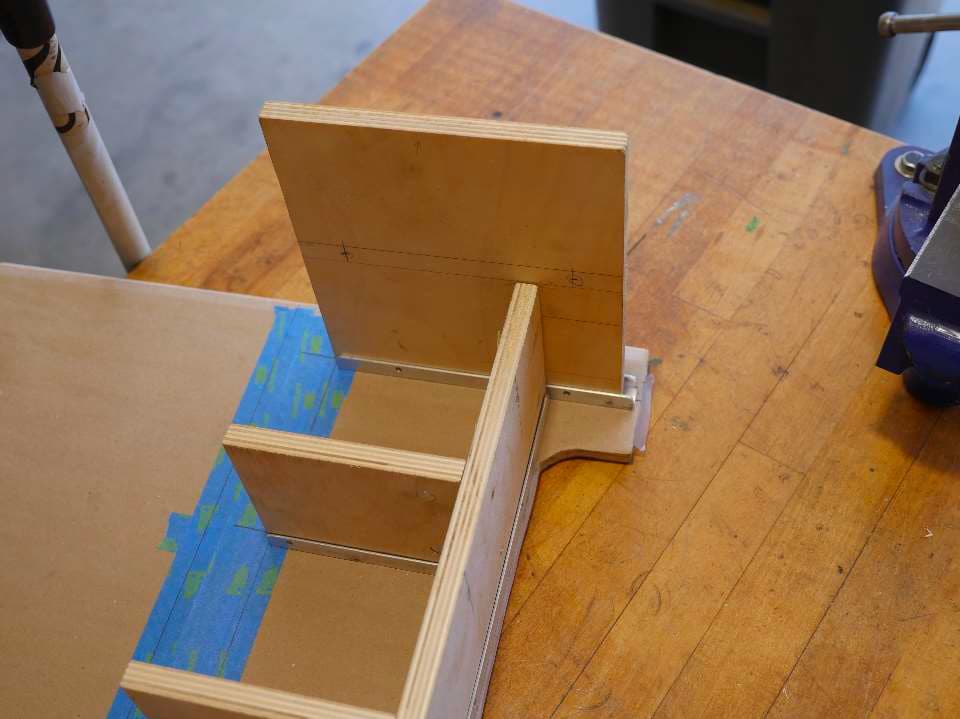
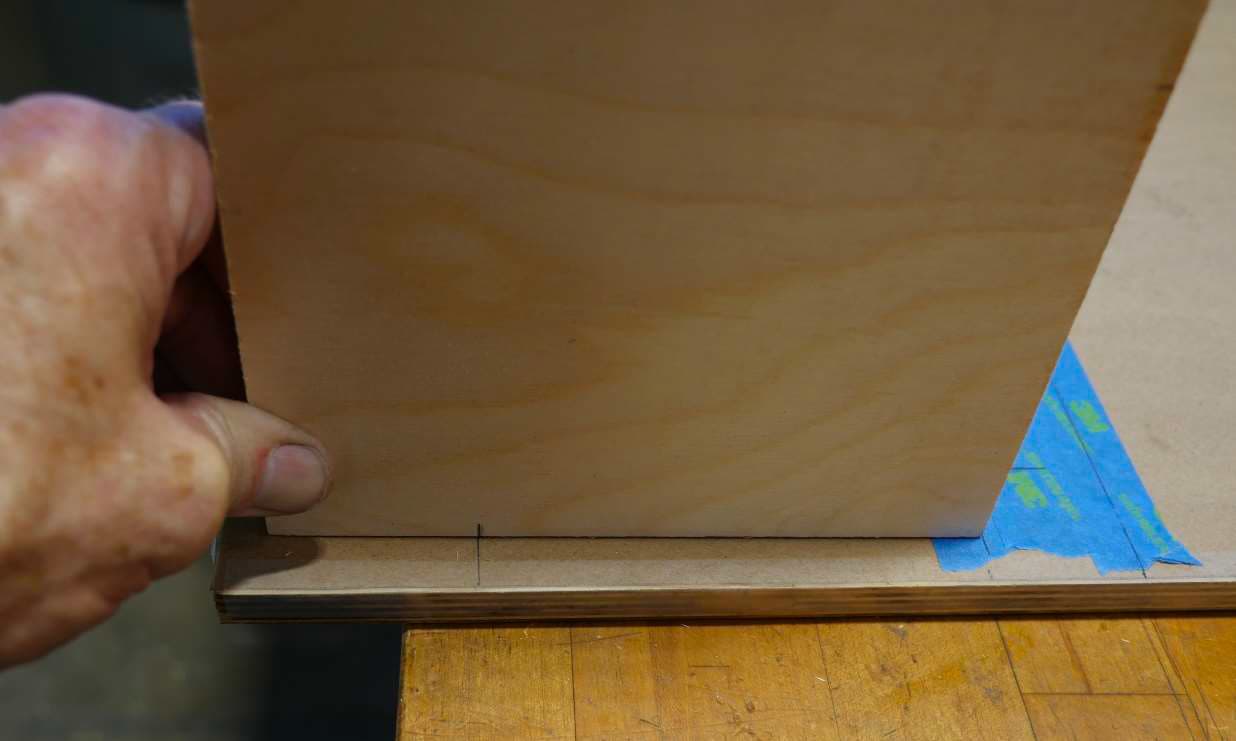
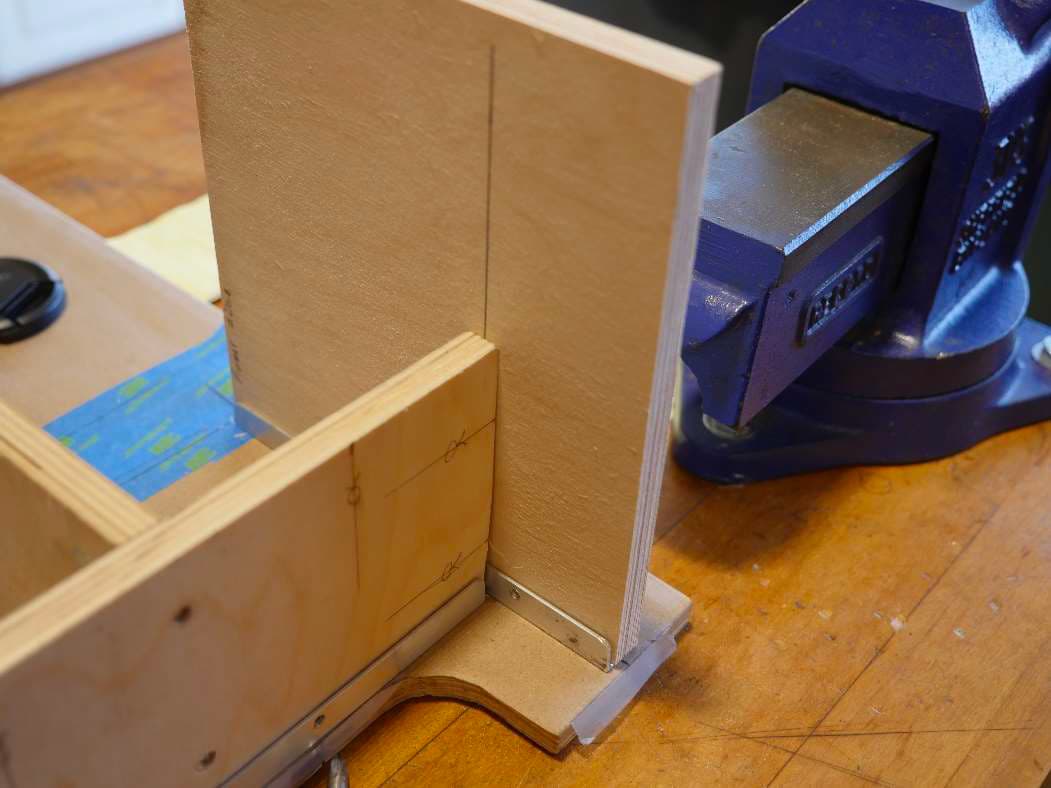
Now take the headboard and set it so it’s resting on the floor in front of it’s C-channel. Line up the front
edge of the headboard with the front edge layout line on the floor.
Mark the rear panel centerline on the base of the head board using the extended layout line.
When we marked up our cabinet back panel, we extended the layout lines from the bottom to the top
of the panel. We need to do the same thing here, but because our mating panel is on the opposite side
of where we marked, we’ll need to transfer the mark we just made to the other side of this panel.
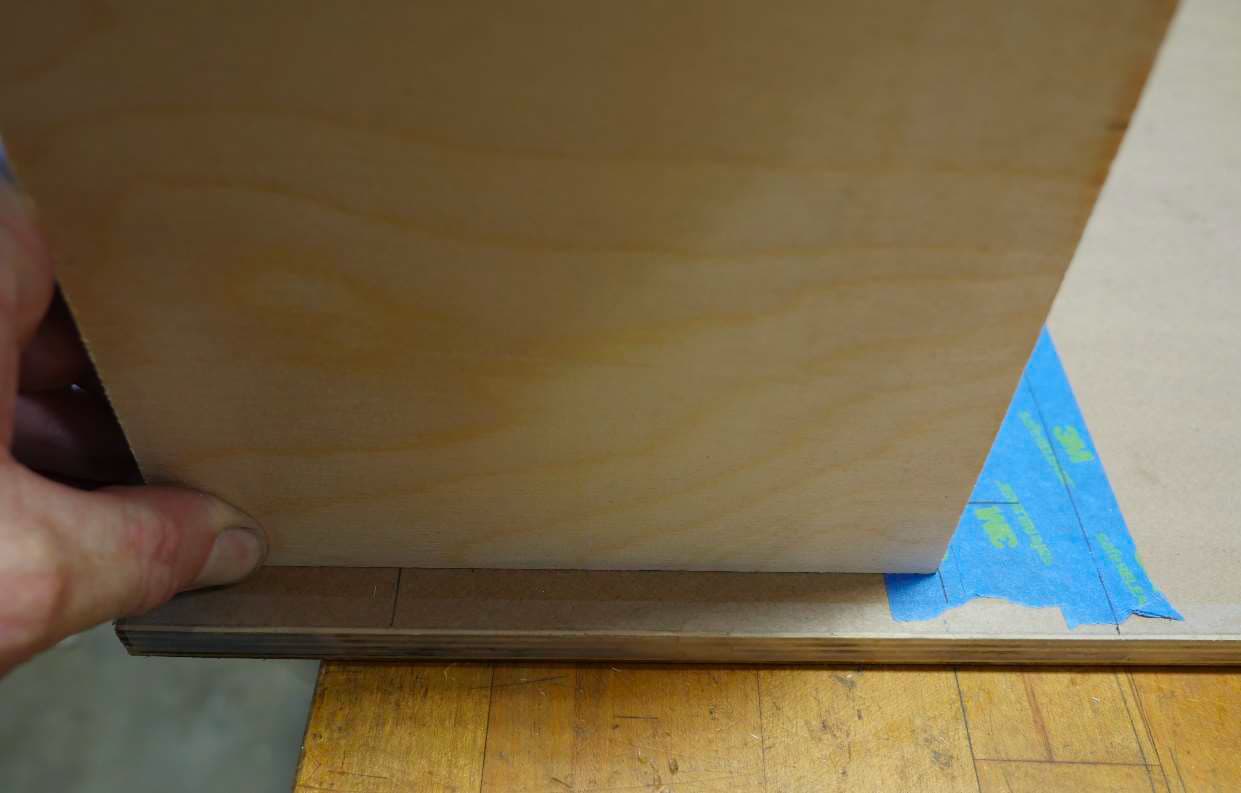
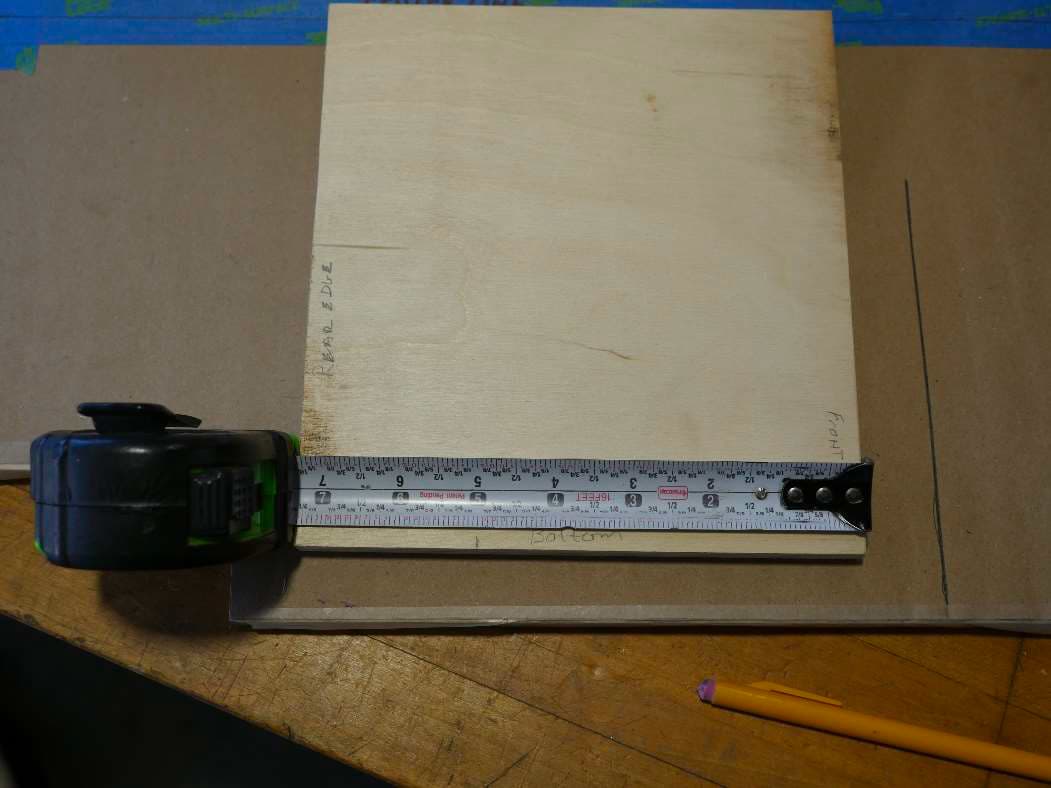
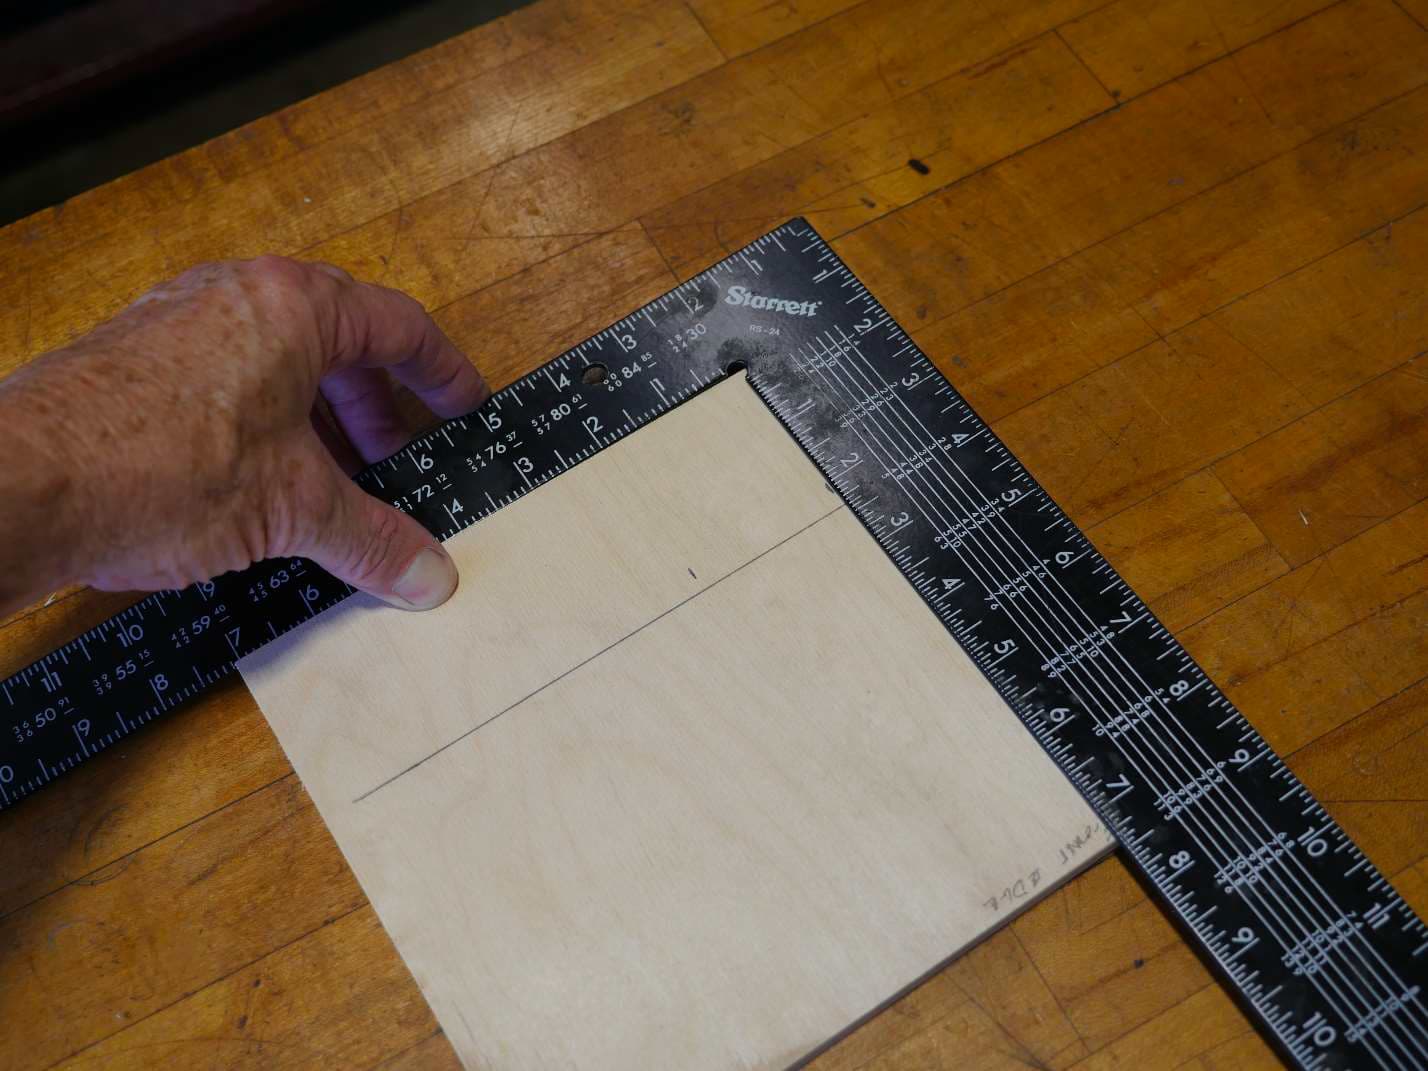
Lay the panel flat and measure from the front edge of the panel to the layout mark. Here it measures 5
inches. We use the front edge of the panel as our reference for measuring because the rear of the panel
may have been contoured to fit the curved walls of the van. The front edge should be perfectly straight.
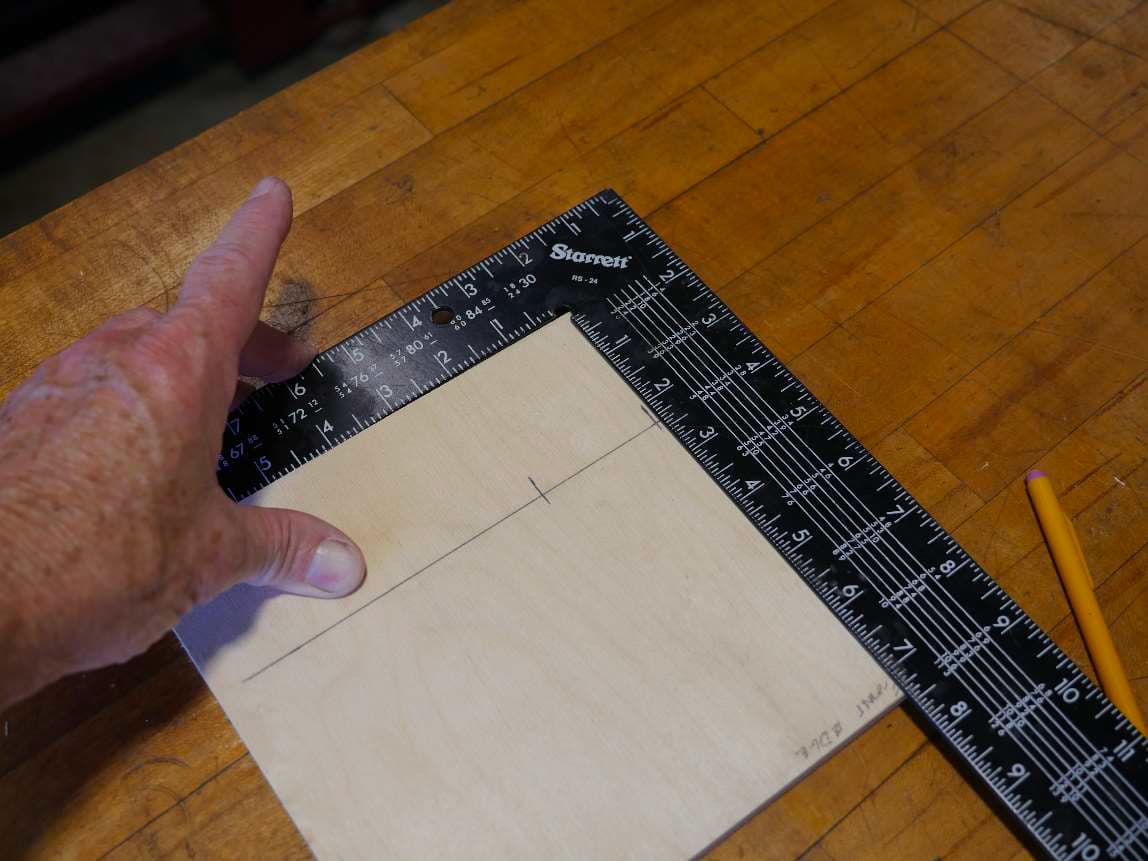
Turn the panel over and measure in 5 inches from the front of the panel (remember you turned the
panel over so the front is now on the left) and make a mark near the bottom. Measure in 5 inches from
the front and make a mark near the top.
Using a straight edge (have I mentioned that your Framing square makes a great straight edge?) draw a
line connecting the two marks.
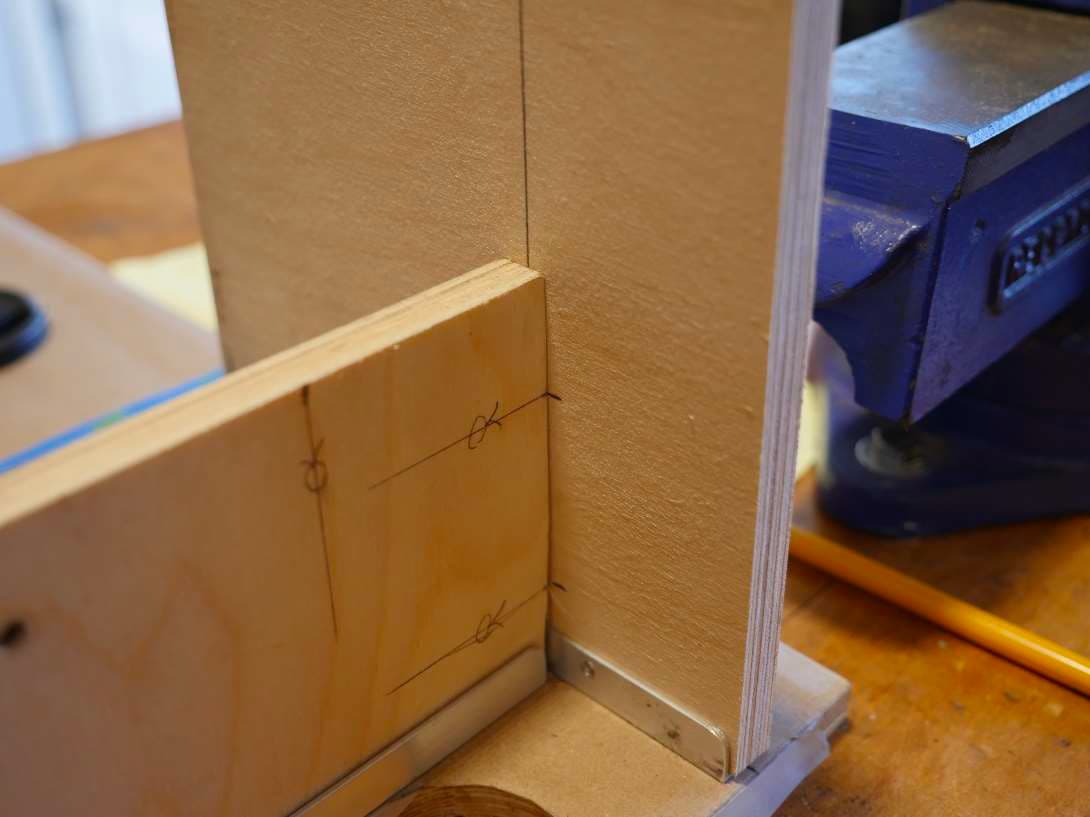
Put the headboard panel back in its proper place and the vertical mark you just drew on the panel
should line up perfectly with the center of the plywood edge of the rear cabinet panel.
From here it would be easy for me to slide the headboard a bit towards the rear to expose the vertical
line so I could mark the cross dowel positions directly on the line. If you have the room, then by all
means do this as it is the easiest. However, my build was tight and I didn’t have enough room to move
the panel so here’s how I laid out the through holes. With the panel in place as shown, mark the
positions of the cross dowel layout lines.
Remove the panel from its C-channel and lay it on a flat surface.
On the model, the distance from the edge of the panel and the vertical layout line is easily covered with
the little combo square. In a real build, the distance would be more like 9 or 10 inches so we need
another method to extend our cross dowel marks across the layout line.
Yes, you could eyeball it and that would probably be plenty close enough but I want you to see how your
Framing Square can be used just like your combo square.
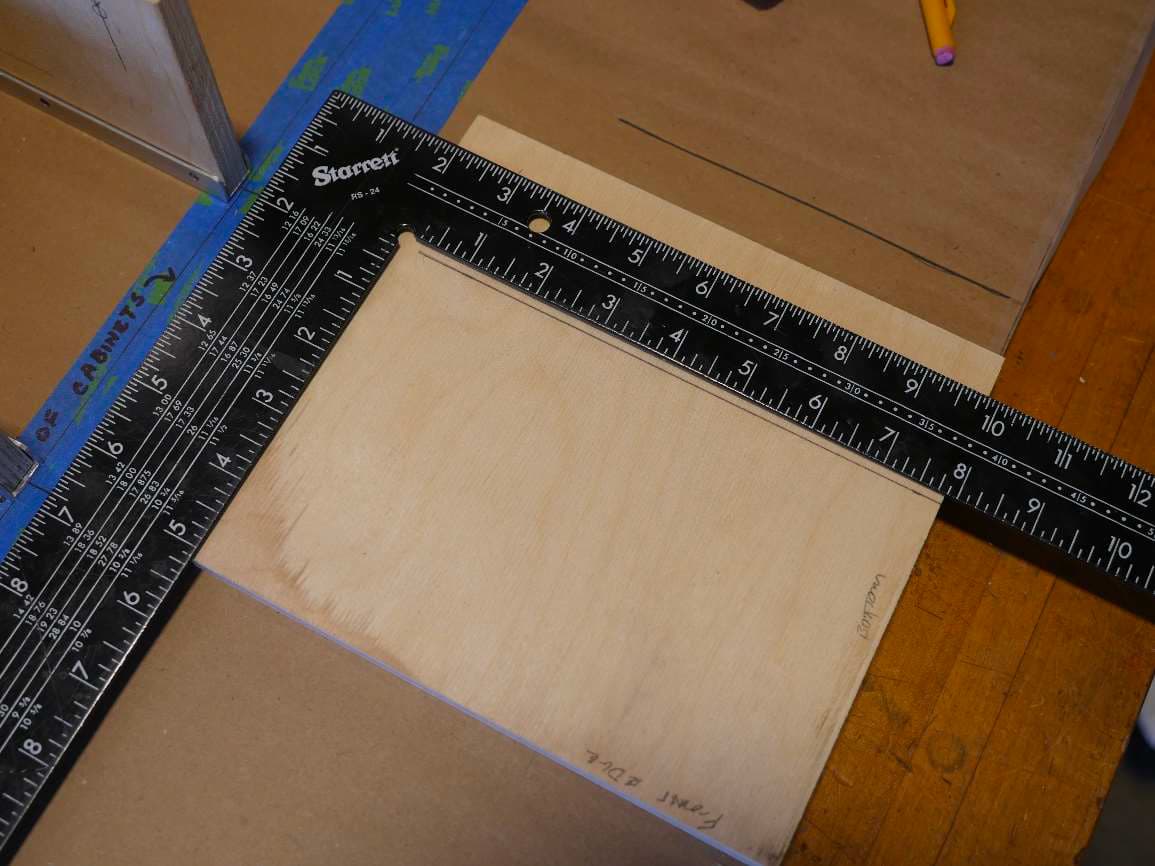
Lay your Framing square against a straight edge of the panel. Either front or back is fine as long as the
edge is straight.
Let the arm of the square drop down slightly so that it is solidly against the edge of the plywood. Move
the square along the edge until it lines up with one of your marks.
Hold it firmly against the edge and extend your cross dowel position mark across the vertical line. Rinse
and repeat until both lines are extended. There are many tips and tricks for using a Framing square and
I encourage you to do a YouTube or Google search. You’ll find this is a very useful tool.
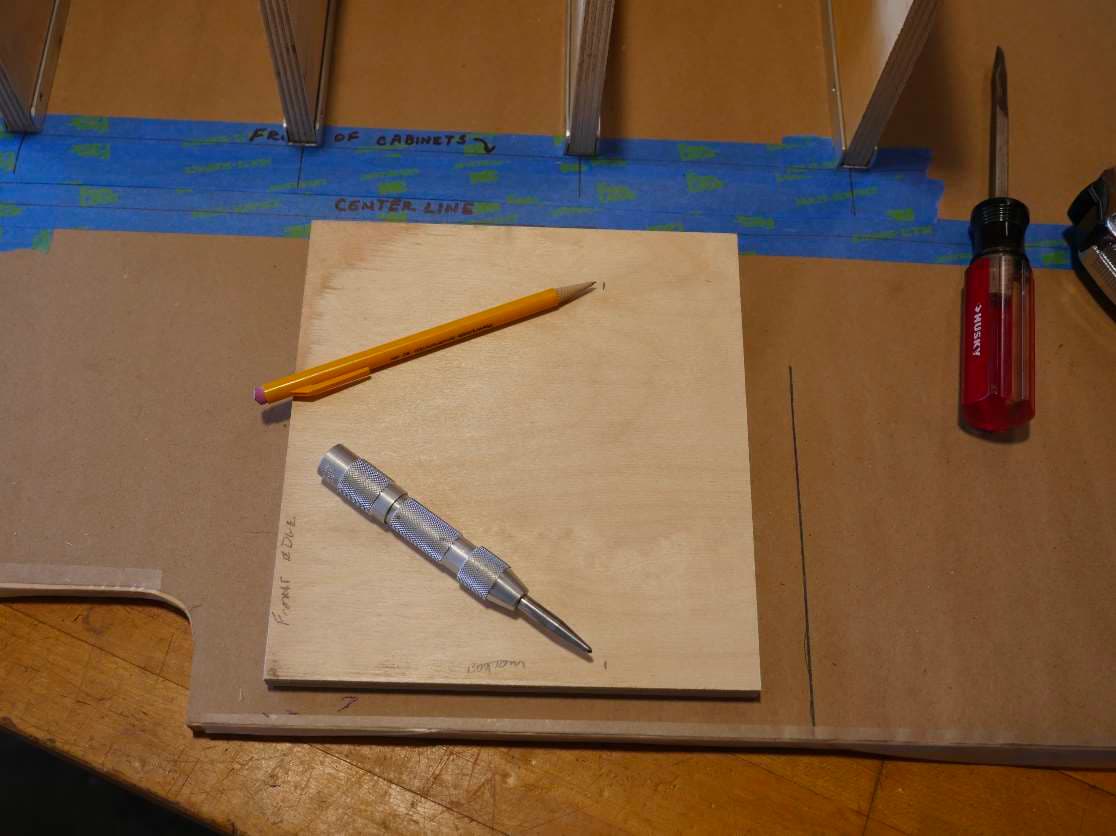
Now using your automatic center punch, make a punch mark where the layout lines cross.

You are now ready to drill all holes, install your cross dowels, and assemble the headboard panel to the
rest of the cabinet.
Repeat the above procedure for the footboard.
Mark the cross dowel positions on the “inside” panel, in this case the rear panel.
Set the footboard in front of it’s C-channel. Make sure the front edge of the panel is lined up exactly
with the front cabinet layout line on the floor.
Mark the rear cabinet panel center line on the base of the footboard using the extended line from the
original layout of the C-channel.
Transfer this mark to both the bottom and top of the opposite side of the panel, measuring from the
front edge of the panel as your reference. (You can use the back edge of the panel if it is not curved.)
Draw a line through these two marks from the top of the panel to the bottom.
Replace the footboard in its C-channel with the front edge properly aligned with the front cabinet layout
line.
Mark the positions of the cross dowels on the vertical line. If you can move the panel enough then mark
directly on the line. If not, then mark as close as you can and then extend the marks across the vertical
line.
Drill, install cross dowels, and assemble.
This completes the end panels.
Notice that I reused existing layout lines as often as possible.
I always choose my cross dowel locations and mark them up first so I can use the cross dowel layout
lines to mark the through hole positions with no additional measuring as possible.
This dramatically reduces the chance of making errors from misreading a tape measure or ruler.
I also didn’t need to use a ruler or tape measure to place the cross dowels. I can put them where they
look right to me. It doesn’t matter if the cross dowel locations are ½ an inch or even an inch different on
the footboard from the headboard. I do measure to get them close so they look about the same, but it’s
not required.
The only actual measuring that we needed to do was when transferring layout marks from one side of a
panel to the other, or extending a layout line beyond the length of our little combo square.
Next we’ll install the cabinet top which will be our bed platform.
More to come…
5. Anchoring cabinet divider panels with cross dowels
7. The Bed Platform