Nate contacted me and asked me to suggest ways to finish exposed plywood edges.
He also wanted to know how to attach cabinet doors since there is no face frame in
cross dowel construction. Here’s my response.
I made my own T-molding which is a lot of work and requires a router table and a lot of
skill and accuracy in cutting the molding and centering the slot in the plywood. I also
rounded the edges of the T-molding to make a nice exposed edge. If you’re not a
seasoned woodworker you’re likely to lose the end of a finger or two down to the first
knuckle, copying what I did - I don’t recommend it and I no longer do this.
Home made T-molding.

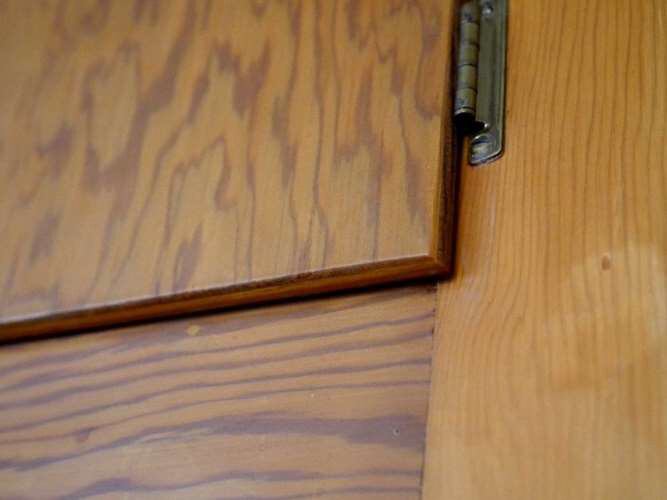
What I recommend on most builds is just round the edges of the plywood with a router
and 1/8" round over bit. Then paint or stain the edge with a contrasting color. Staining
allows the stripes of the plywood to show through and can be rather decorative. The
original closet cabinetry in my 1956 tract house was done this way though it is all
stained and varnish. No attempt was made to hide the plywood edges. They were just
rounded over.
1956 plywood cabinet door edge.
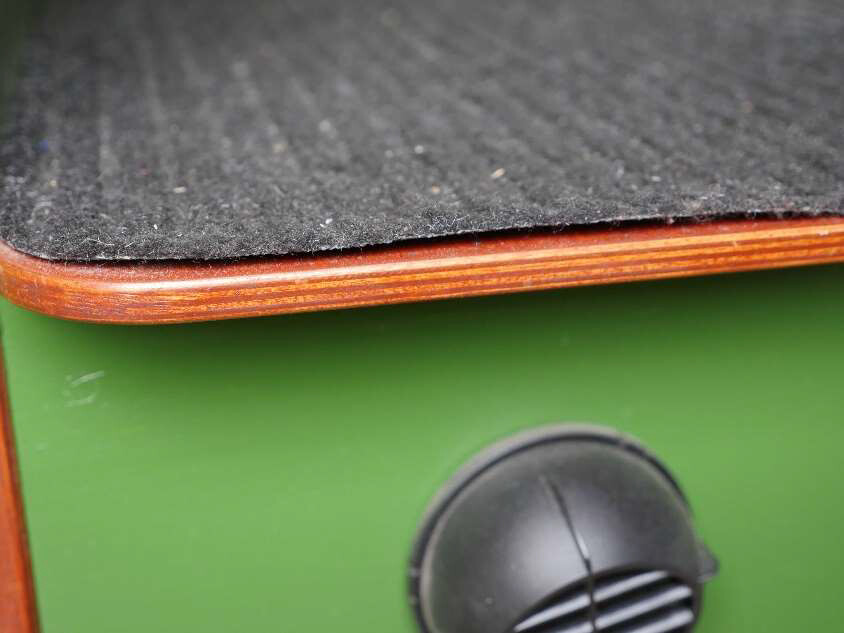
Rounded plywood edge in my van.
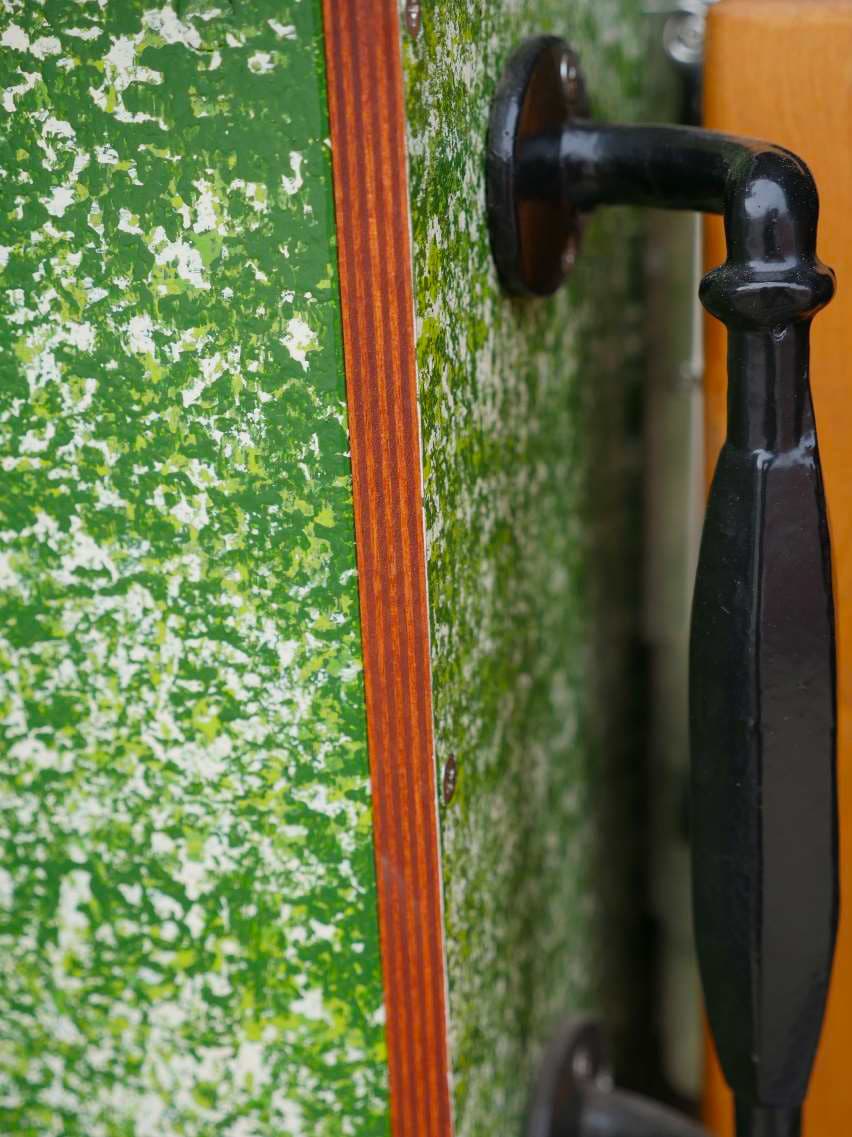
Sharp corner joint plywood edge in my van.
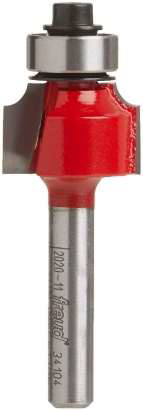
This is the 1/8 inch router bit that I use for rounding the edges of almost everything,
though I’ll use a 3/16" radius round over bit on 3/4" or larger items. 3/16 bit is a Freud
34-108. The 1/8 is my go-to for most things though.
Freud 1/8" Radius Rounding Over Bit with 1/4" Shank (34-104)
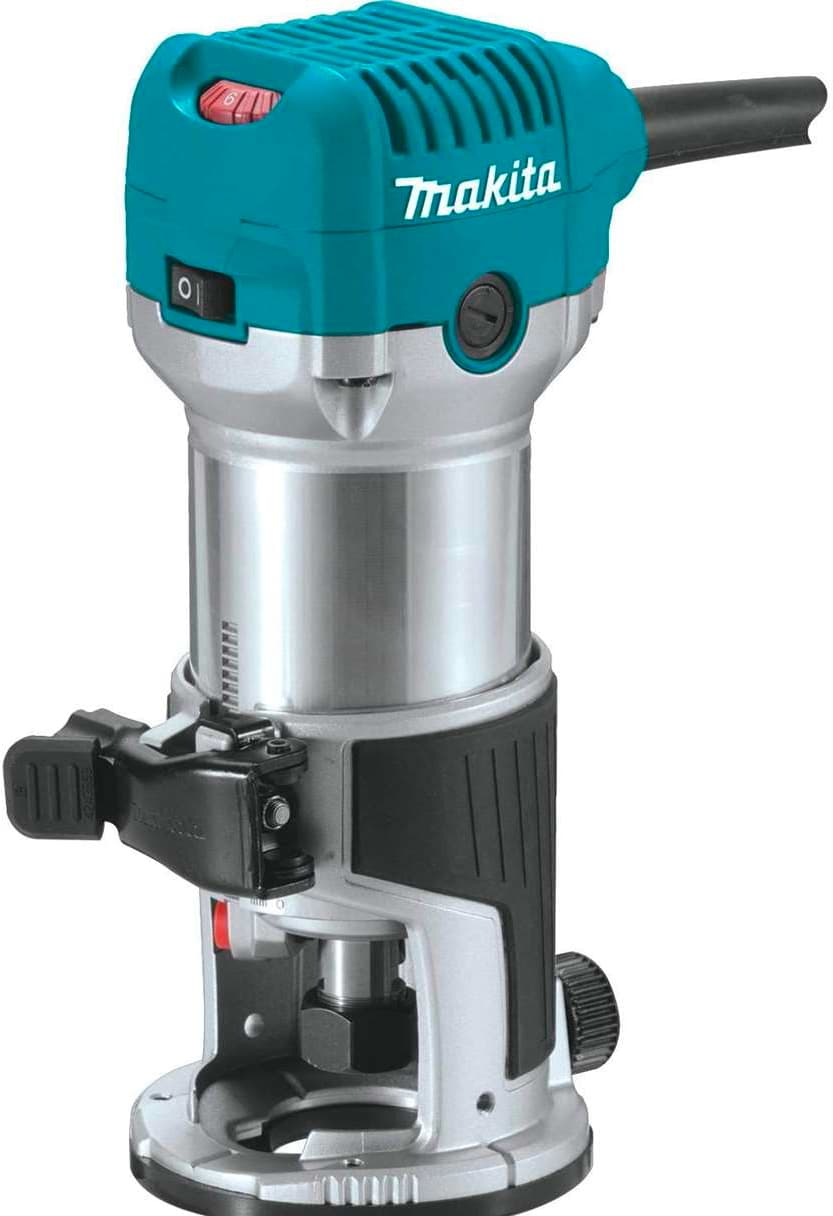
If you’re building out a vehicle might I suggest that you consider getting a decent small
router. You’ll find it useful for cutting slots for splines, removing sharp edges, making
trim pieces and a host of other cool things. My favorite is the cordless DeWalt
DCW600B at $170 which is a bit pricey but super nice. The Makita corded RT0701C
will do just as well for $99 and no batteries to purchase. I think you can get a Ryobi at
Home Depot for around $70. You’ll find investing in a small router is money well spent.
Makita corded RT0701C
There are other edge banding options but each has its own problems which is why I like
just rounding over the plywood edges.
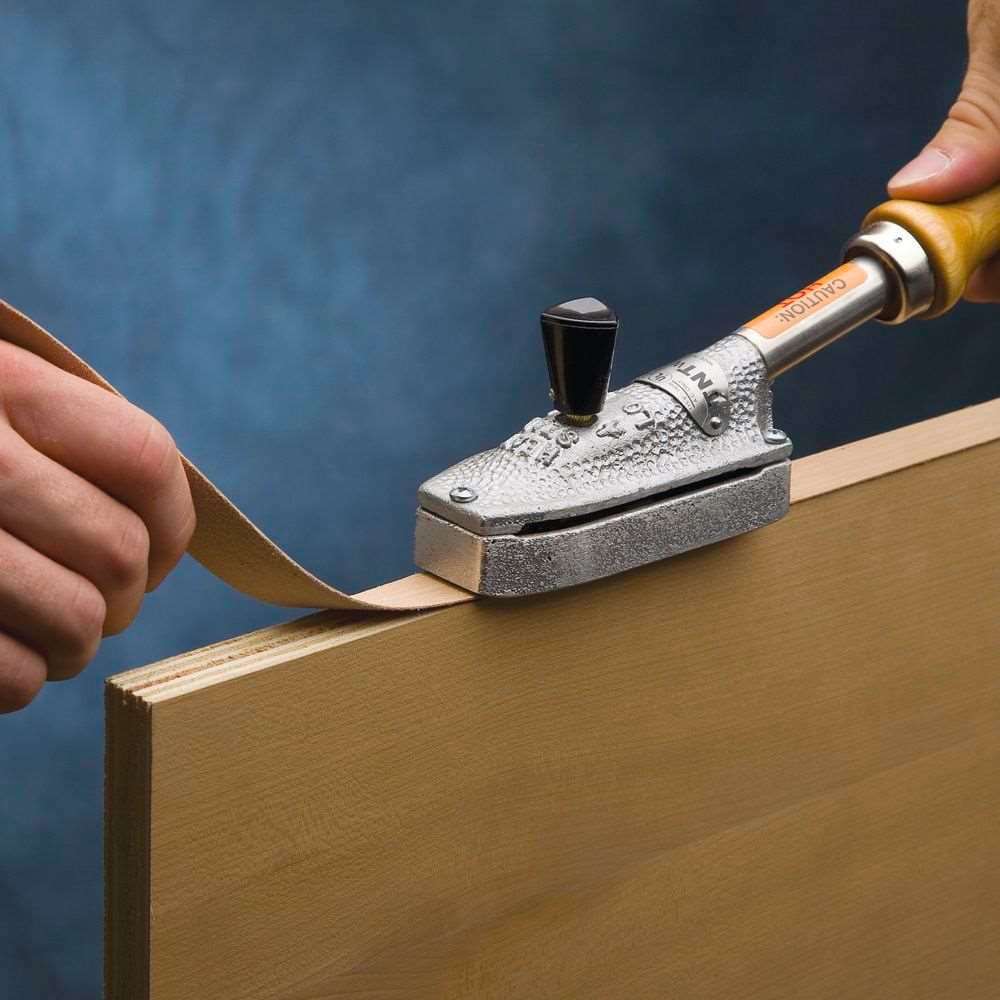
There is heat activated glue-on edge banding. My experience is that this stuff will fall off
over time. It only allows sharp edges and I prefer a rounded edge for most things. It
works but is not ideal for the rough and tumble environment of a camper van. You iron
it on with an old fashioned clothes iron, (you don’t need the fancy iron shown in the
photo) and then trim the overlap with a sharp utility knife.
Hot-Melt Edge Bandings – 25’ Rolls
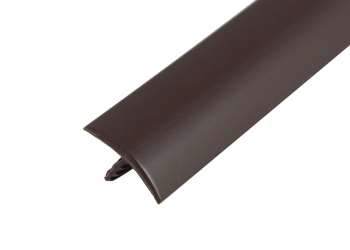
Then there’s vinyl T-molding. This is the stuff used in many commercial builds. It’s
used as cabinet door edging, edging around open spaces, banding around table
tops. You’ll need a router to cut an appropriate slot and then you can push and glue the
banding into place. No sharp edges and the “T” will help keep it from being knocked or
pulled off. You can get it in 1/2", 3/4", 1" etc.
1/2" T-Molding (0.50in or 12.7mm)
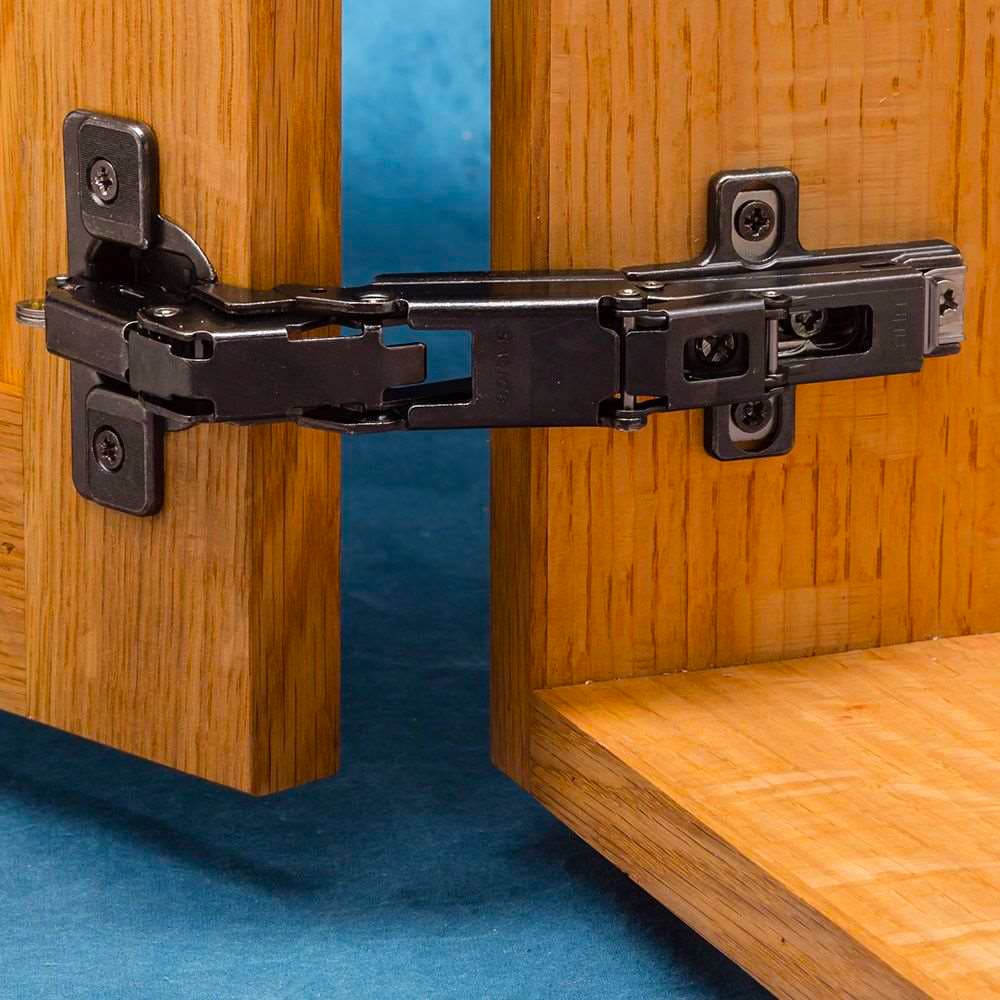
Finally, you asked about hinges. For mounting doors to a frameless cabinet you’ll need
to use European style frameless hinges. They mount flat to the side of the
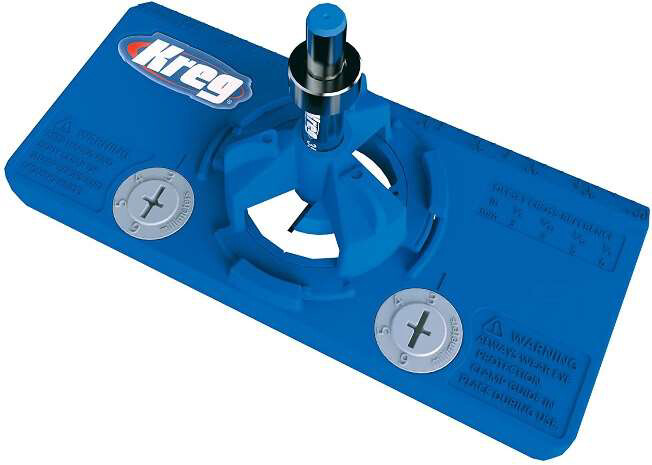
cabinet. They do require a jig for drilling a 35mm cup-hole in the cabinet door, and
doors will need to be 3/4" thick to hide the cup. They come in soft-close versions which
are super cool for van use. These are Rockler but similar are available just about
anywhere.
Salice 165° Cabinet Hinges, Frameless, Titanium Finish, Full Overlay
Jig for cutting 35mm hinge cup in the cabinet door.
Kreg KHI-HINGE Concealed Hinge Jig
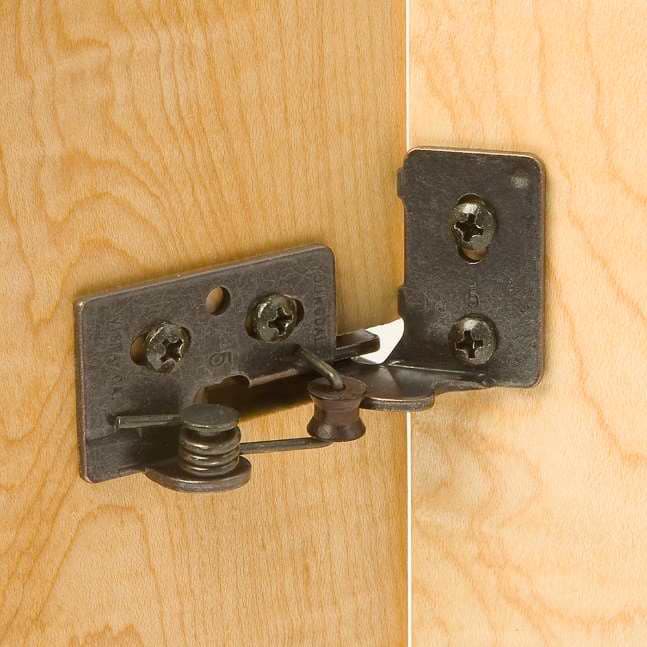
There is a cheaper hinge that will work on 1/2 inch doors as it doesn’t require the cup
hole. Again, these are from Rockler.
Snap-Closing Semi-Concealed Hinges
My bottom opening cabinet is for the toilet and for it the door is removable. I made the
hinges for this as nothing like it is available commercially as far as I know.
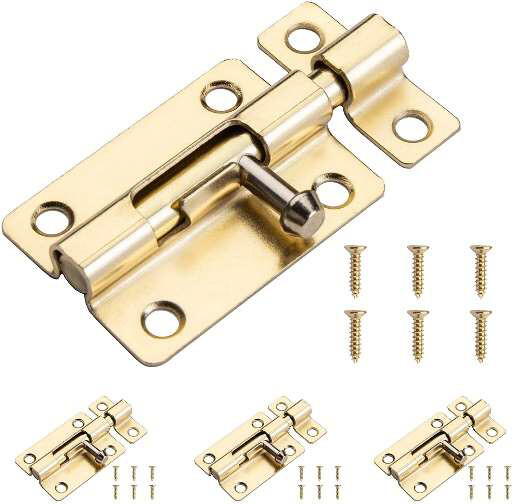
I have used regular slide bolts as bottom hinges. Just mount one to each side of the
inside of the door panel as close to the bottom as possible, drill matching holes in the
sides of the cabinet. I use a magnetic catch at the top. Using slide bolts will allow you
to tilt the door, but also easily remove it to access large items when necessary. (You
don’t use the end capture bracket as the bolt will slide into holes you drill in the sides of
the cabinet.)
Door Security Slide Latch Lock Thickened Stainless Steel Barrel Bolt, Heavy Duty
Sliding Latch Lock for Door Gate Window, Set of 4
Lex