Note: We followed The Lex Tutorial for our van build. For details on tools and materials, visit Matt’s personal site.
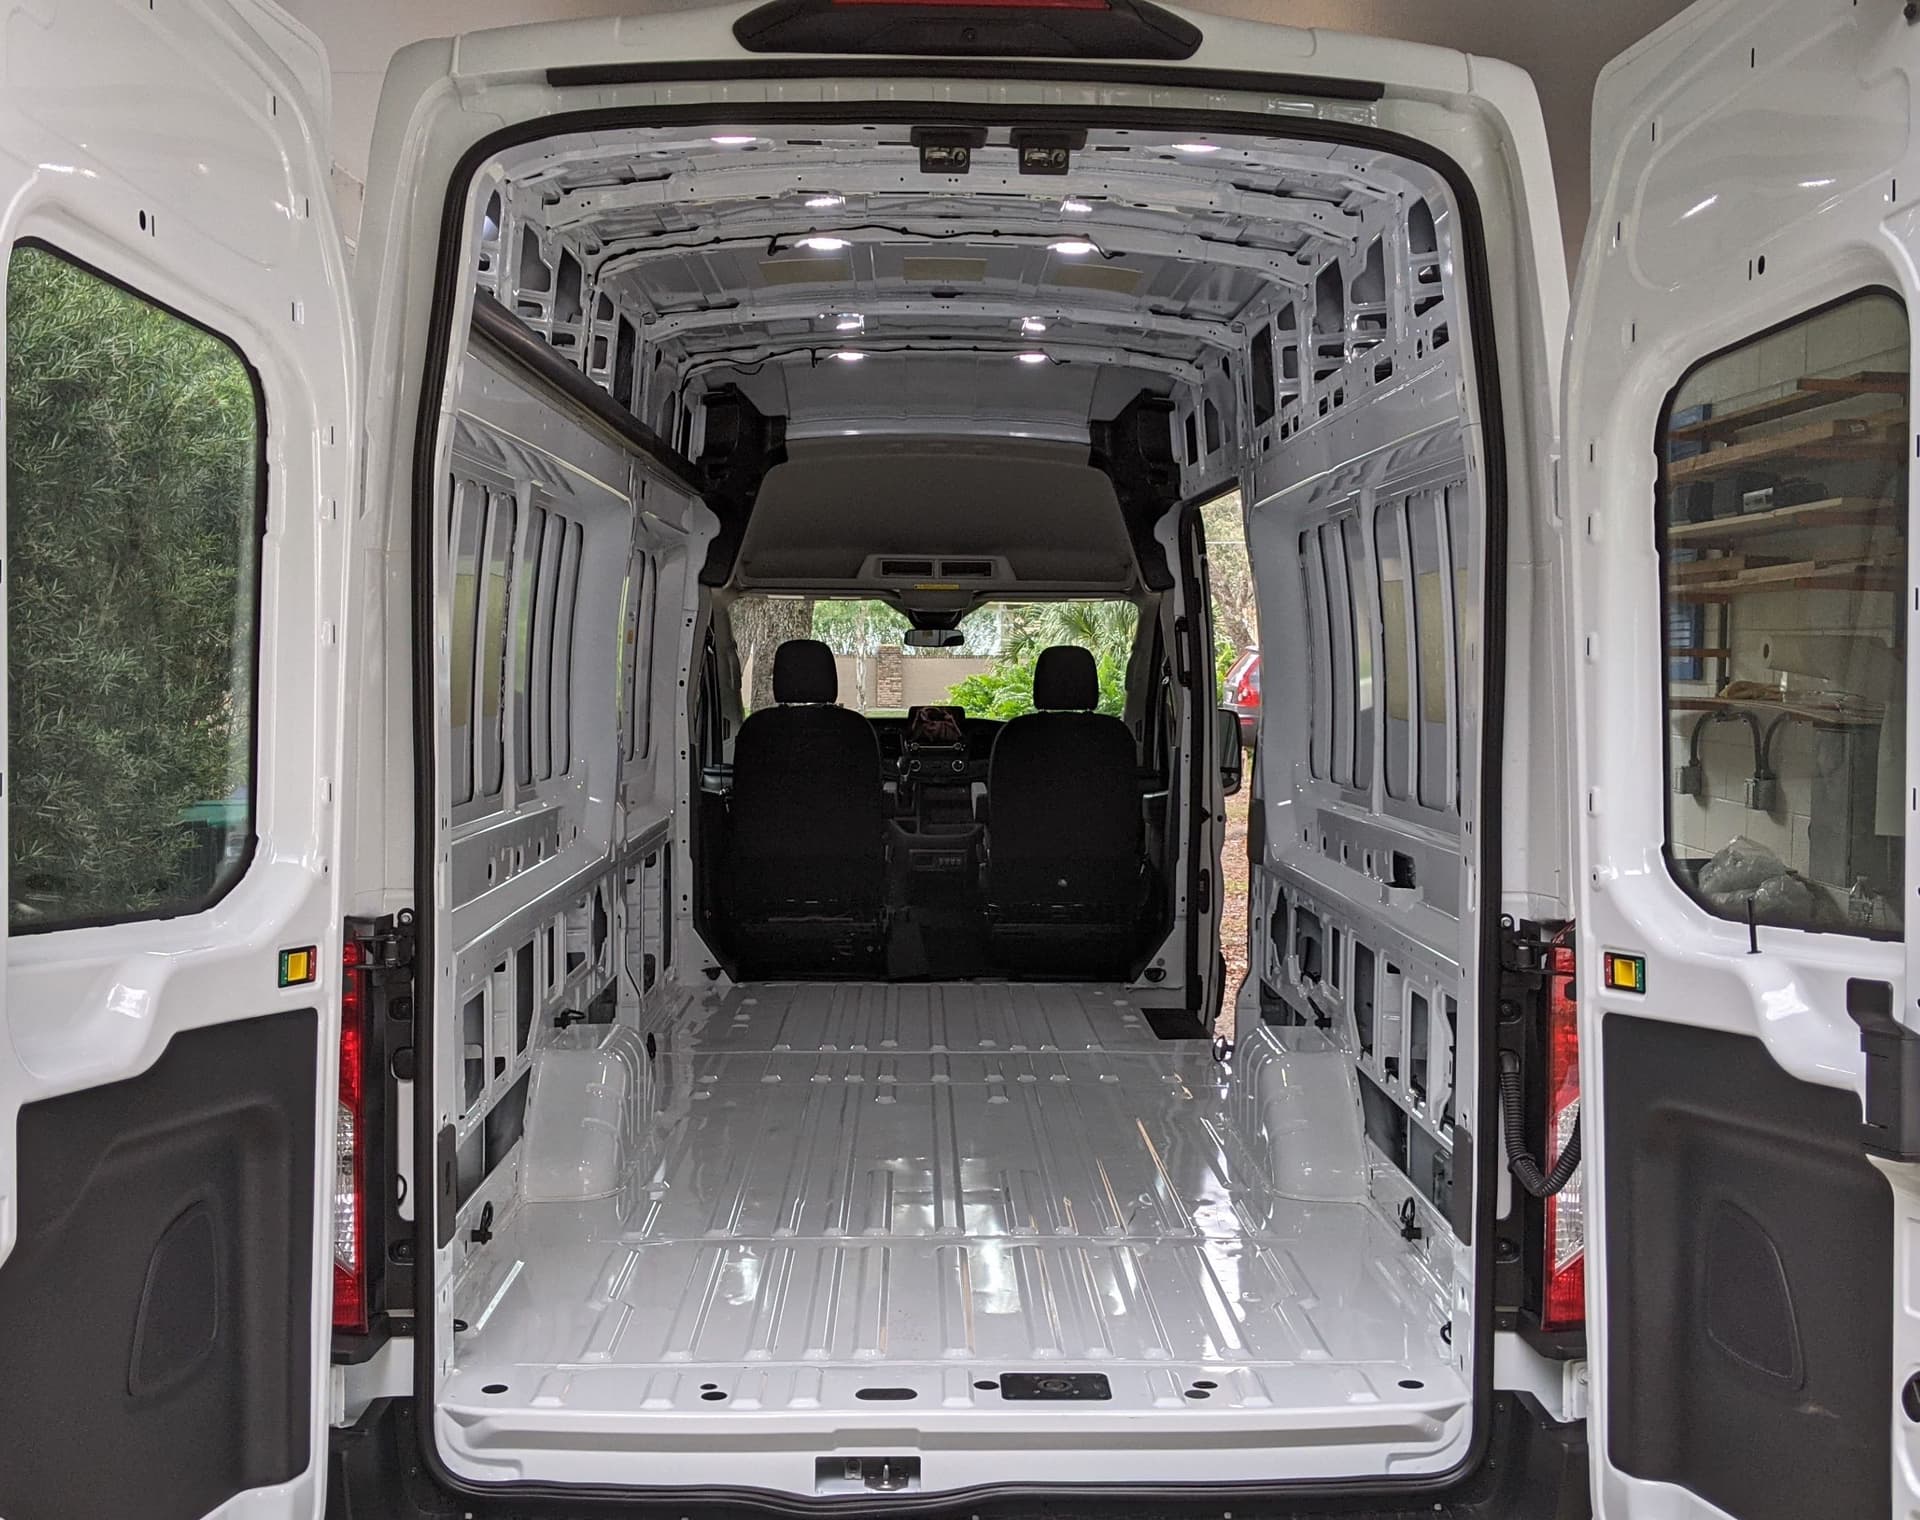
This is great. You have an empty slate to build your RV. You can’t wait to lay out your new space, but hold on, let’s get the foundation in place.
Let’s make a multi-layer foundation that will provide good insulation, inhibit moisture, avoid putting holes in your floor, is removable and serveable, and is stable and won’t move around.
See also: Moisture Control - Problem Solving
Ultimately, our floor will consist of four layers. This article discusses the installation of the first three layers, which form the base of the entire RV floor. All cabinets and appliances will be mounted on this foundation. The installation of the Perfection Floor Tile, a finishing task, will be discussed in a separate article.
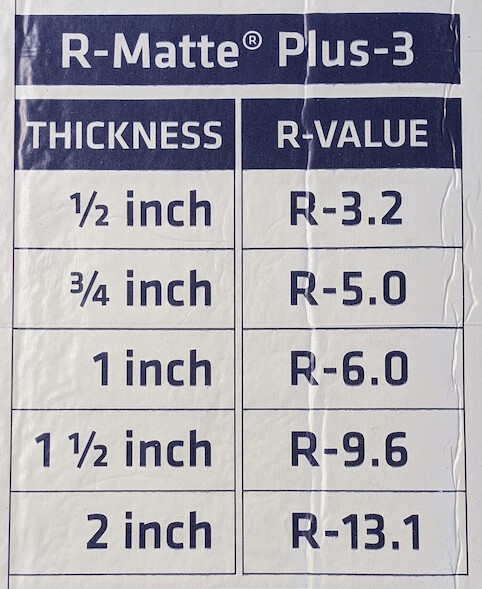
| # | Material | Thickness | R-Value |
|---|---|---|---|
| 4 | Perfection Floor Tile 5 mm | 3/16" | 0.5 |
| 3 | Baltic Birch | 1/2" | 1.0 |
| 2 | R-Matte insulation | 3/4" | 5.0 |
| 1 | Thermopoly vapor barrior | 1/8" | 0.5 |
| Total | 1 9/16" | 7.0 |
Try to stagger the layers such that consecutive layers don’t share joints between materials. This will reduce airflow through your floor, and prevent shifting.
When you get done, you might review your ideas on the layout of your new space, and, …go camping, we did!
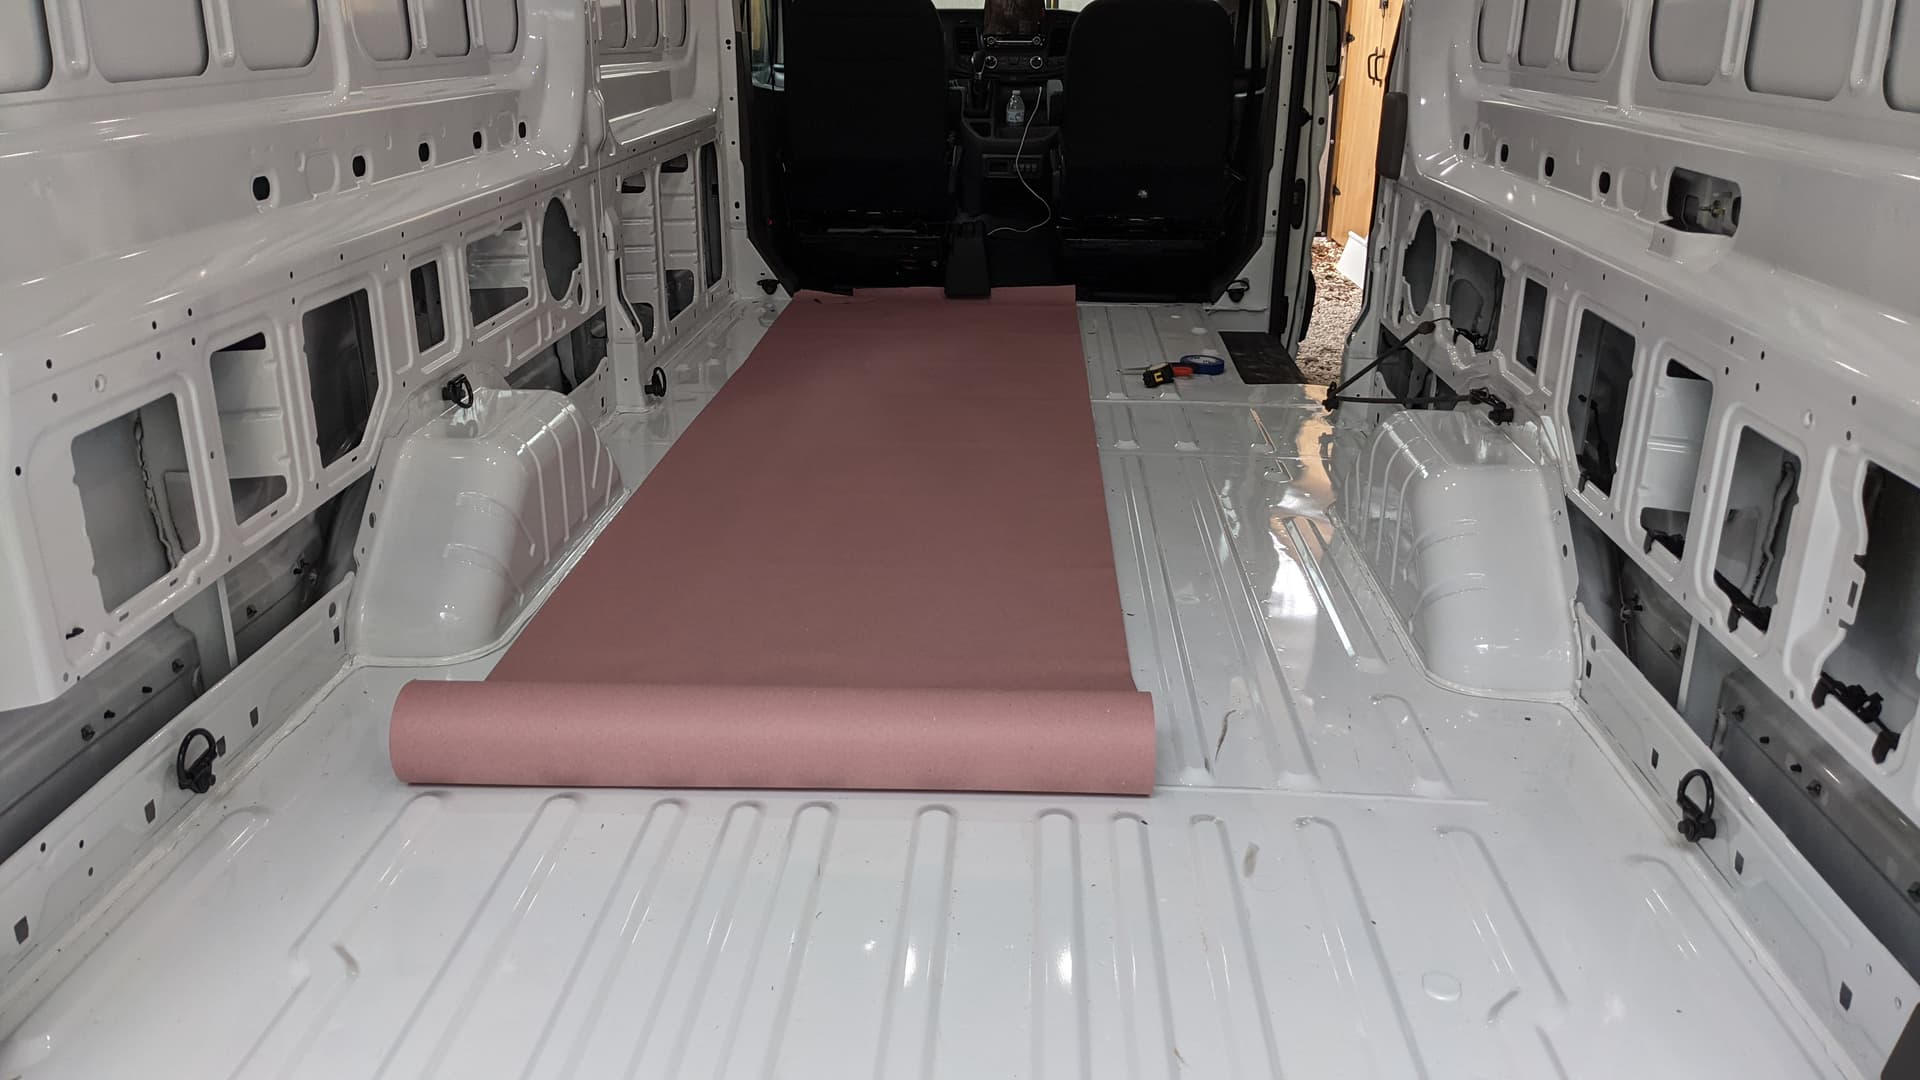
Paper Template
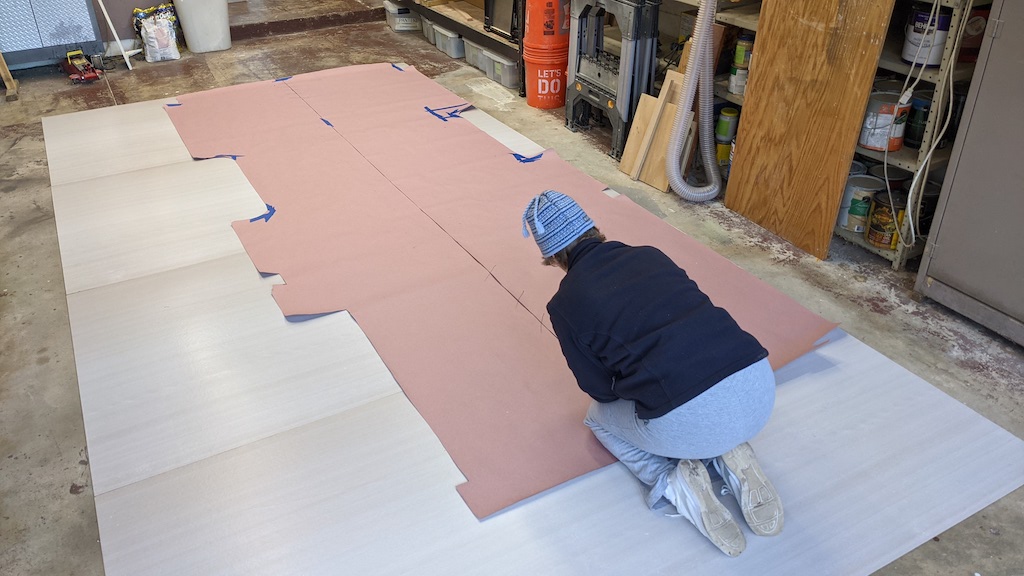
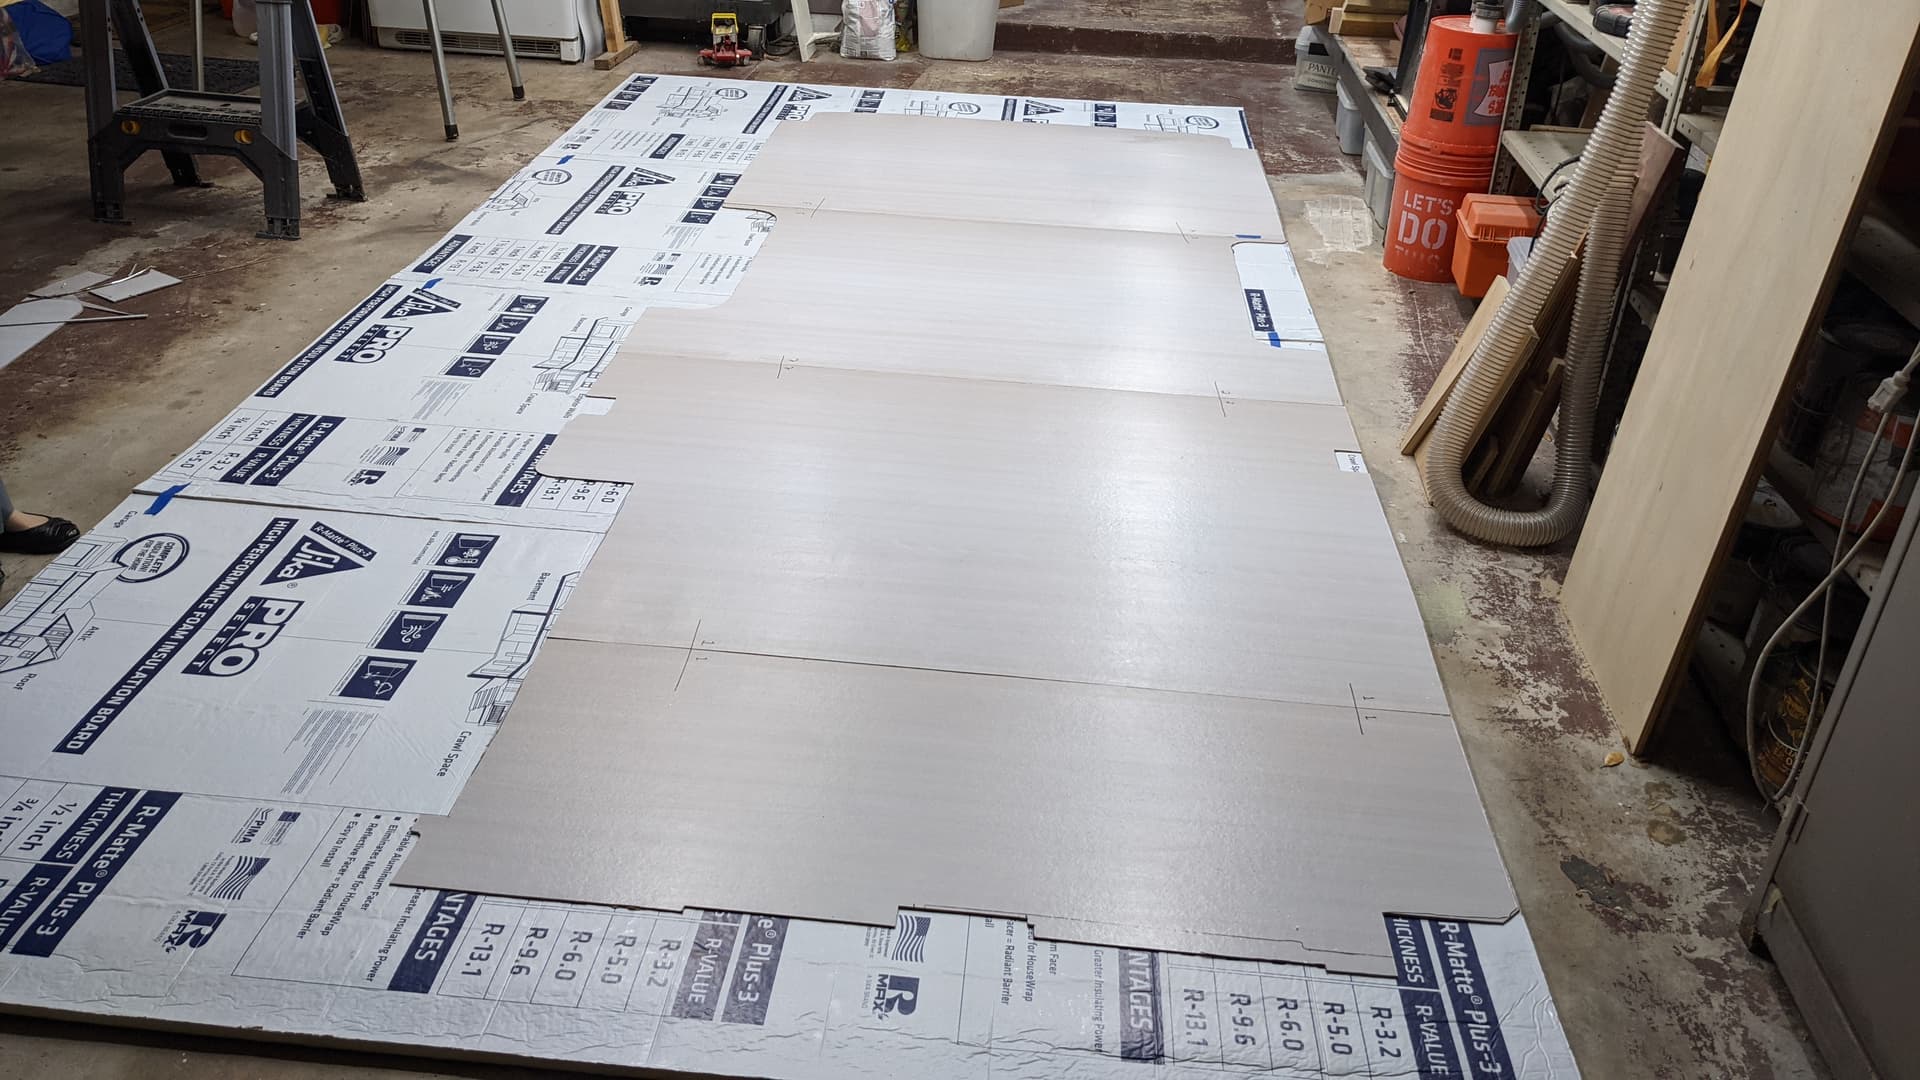
The first step is to make or acquire a template of your RV floor. In some cases, you may be able to buy a factory floor or perhaps a 3rd party laser-cut floor, but for the rest of us, we need to make it ourselves.
Head on over to the big box store and buy the large roll of rosin paper. It won’t cost much but will last you a lifetime and will be well worth it. You will likely need several rows of it to cover the entire floor. Tape each layer together with masking tape of some type and make it as accurate as possible, all of the floor layers depend on this.
Given a template, you can now measure what you need for the three layers:
- Vapor Barrier Layer
- Insulation Layer
- Plywood Floor Layer
Vapor Barrier Layer
Although thin, the Vapor barrier performs an important function. Moisture can be one of your biggest enemies in the ownership of your RV. Poor moisture control can lead to mildew, and it can just plain stink. The trick is to provide at least some ventilation throughout all parts of the RV and use a vapor barrier to reduce or even stop the transmission of moisture.
The function of a vapor barrier is to retard the migration of water vapor. Air is mixed with water vapor. When air moves from location to location due to an air pressure difference, the vapor moves with it.
Insulation Layer
Inside a steel building, water vapor will condense whenever it comes into contact with a surface that is below the dew point temperature. Visible condensation on windowpanes and purlins that results in dripping can be somewhat mitigated with ventilation; however insulation is the preferred method of condensation prevention. - Wikipedia
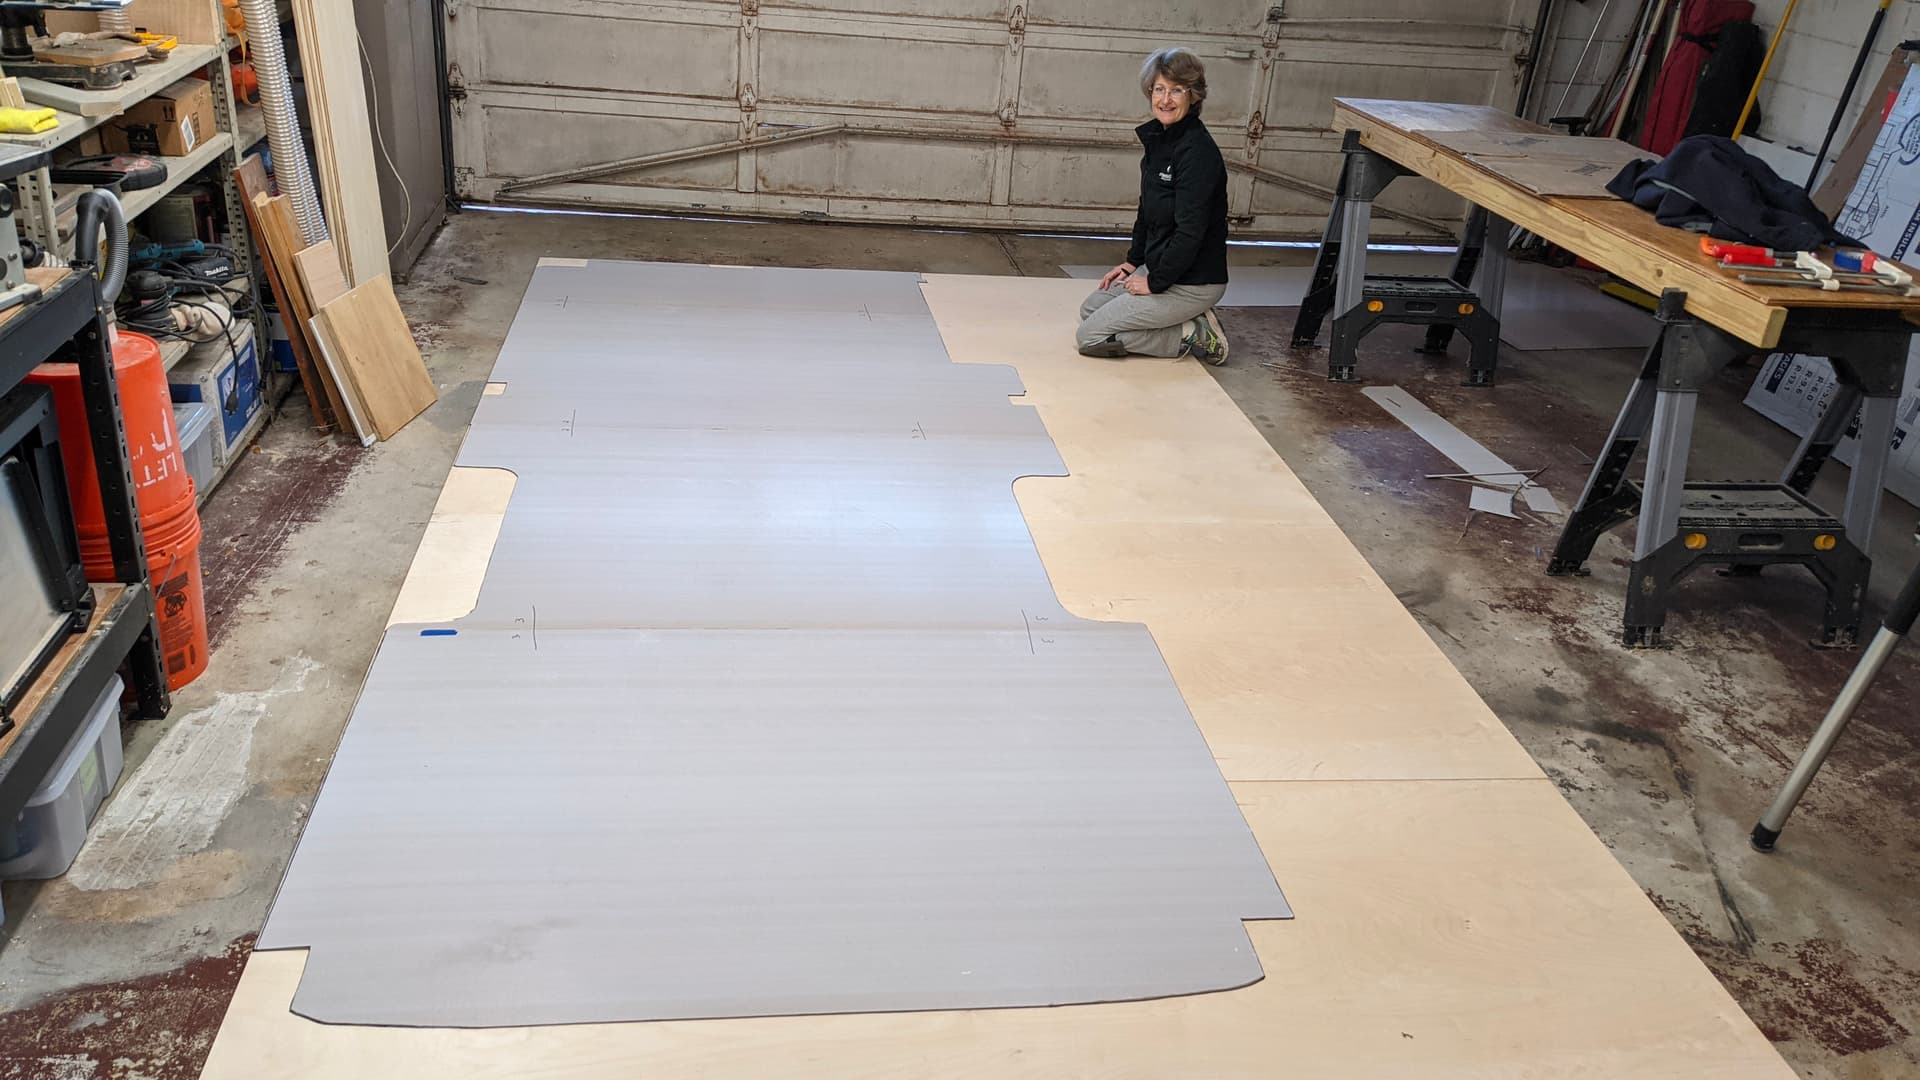
1/2" Baltic Birch layer
Your plywood sheets are typically 4x8 feet and you will likely have room to move the template around to accommodate RV features such as a high traffic door or floor hole passthrough. We avoided placing a seem in the center of the sliding door.
Now it is time to get out a pencil and trace the outline of the floor onto the plywood.
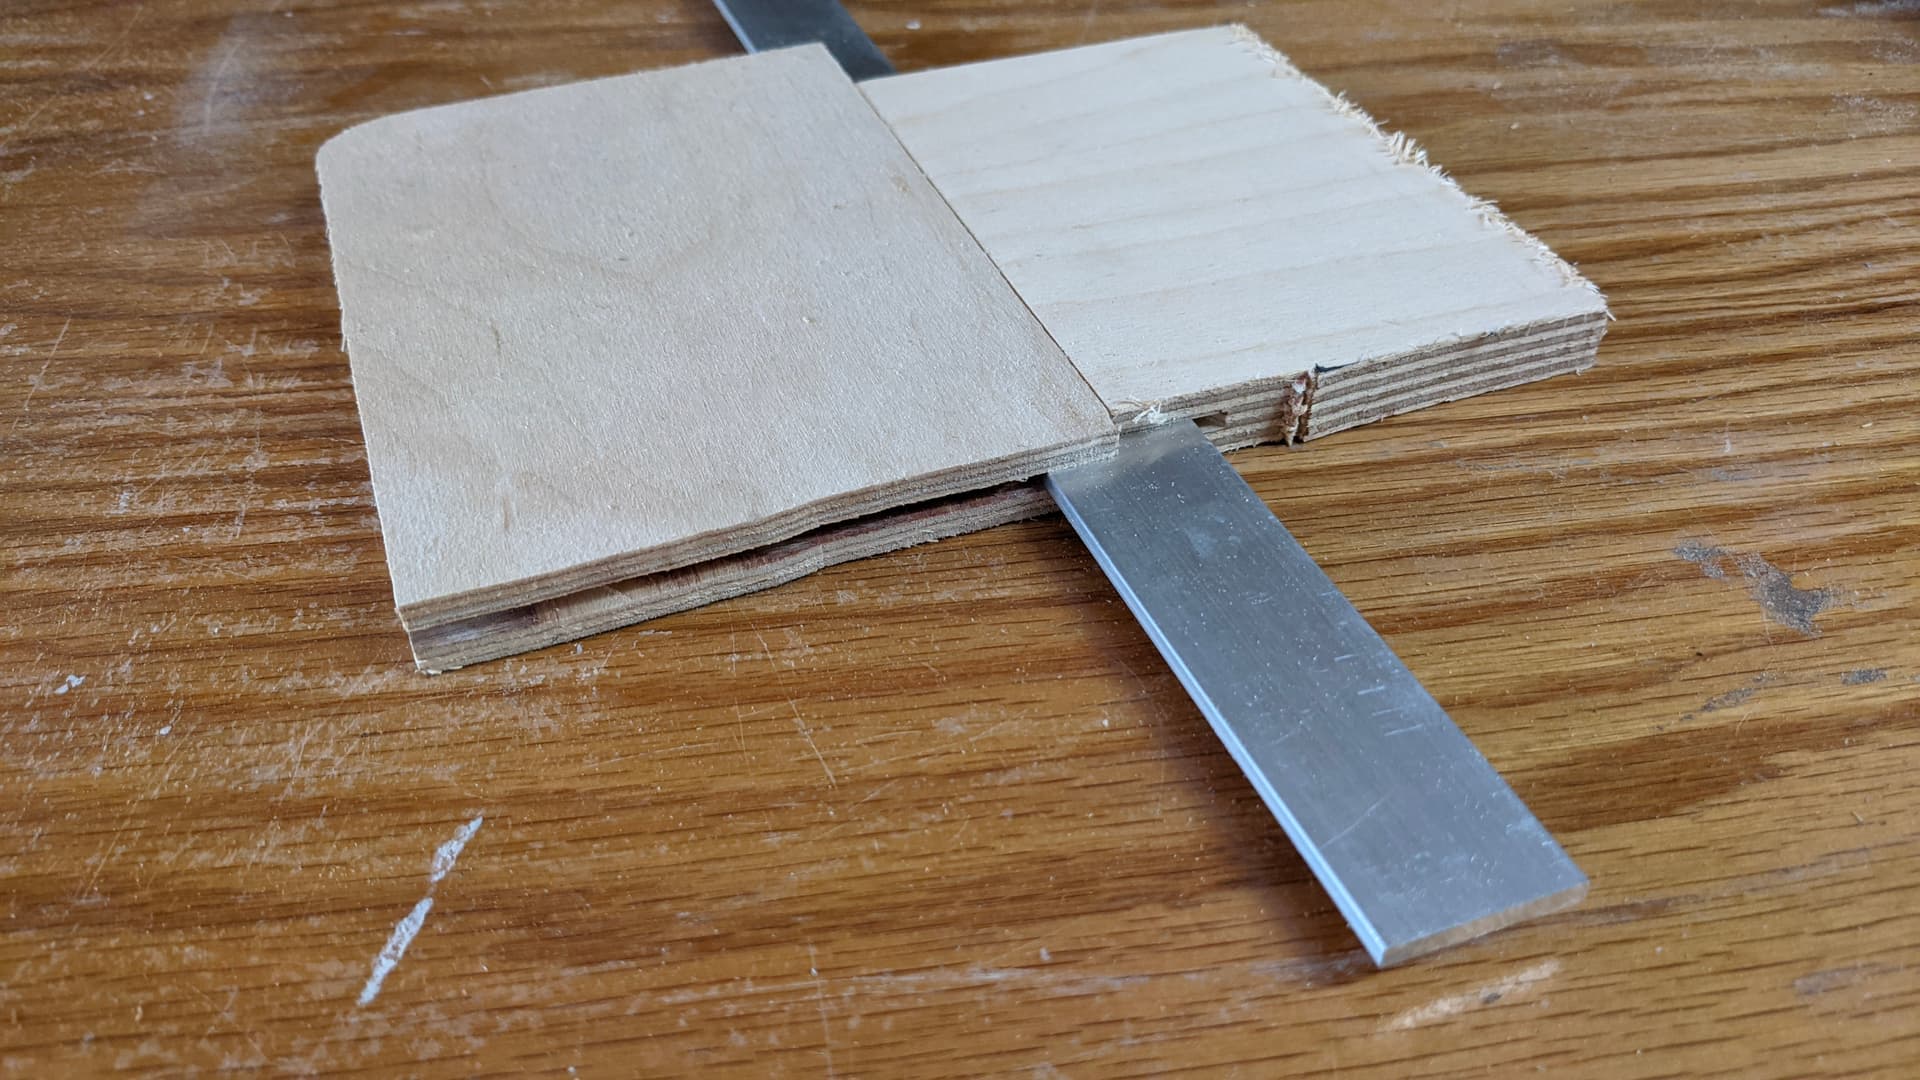
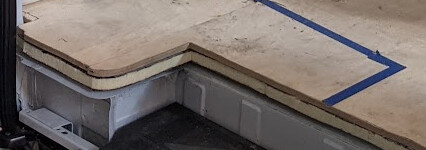
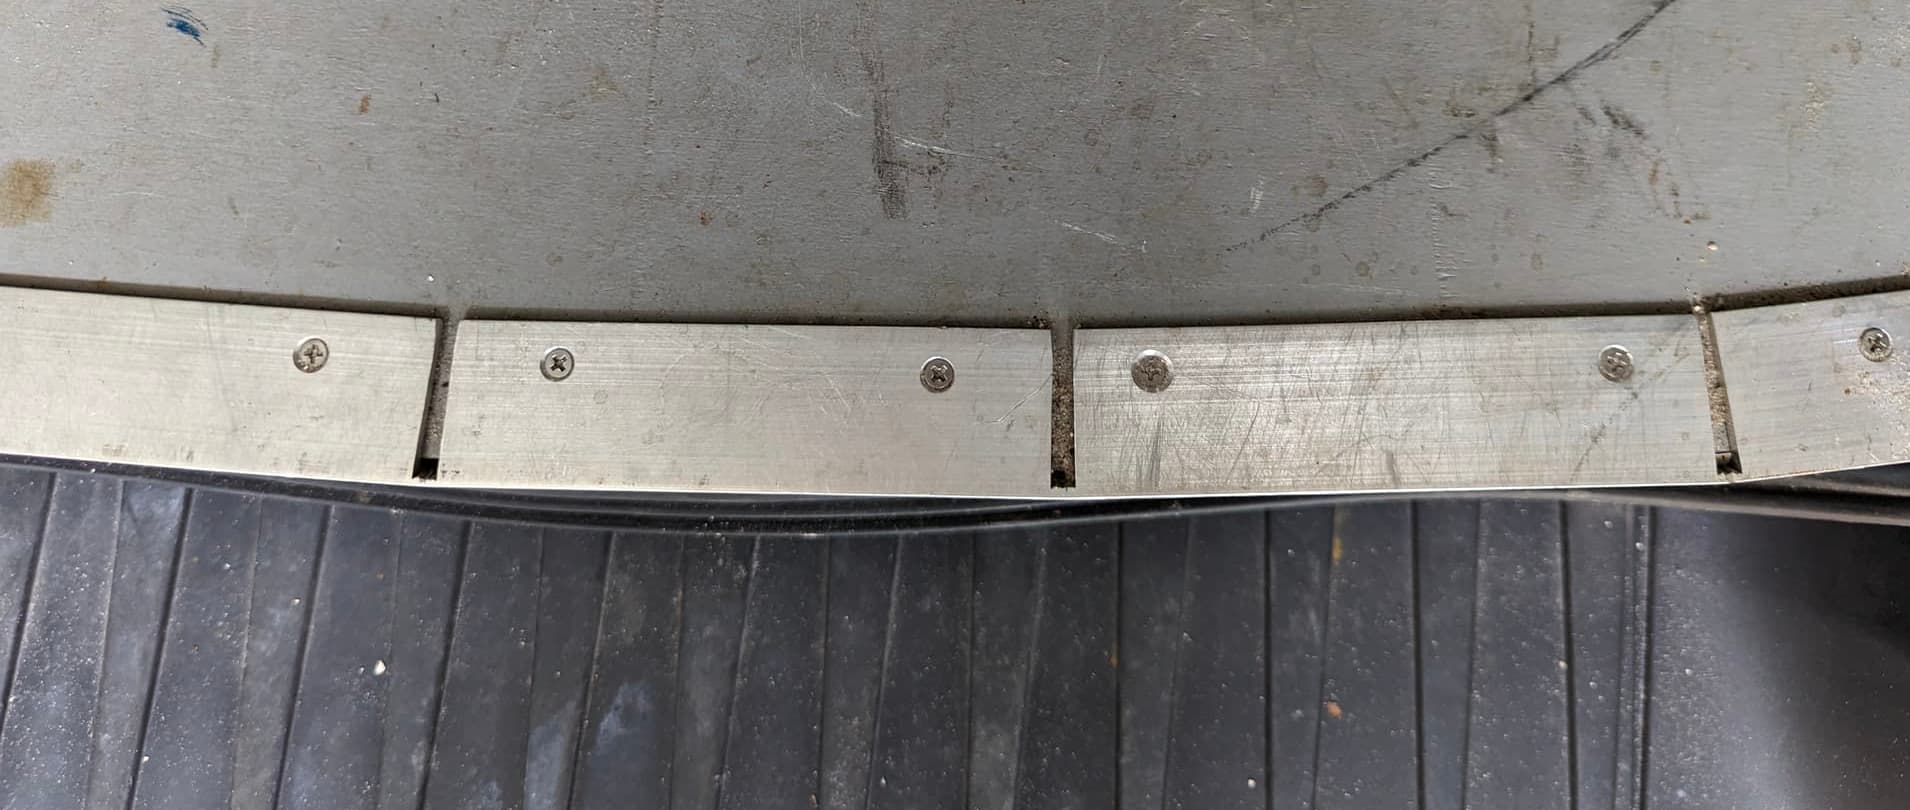
Joining Sections Of Your Floor With Flat Bar
You will need a special bit for your router to perform this task. You need to get the depth of the bit just right to cut dead center on the edge of the plywood. The flat bar, 1" wide by 1/8" thick, will fit nicely between sections of plywood. It may take a rubber mallet to encourage the proper fit.
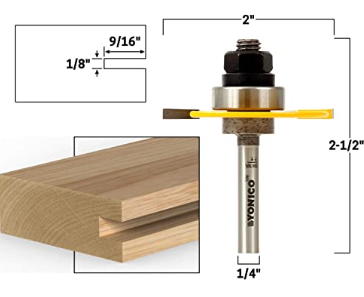
Here is a prototype made from a couple of scraps that show how two sections of plywood flooring are stabilized with a 1/8" aluminum flat bar.
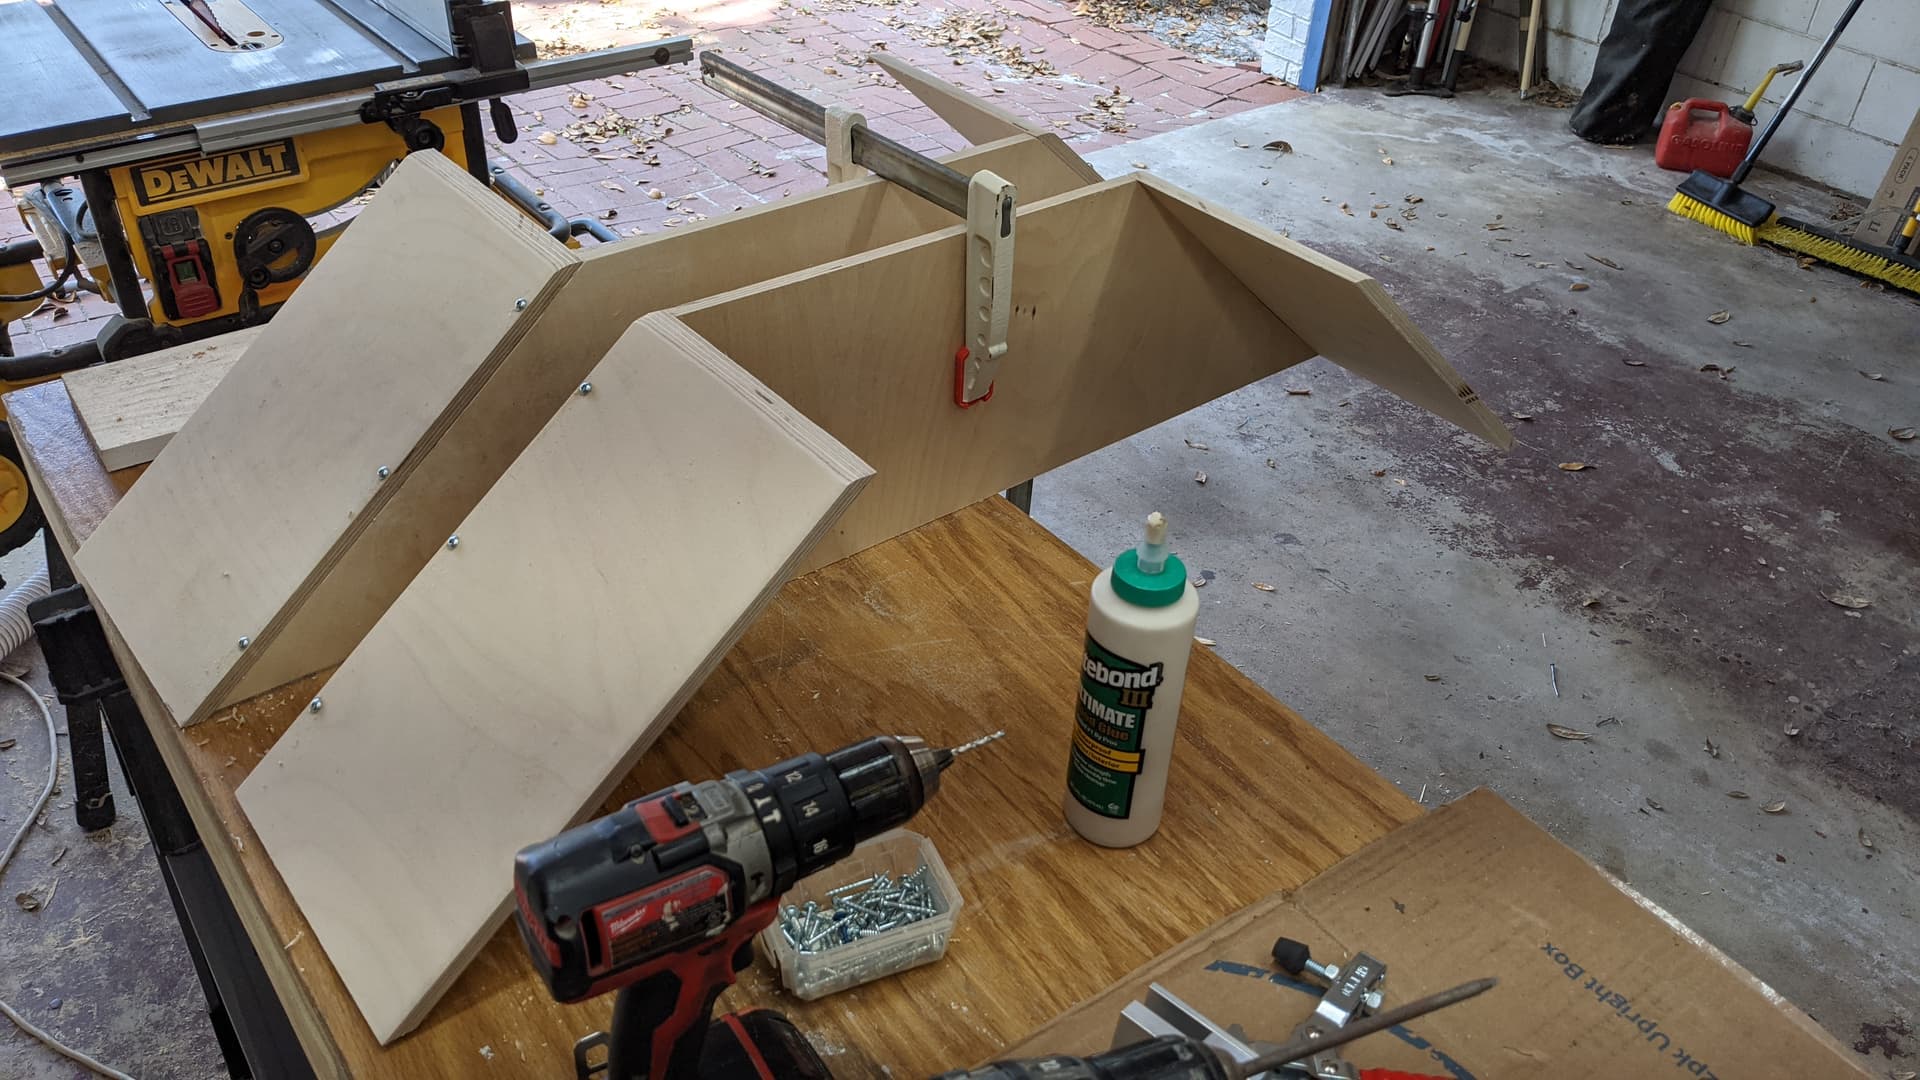
Note the slot to on the edge of this floor section that will hold the flat bar. The jig saw is being used for another task, cutting out slots for the double-seat mounting brackets.

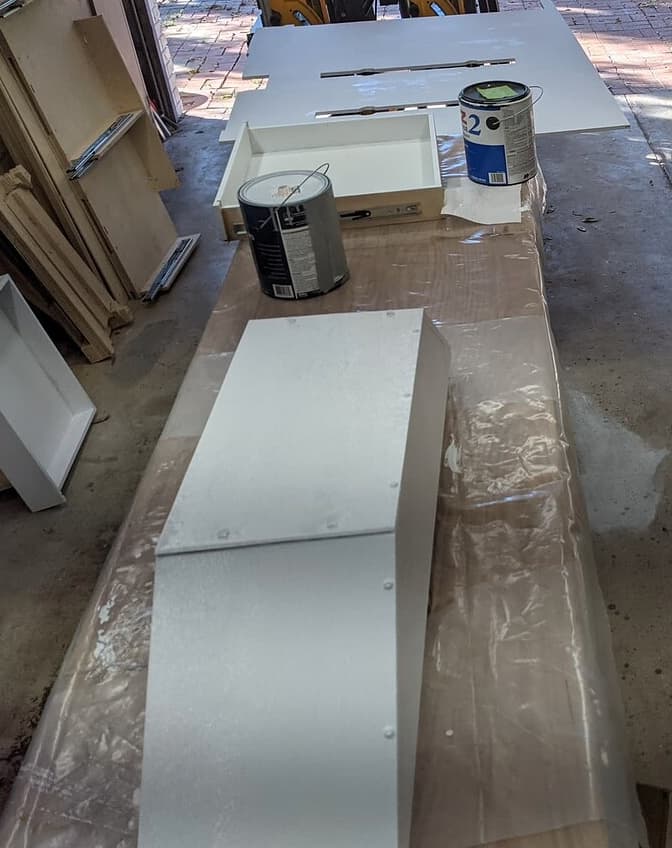
Wheel-well Covers
Wheel well covers are important to diffuse noise and provide insulation. To make these covers, we started with 1/2 Baltic Birch and followed the same angles of the wheel wells, leaving about 3/4" for Thinsulate insulation. These are held together with simple butt joints, glue, and wood screws.
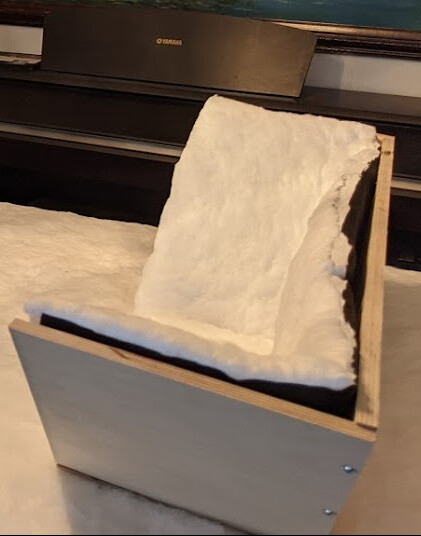
After a trial fit, we applied primer and then paint. Later in the build process these need to get trimmed again to accommodate other structural features.
Floor Edge Treatment
Aluminum L-Bracket from the big box stores, size 1.5" x 1.5", works nicely to provide a floor edge treatment. Aluminum works well in this application given it is light weight, looks good and is easy to cut with your wood working tools.
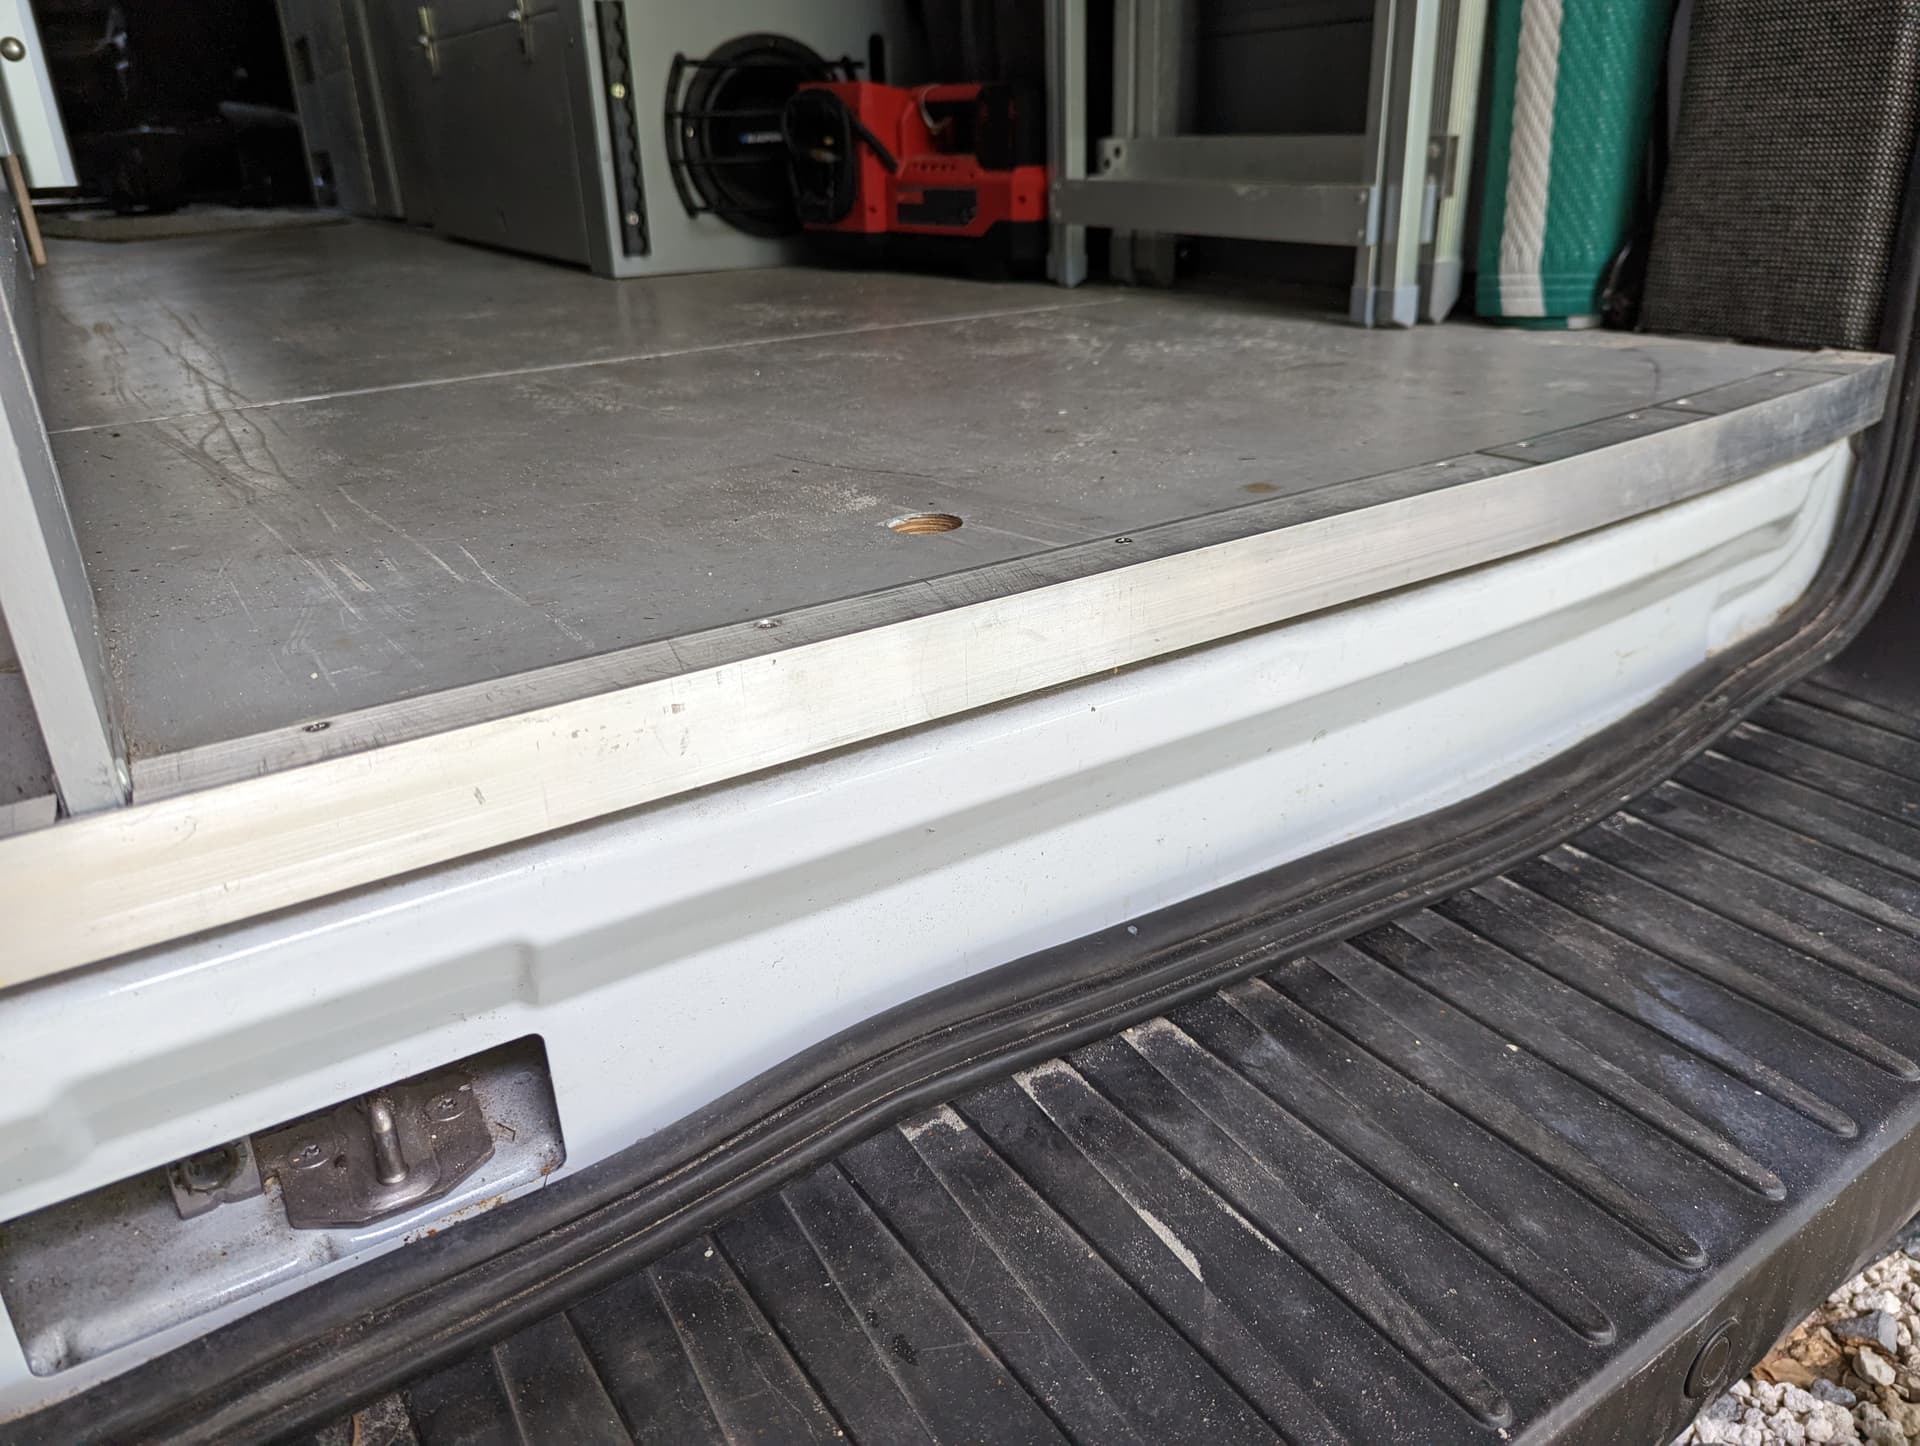
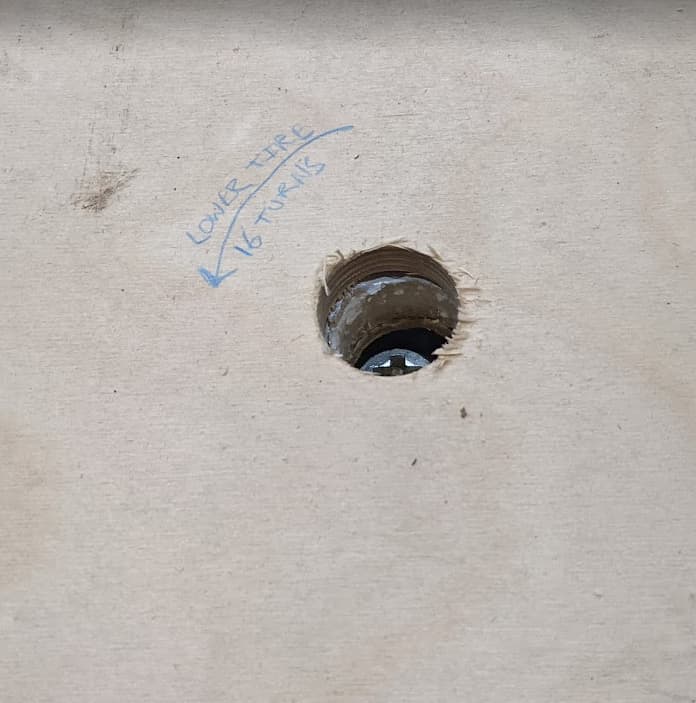
You can see in the photo the access hole through the floor to lower the spare tire. Insert your tire iron, and turn 16 times counter-clockwise to access the tire.
In the case where the edge of your floor is not straight, you can cut slots into the top edge of the bracket and bend it to fit.
About fasteners. Whenever possible, go with stainless steel screws, nuts, washers, and bolts. Avoid zinc, especially on a floor that will likely be exposed to water over time.
Next Steps
- Your floor is removable. Layout is the next step so be thinking about any under-floor routing you will need to do for plumbing and electrical.
- Next in the series: 2. Floorplan Layout