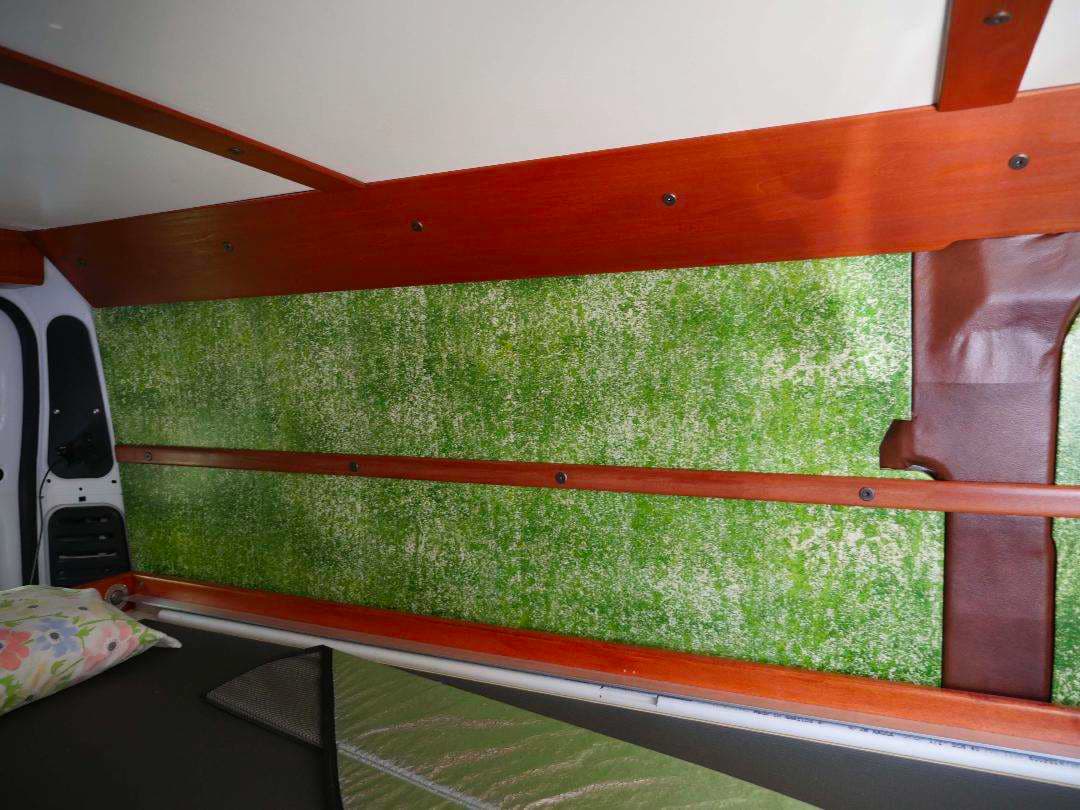
My wall panels are 1/4 inch plywood painted with a sponge roller with 4 different shades
of green paint, (dark, medium, light, and cream). The sponge pattern keeps them from
showing scuff marks and dirt. The panels are held around the edges with decorative
screws. On the upper panel there is a trim piece that spans the length of the van and
the screws anchoring the top of the upper panel are located along the trim piece. I
thought it looked better than individual screws holding the panel in place.
There is a wide trim piece just above the bottom bunk that spans the upper and lower
panels. Again, I thought that anchoring the panels through a trim piece looked better
than individual screws. You can see the decorative screws seem to zigzag on this wide
trip piece. The top row are the rivet nuts that anchor the bottom of the top panel and the
bottom row are the rivet nuts that anchor the top of the bottom panel. There is one
screw on the right side above the trim piece that seemed to be needed but was too high
for the trim piece.
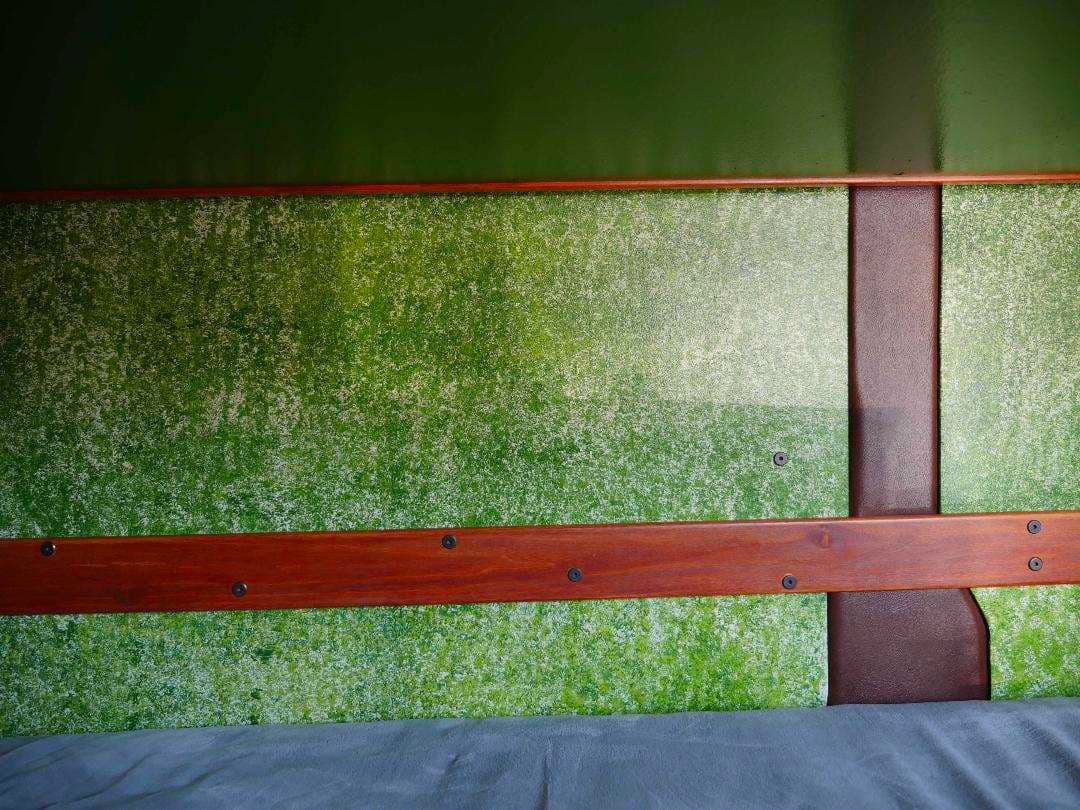
The very top of the upper wall panels are not anchored. The anchor point is along the
trim piece where the high-top roof joins the lower walls of the van. The very top of the
wall panels tuck under the wide transition board that angles between the walls and the
roof.

You can see that I didn’t try to cover the major vertical vehicle support pillars with my
wall panels. To do so I would have lost about 4 inches in width across my van. Instead
I cut my wall panels around the pillars and then covered the pillars with faux leather
Naugahyde fabric held on by 3M type 90 spray-on contact cement. I’m in Southern
California and spend most of my time in temperate climate areas so thermal bridges
from the outside of the vehicle to the inside were not important to me.

The ceiling panels are supported on the sides by the T-bar supports and the ends are
supported as they tuck into the top of the wide angled wall/ceiling transition boards on
both sides of the van.

There is a place to mount a T-bar for the ceiling support just inside of the package shelf
behind the cab. There are Christmas Tree plugs holding the factory trim in place. I just
removed the plugs, installed rivet nuts and a T-bar to support the forward end of the
ceiling. There is an issue with supporting the ceiling panel at the rear of the van. I
made an L-shaped piece to fit over the rear door frame as shown in the photo
below. The screws holding the panel in place are on the bottom. Vertical side of the L
was cut so that the top would support the ceiling panel at the right height. The angle of
the L is 90 degrees. The wood is Poplar that is 3/4 inches thick. You can see I custom
cut around the door latches using two separate pieces for the bottom horizontal leg of
the L.
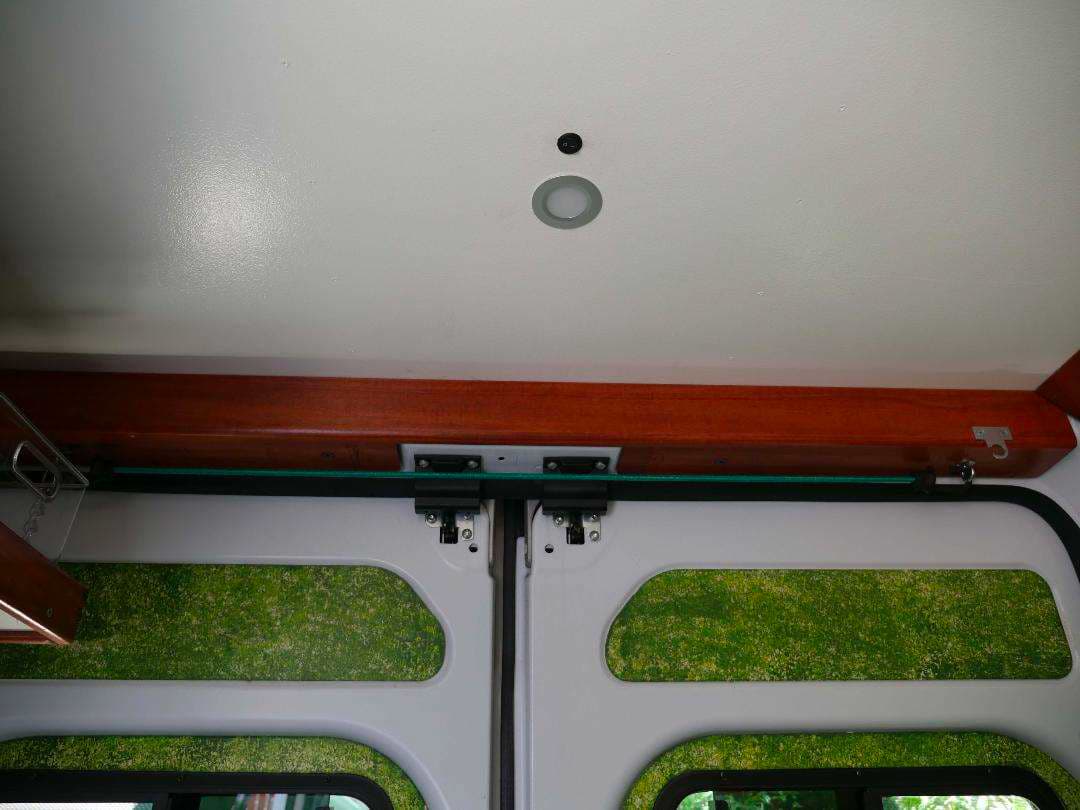
You can see that I replaced a regular decorative screw at each end with a 1/4-
stainless steel eye bolt. I stretch a bungee cord between the two eye-bolts across the
back door, open the windows in the back door, and then hang wet clothes or towels on
the bungee cord as my clothes line. When I turn on my ceiling fan air comes through
the windows and dries wet items quickly.
Hope this helps.
Lex