In this example, I’ll walk through how I would solder wires for use in a wet environment.
In a companion article, I go into detail on each specific tool used.
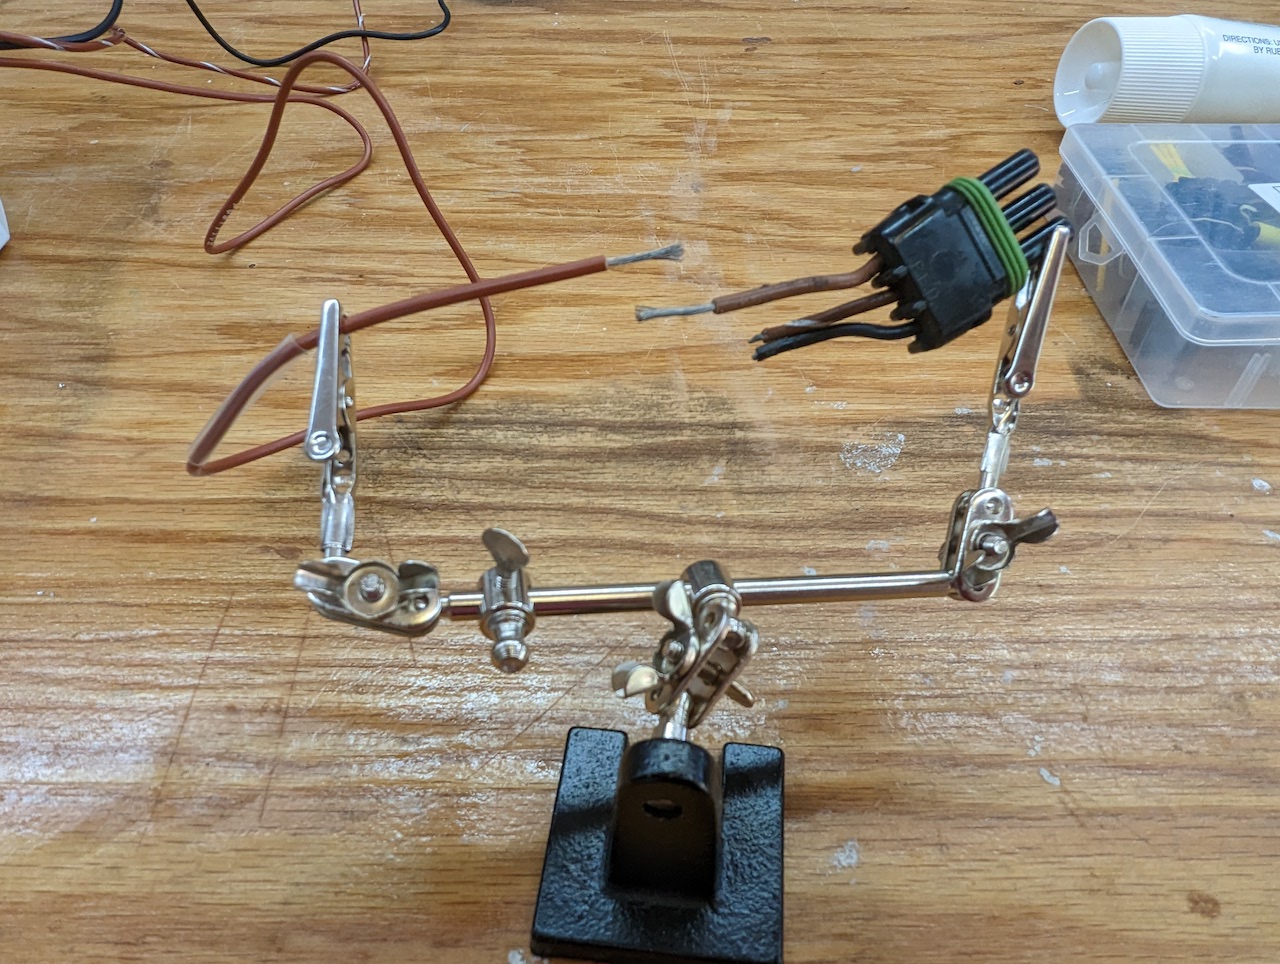
To get started I have stripped about half an inch of wire from each of the brown wires. The Helping Hands are used to hold wires in place. I’ve used larger versions of this type of helper device, but I have found I only need two extra hands.
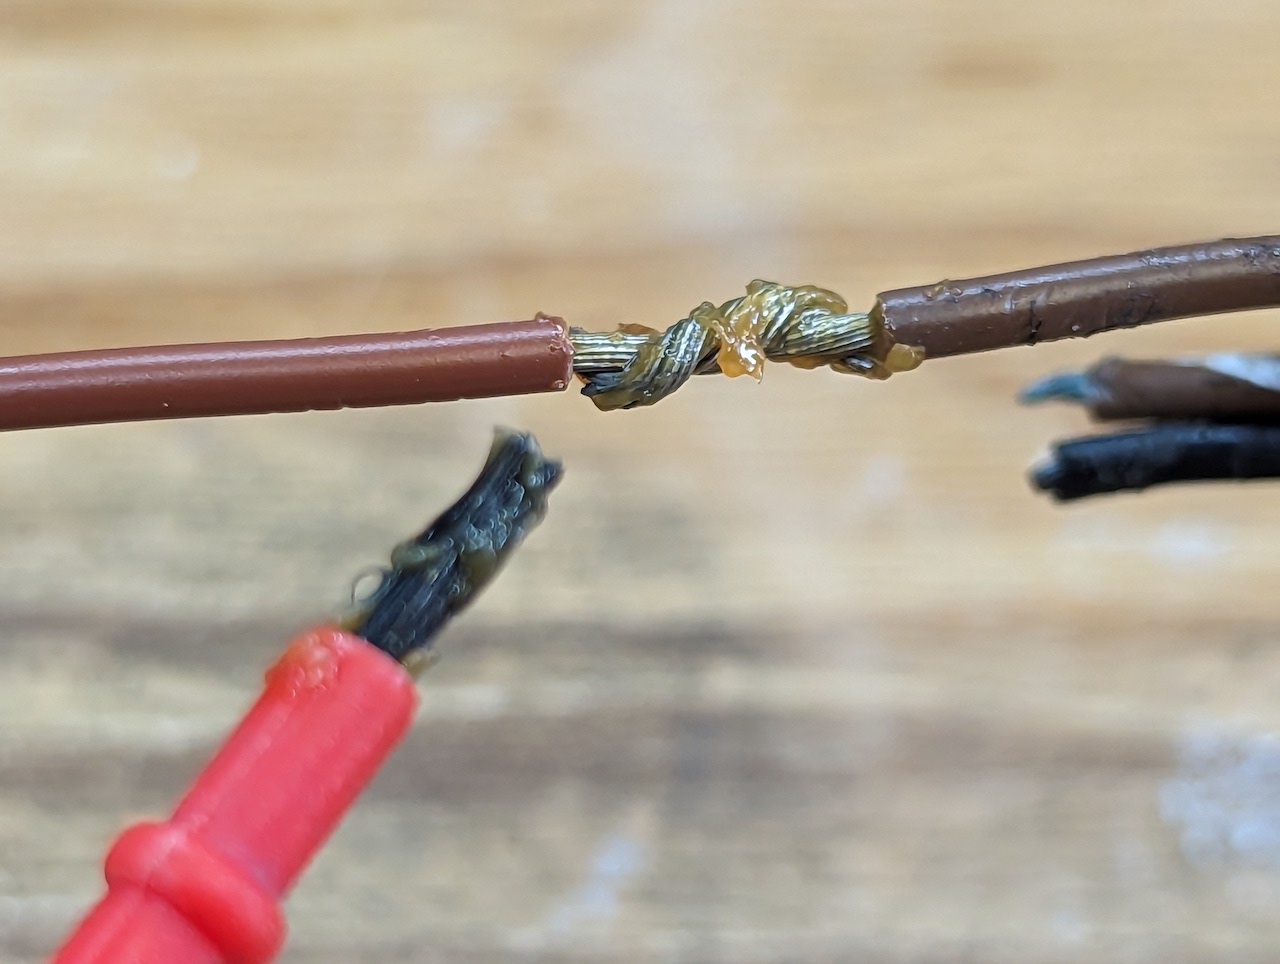
What you want to do first is twist the wires together, without making lumps, and get as much contact between the two wires as possible. Apply solder resin to make the next step easier.
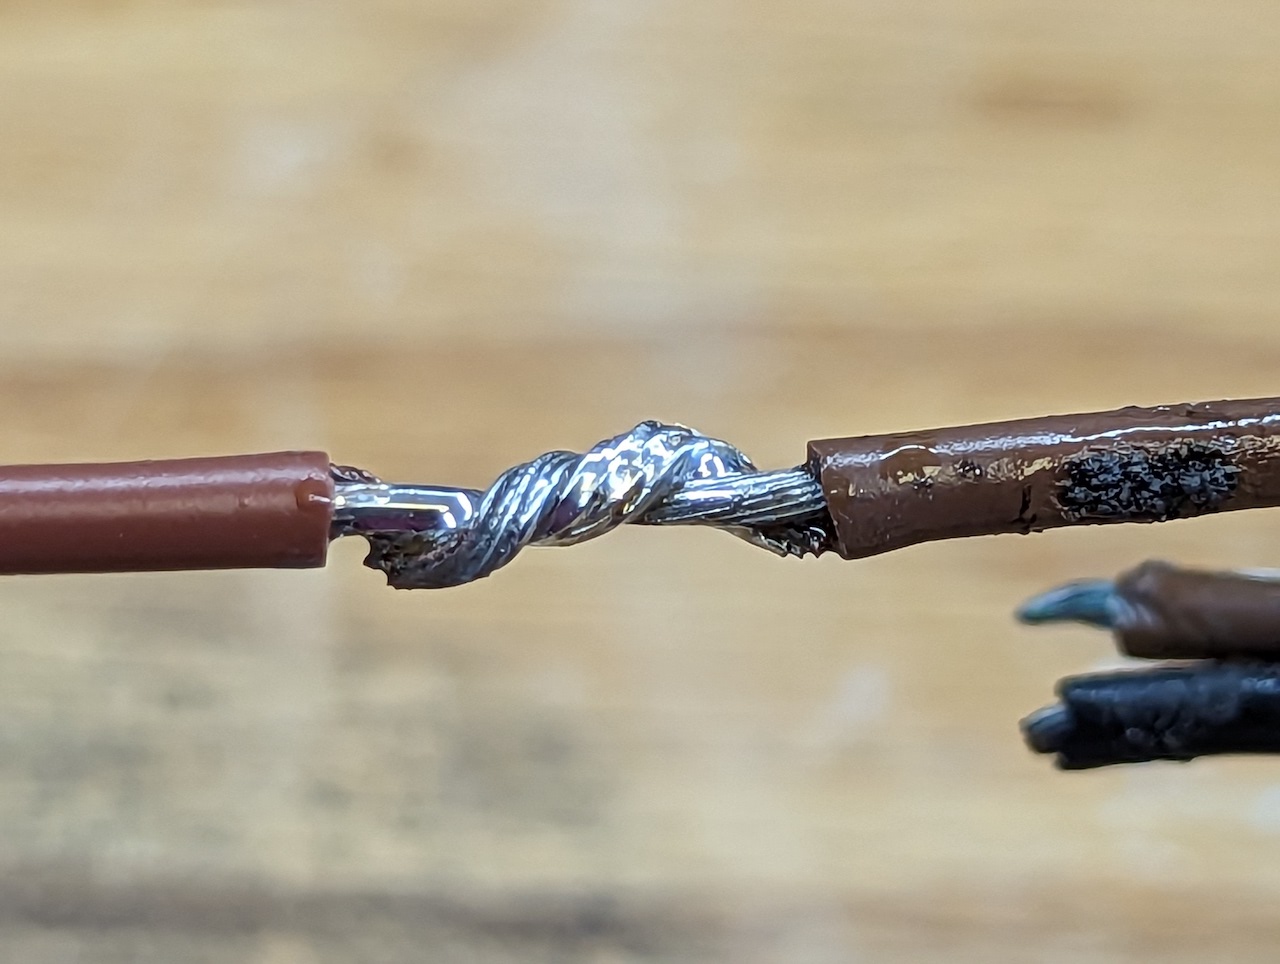
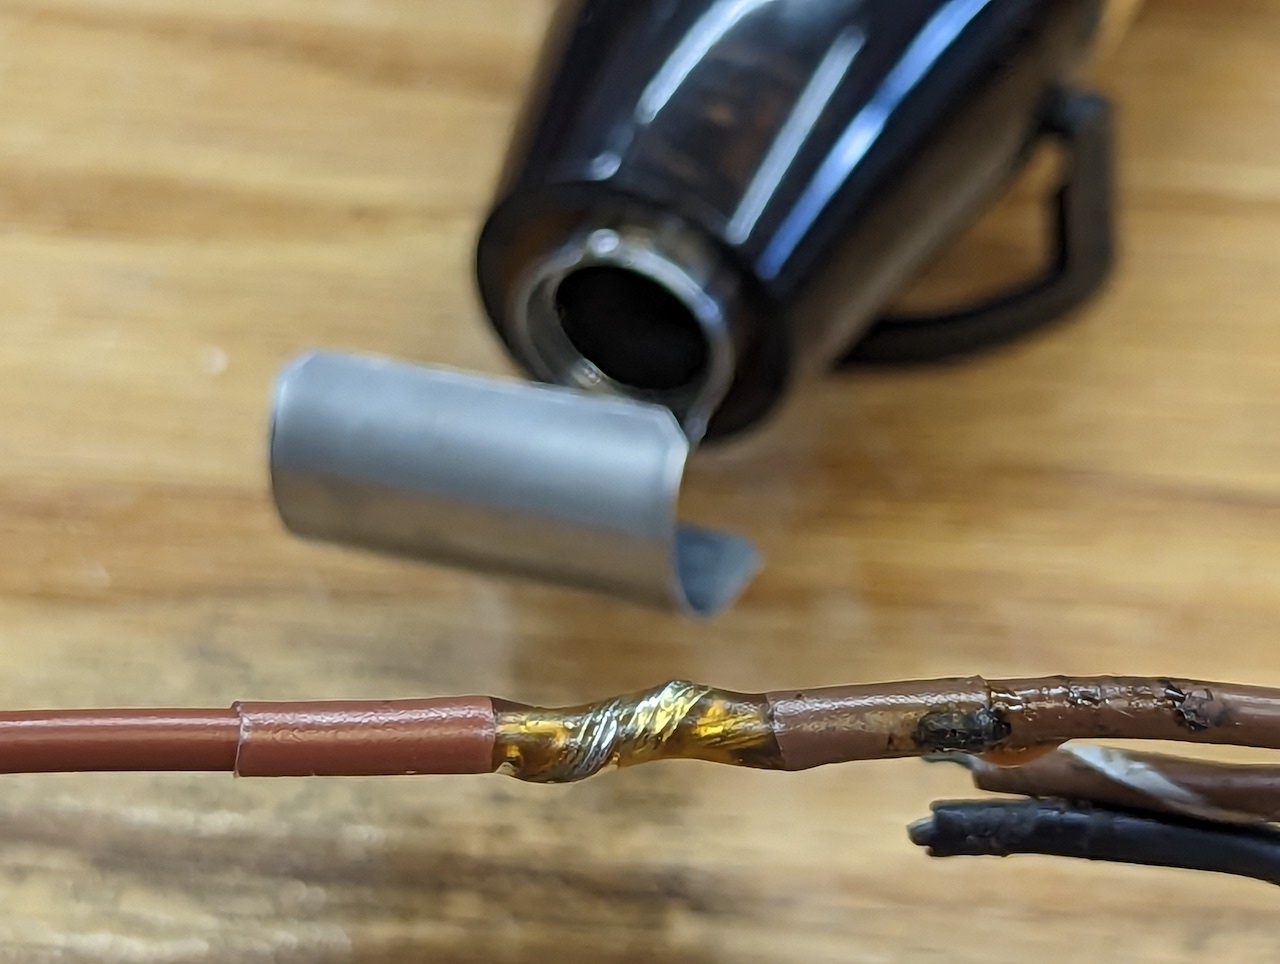
Here is the soldered wire. The wire casing is a bit charred but that was not by me, this wire was used in a rather harsh environment.
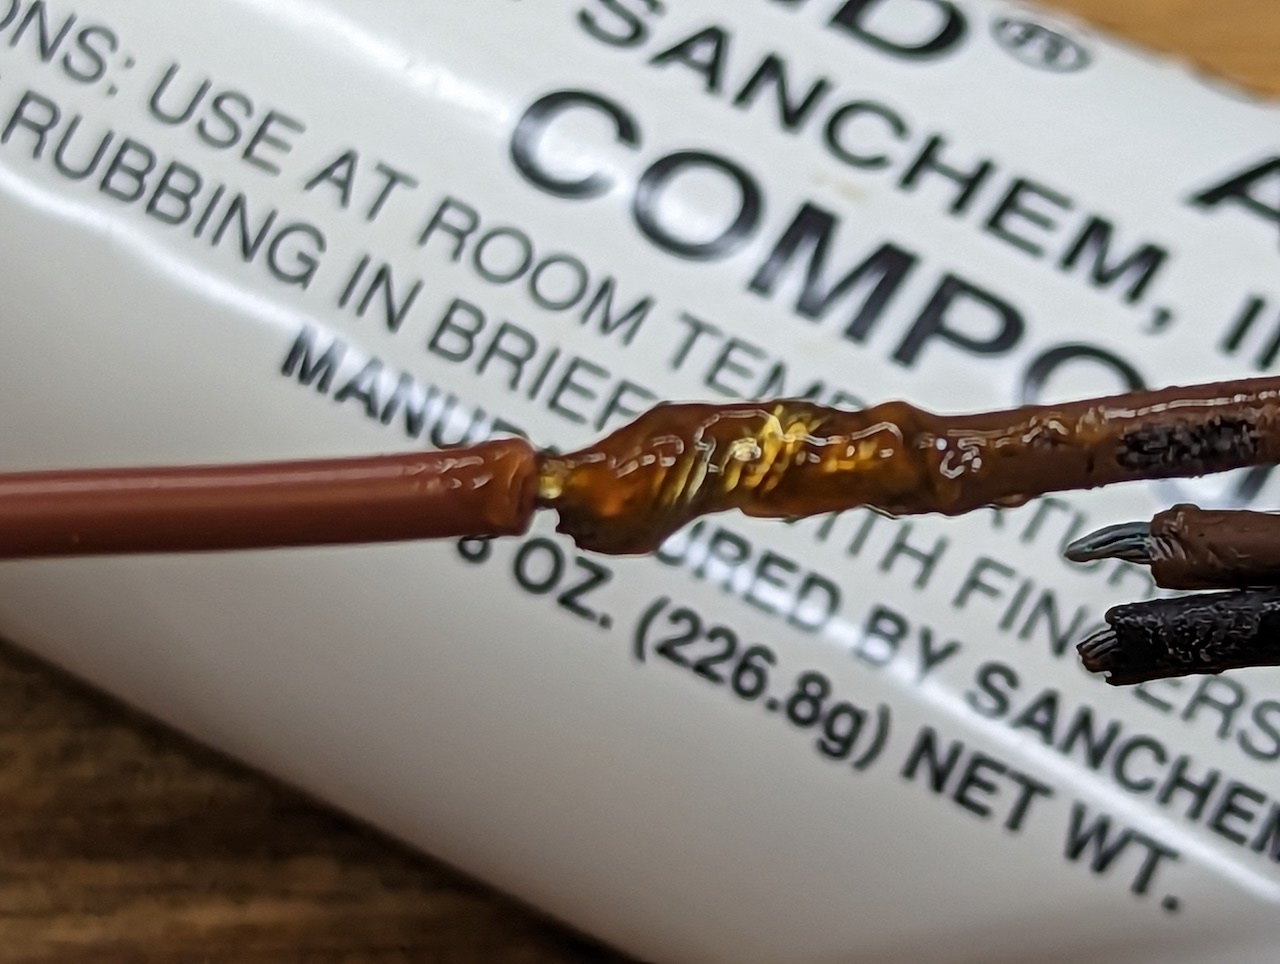
Next I protect the exposed wire with the No-OX-ID special grease. This improves conductivity and the wire from exposure to water and humidity.
Finally I slide the heat shrink over the soldered wire and apply heat with a heat gun. This is a solid connection between two wires that should last for years. Note how well the clear shrink tube shows the grease protecting the solder joint. Unless you are showing polarity with red or black shrink tube, or need some other color scheme, use clear tubing.
Here is a good video on the whole process.
