The Progressive Smart Surge Protector has been excellent, but for a moment I thought it had failed. This post shows how you can be fooled by seeing 110 volts when the extension cord has deceptively gone bad.
The surge protector display was dark, with no sign of life showing whatsoever. I took off the cover and with obvious caution, tested across ground to L1 and L2, and between L1 and L2. Seeing 123.2 on L1, I figured the inputs were fine and how wrong I was.
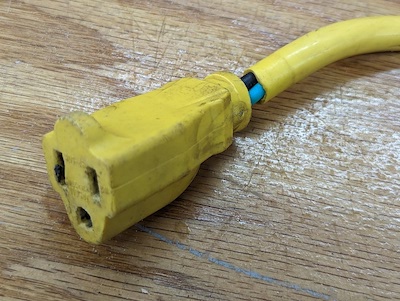
It doesn’t look pretty but it worked yesterday
I am sure there are many ways for a cord to fail, but this one fooled me.
| From | To | Volts A/C | Test |
|---|---|---|---|
| Ground | L1 | 123.2 | ✓ |
| Ground | L2 | 122.8 | X |
| L1 | L2 | 0.0 | X |
✓ Good test
X Bad test
This is what good input A/C looks like
| From | To | Volts A/C | Test |
|---|---|---|---|
| Ground | L1 | 123.2 | ✓ |
| Ground | L2 | 1.8 | ✓ |
| L1 | L2 | 120.1 | ✓ |
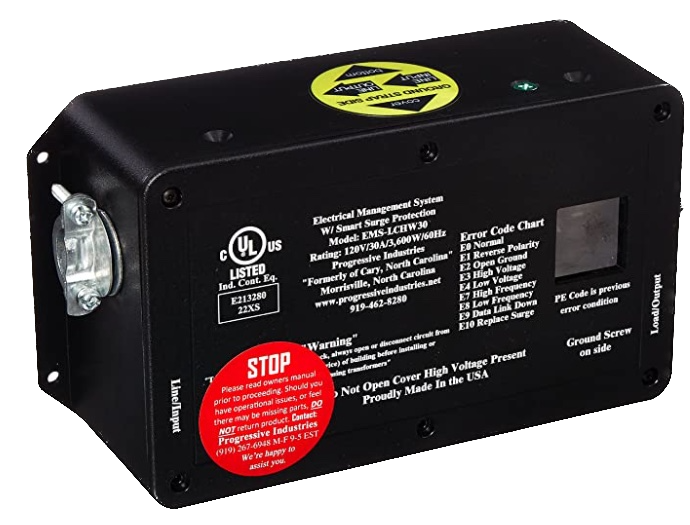
The Permanent Mount Smart Surge Protector
Surge Protectors are devices that are generally made in two form factors, what I call the dongle style, and the permanent mount style.
- The dongle style are less expensive, and a device you typically plug into the outlet let’s say a campground, and then you plug your power cable into it.
- The permanent style is built into your RV, and it is the first device that
connects your RV to the outside world.
Why would you need one of these in the fist place?
Handling power for 100 or 500 RV is not a simple task. Add to that a surging electrical grid, lightning, and the occasional drunk electrician, and just about anything can happen. So why take chances, buy one, use one!
I went with a permanent mount for ease of use. Over a period of time, you will plug in your RV again and again, and I wanted the process to be as simple as possible. So I went with a nice one.
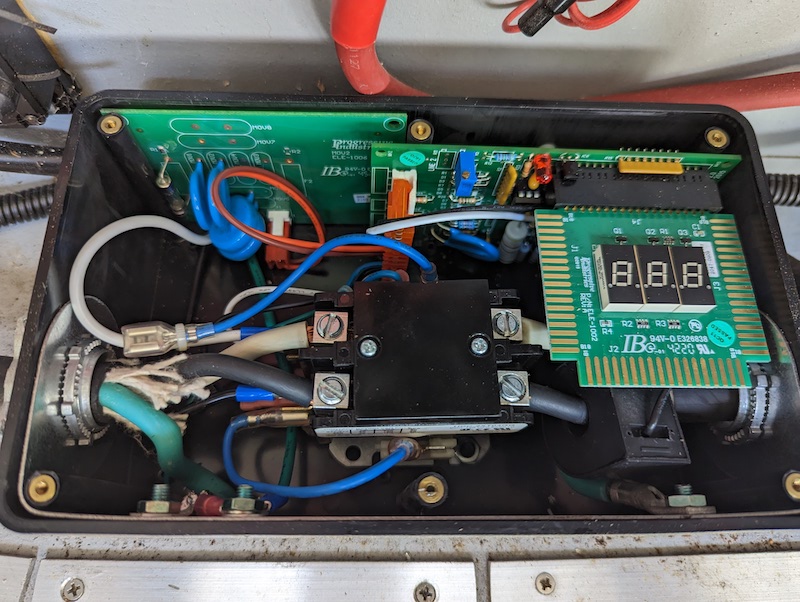
What is inside the device?
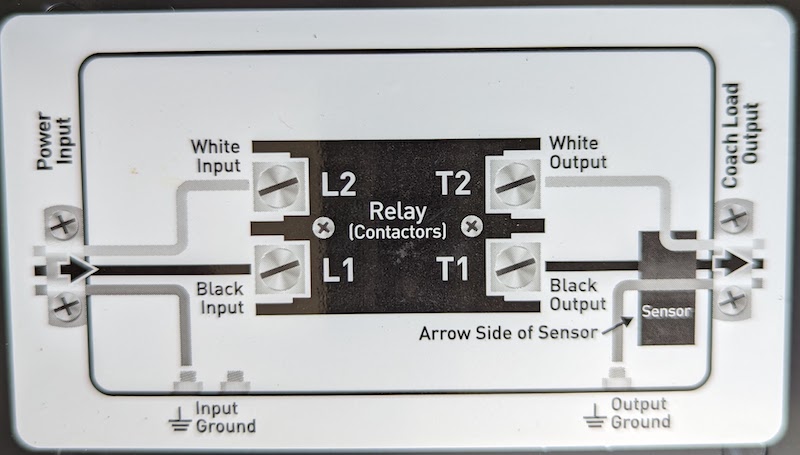
When you take off the cover. What you will find inside is a large relay in the center with A/C inputs on one end and A/C outputs on the other end. There are two printed circuit boards that supply all the logic for monitoring 10 unique fault conditions. A small coil measures current.
Error Code Chart
E 0 - Normal Operating Condition
E 1 - Reverse Polarity (hot and neutral wires reversed)
E 2 - Open Ground (no ground wire connection)
E 3 - Line 1 High Voltage (line voltage above 132V)
E 4 - Line 1 Low Voltage (line voltage below 104V)
E 5*- Line 2 Voltage High (line voltage above 132)
E 6*- Line 2 Voltage Low (line voltage below 104 volts)
E 7 - Line Frequency High (line frequency above 69 cycles per second) E 8 - Line Frequency Low (line frequency below 51 cycles per second) E 9 - Data Link Down (call technical support)
E10 - Replace Surge Protector Module (call technical support)
* Codes only apply to EMS-LCHW50 models
So what happened, what was the issue?
I checked the van to notice that the battery bank was down to 82%, yet it was plugged in.
After checking the breaker, I plugged a heat gun into the end of the power cord, just to test it and it worked, or so it seemed. Thinking the inputs were fine, I went inside the surge protector and made the measurements above. I’m thinking there must be a fuse in the box or something wrong with the box, but there was nothing obvious so I get Progressive Industries on the phone.
The service tech really knew his stuff. I gave him the results of my tests and
he said it must be wired incorrectly. Well I had used it for 9 months, and I had
followed instructions and was pretty sure the wiring was correct.
He said something that got me thinking. Let’s simply put a different extension cord
on it and see if that works. Lo and behold that was it. But why did the
heat gun work earlier? The extension cord had only partially failed.
Let’s test the extension cords
We were on to something, so I dug out a 110 outlet tester from my bag, one of my
favorite brands, Klein Tools. Testing the extension cord showed a bad neutral line.
I replaced the cord plug and all was well. Lesson to self, confirm the basics, and use your test equipment. Seeing 110 volts on L1 fooled me but perhaps not next time.