Simply circulating the air can have a significant impact. We purchased two fans for this purpose. We also did the installation ourselves in about 3 hours.
See Matt’s personal blog for specific supplies and tools.
We use two Maxxair Fans for low-power air circulation
Just moving the air can make a big difference. We purchased two fans, the first fan is positioned over the kitchen, which is relatively close to the bathroom. This fan is typically used to expel air from the RV. The second fan is located over the bunks at the back, and its function is to draw air into the RV.
| Color | White |
|---|---|
| Brand | Maxx Air |
| Item Dimensions LxWxH | 25.5 x 19.5 x 11.9 inches |
| Model | 00-05100K |
| Short Model Name | 5100K |
| Printed Circuit Board | 10-21276K-V3.9 |
About the Maxxair Fan
- It has controls at the ceiling. We went with manual controlls, because with two fans, a wireless remote can be confused as to which fan you are controlling, plus there is less to go wrong, and zero chance you will loose the remote.
- Built-in Rain shield
- 10 fan speeds; Intake and exhaust
- MaxxFan, a new, one-of-a-kind ventilator system that protects your RV interior always in any weather rain or shine
- A complete all in one system that fits standard 14-inch x 14 inch
- Includes a powerful multi-speed fan
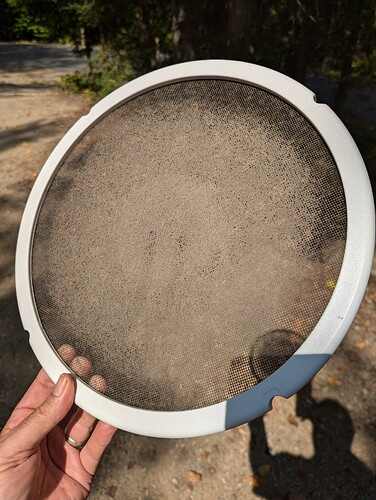
- Easy to remove interior insect screen, simply rotate four retaining knobs to remove for cleaning
About the install
The entire installation process took approximately three hours. Prior to starting, I had already positioned 12-volt DC lines near each fan. We utilized the provided template to mark the cutting outline with a Sharpie pen. Then, without much ado, we cut two large holes in the roof of our brand new Ford Transit van. Following this step, the rest of the process was fairly straightforward.
Installation Steps
-
Position the Fan: Decide where you want to place the fan. Ensure there’s enough space and that it’s near a 12-volt DC line.
-
Mark the Outline: Using the template provided with the fan, mark the outline on the roof of your van with a Sharpie pen.
-
Cut the Hole: Carefully cut along the marked outline using a jigsaw or similar tool. This will create a hole in the roof of your van.
-
Install the Fan: Place the fan in the hole and secure it with screws. Make sure it’s properly aligned and fits snugly.
-
Seal the Edges: Apply a sealant around the edges of the fan to prevent any leaks.
-
Connect to Power: Connect the fan to the nearby 12-volt DC line.
-
Test the Fan: Finally, test the fan to ensure it’s working properly.
Notes
- Always take safety precautions when cutting into the roof of your van.
- Ensure the van is not connected to any power source while installing the fan.
- Make sure to seal the edges properly to prevent any potential water damage.
How much power does it use?
One amp at 12 volts, is 12 watts. Our 12-volt Air Conditioning is efficient, averaging 400 watts or less. Compare this to 12 watts for a fan, 24 watts for 2 fans, and you can see why we like fans.
12 watts = 1 amp * 12 volts, (watts = amps * volts)
| Fan Level | Amp Draw |
|---|---|
| 1 | .1 amps |
| 2 | .2 amps |
| 3 | .3 amps |
| 4 | .4 amps |
| 5 | .6 amps |
| 6 | .9 amps |
| 7 | 1.2 amps |
| 8 | 1.5 amps |
| 9 | 2.0 amps |
| 10 | 2.8 amps |
User Manual and Parts Manual
Installation Instructions, Information and Operating Guide (2.1 MB)
Repair Parts List For All Maxxfans (636.6 KB)


