My Espar D2 furnace is installed directly behind the driver’s seat. I created a foot rest
and put the furnace inside. The space is fairly large but the only thing in there is the
furnace and any excess cable. These furnaces need periodic maintenance and I
wanted to make sure I had plenty of room around the furnace to remove the outer shell
and get to parts that needed replacement.
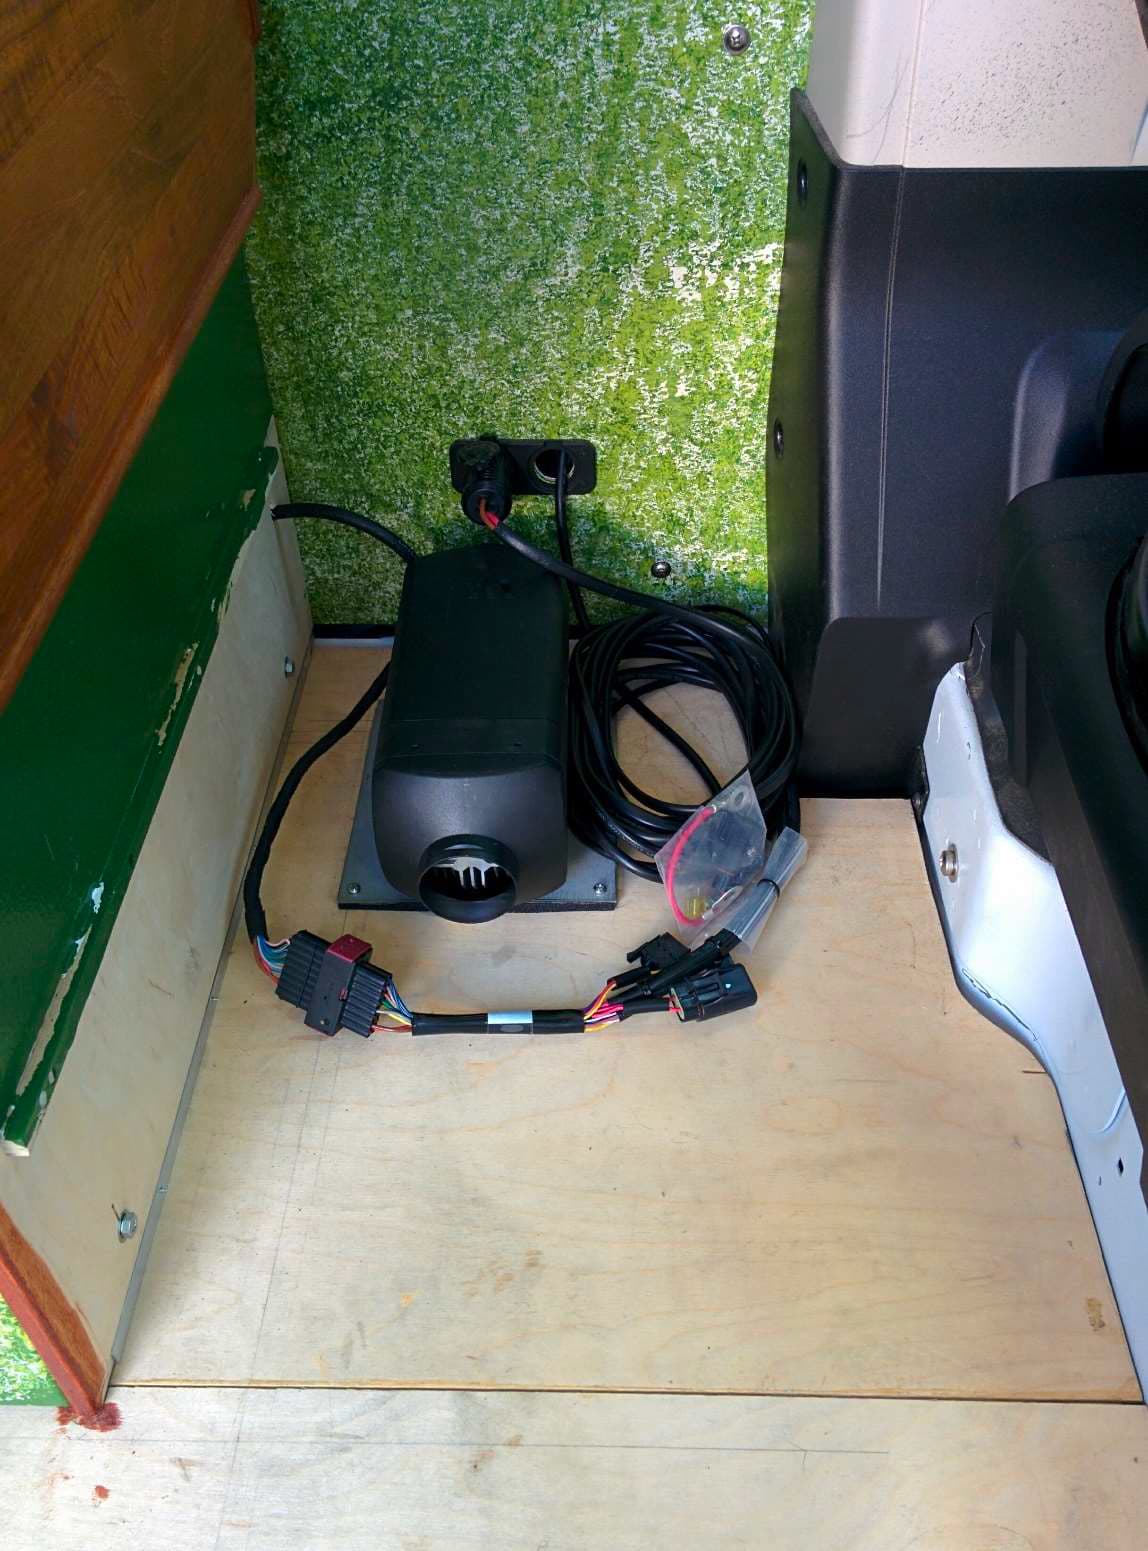
Here is the furnace between the rear seat and the cabinet that holds the toilet. There is
a small ledger board mounted on the side of the cabinet to support the top which will
become a foot rest. Power is through a twist lock plug and the thermostat wire enters
the wall beside it.
Here’s the completed box. You can see that everything is assembled with cross dowels
and there are cross cross dowels in place to support the top of the box. This will make
it easy to remove when furnace maintenance is required. There’s a hole in the front of
the box for the heated air register. A 3" diameter plenum connects the furnace to the
register.

This is the box with the top attached. You see the register in the front and there is
about a 1" gap between the top of the box and the wall in the back for the return air to
enter the furnace.

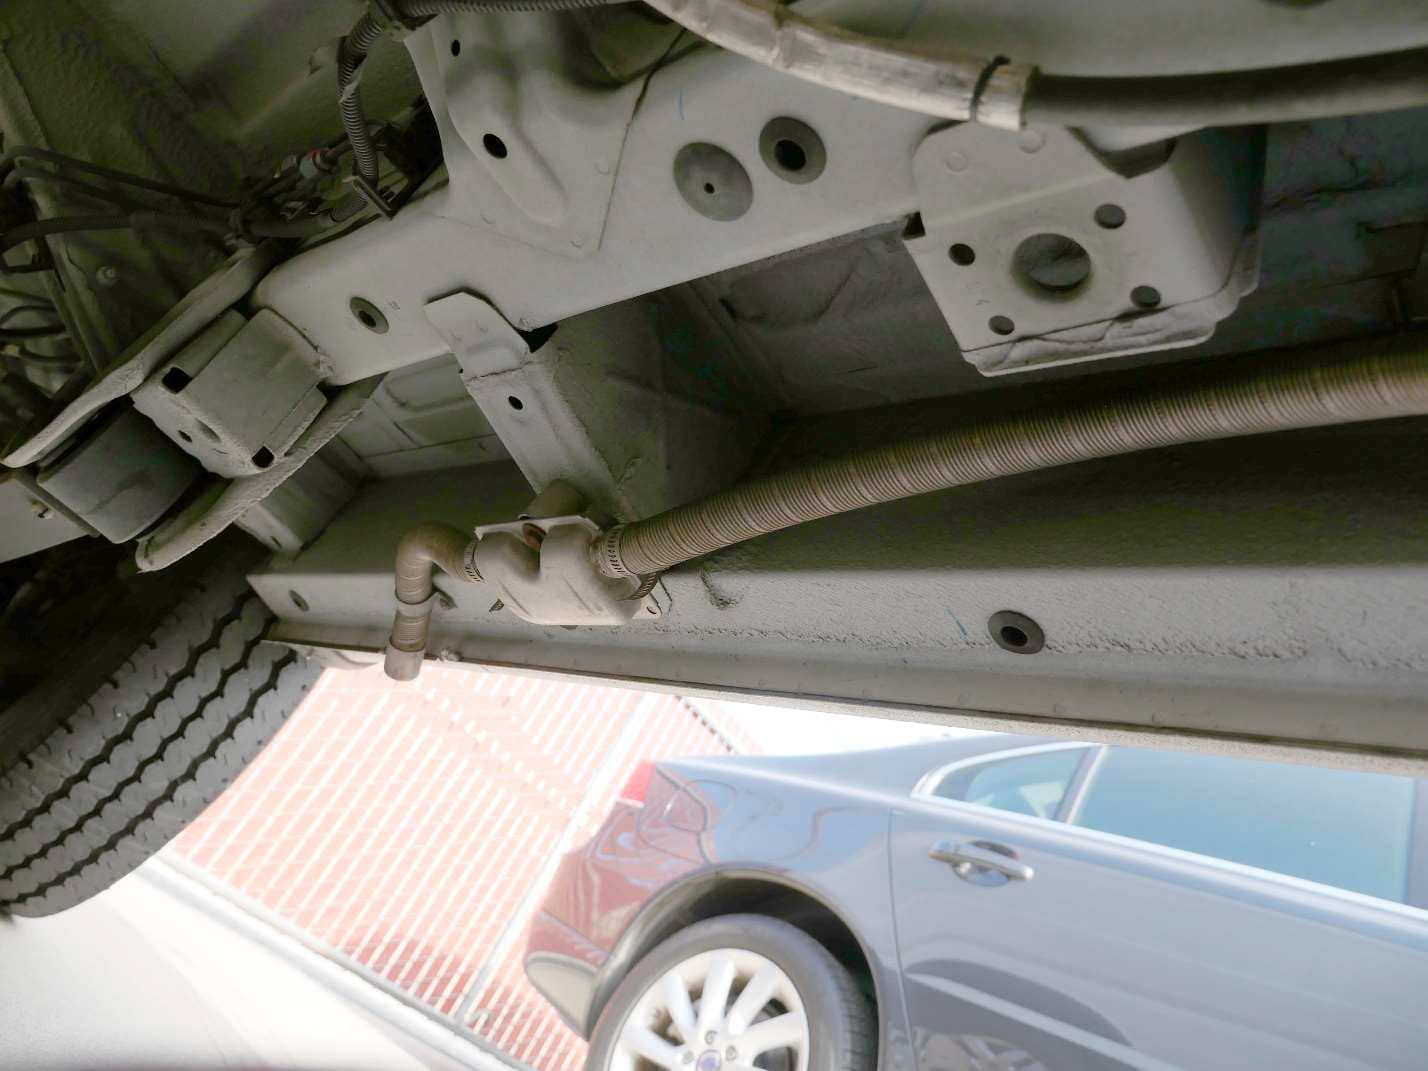
The furnace sits in a position where the combustion air intake and exhaust can drop
through a space between the rocker panel and the unibody frame. The emergency
brake cable runs along this space as well.
Here’s the view from the front of the vehicle looking back. My furnace is diesel so I have
a fuel tank mounted in the toilet cabinet inside the vehicle. If you have a gas furnace,
then you can tap directly into the vehicle’s gas tank. Ram conveniently provides a dip
tube into the gas tank just for this purpose.
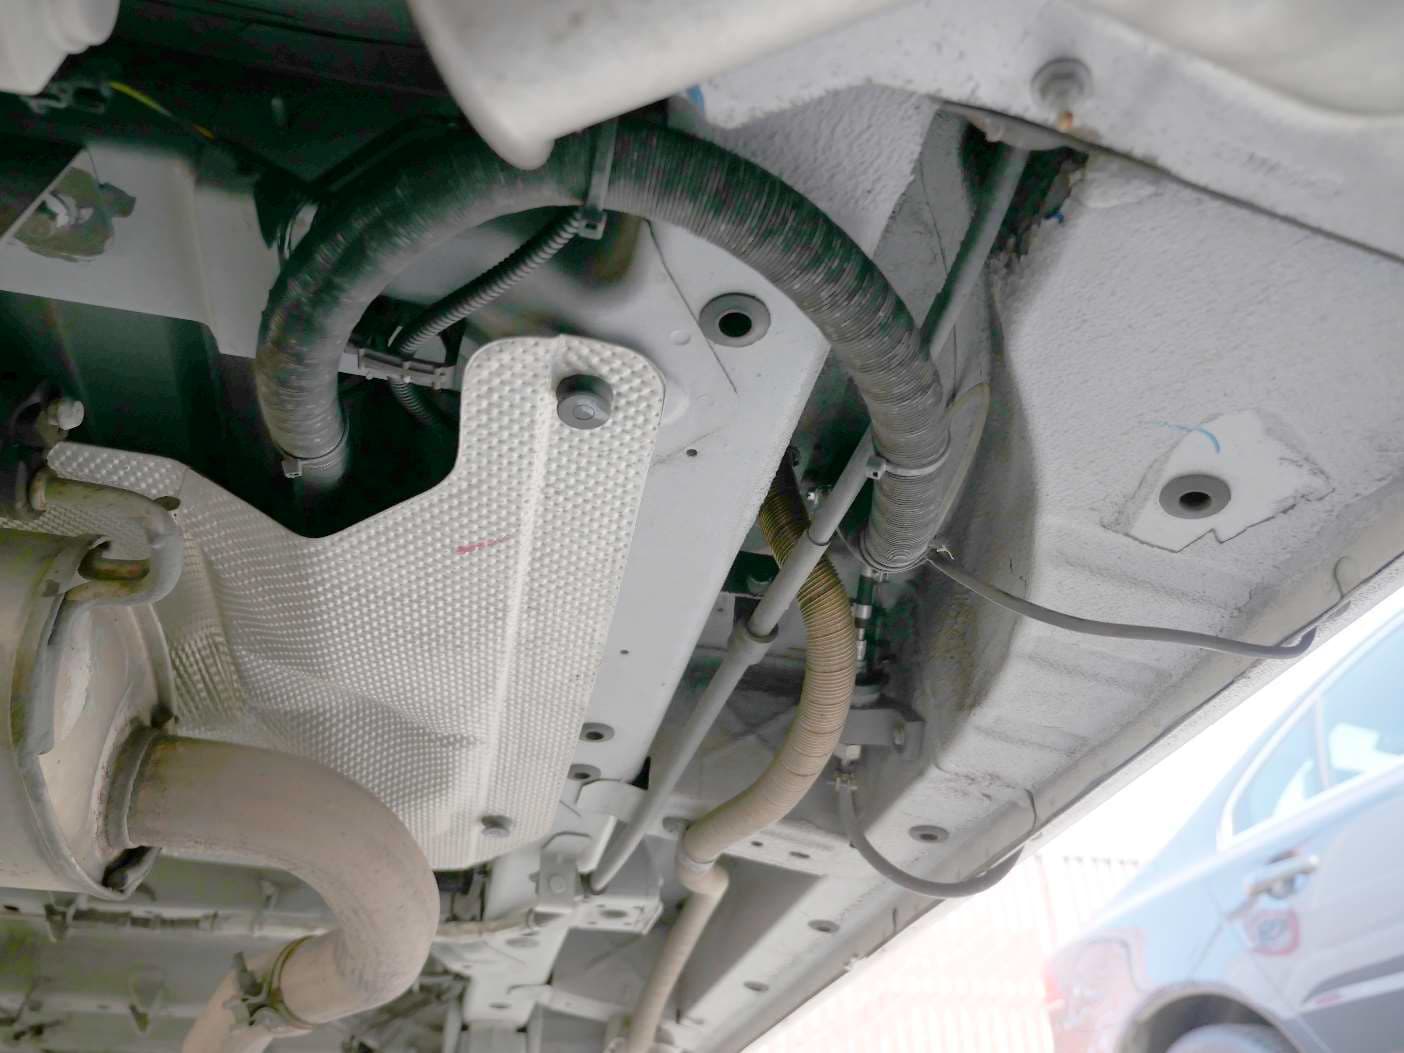
The fuel line and wiring for the fuel pump come down from inside the cargo area
through existing holes in the rocker panel. Here you can see the fuel line and the
electrical power coming from the rocker panel to the fuel pump. The black aluminum
pipe is the air intake. I routed it above the aluminum heat shield so that it wouldn’t pick
up dirt or water.
Looking from the back of the vehicle towards the front. You can see the silver exhaust
pipe heading towards the rear, the fuel pump, and the black air intake coming off the
furnace and curving around then poked under the aluminum heat shield.

This is the tail end of the exhaust pipe showing the muffler and the end of the exhaust
pipe angled out from under the vehicle just in front of the rear wheel.
Many people mount their furnace under the passenger seat. I chose not to do this for
several reasons. First, I have factory swivel seats and there is no space under the
seats to mount anything much less a furnace.
Second, the install is a lot of work. Space under the vehicle is very tight because
everything including gas tank is mounted under the cab. They do this so that the cab
and entire power train is treated as a single independent unit. This way they can
change the rear of the vehicle without having to modify the engine, transmission, fuel
source etc. This same cab is used on all Promasters regardless of cargo length as well
as “cutaways” with just the frame behind the cab so that outfitters can add their own
custom back ends.
Last but not least, these furnaces require occasional maintenance. Glo-plugs, ignition
screens, fan motors, etc all have a limited life and will eventually need to be replaced. I
wouldn’t want to have to remove the passenger seat to get to the furnace.
Hop you find this useful,
Lex