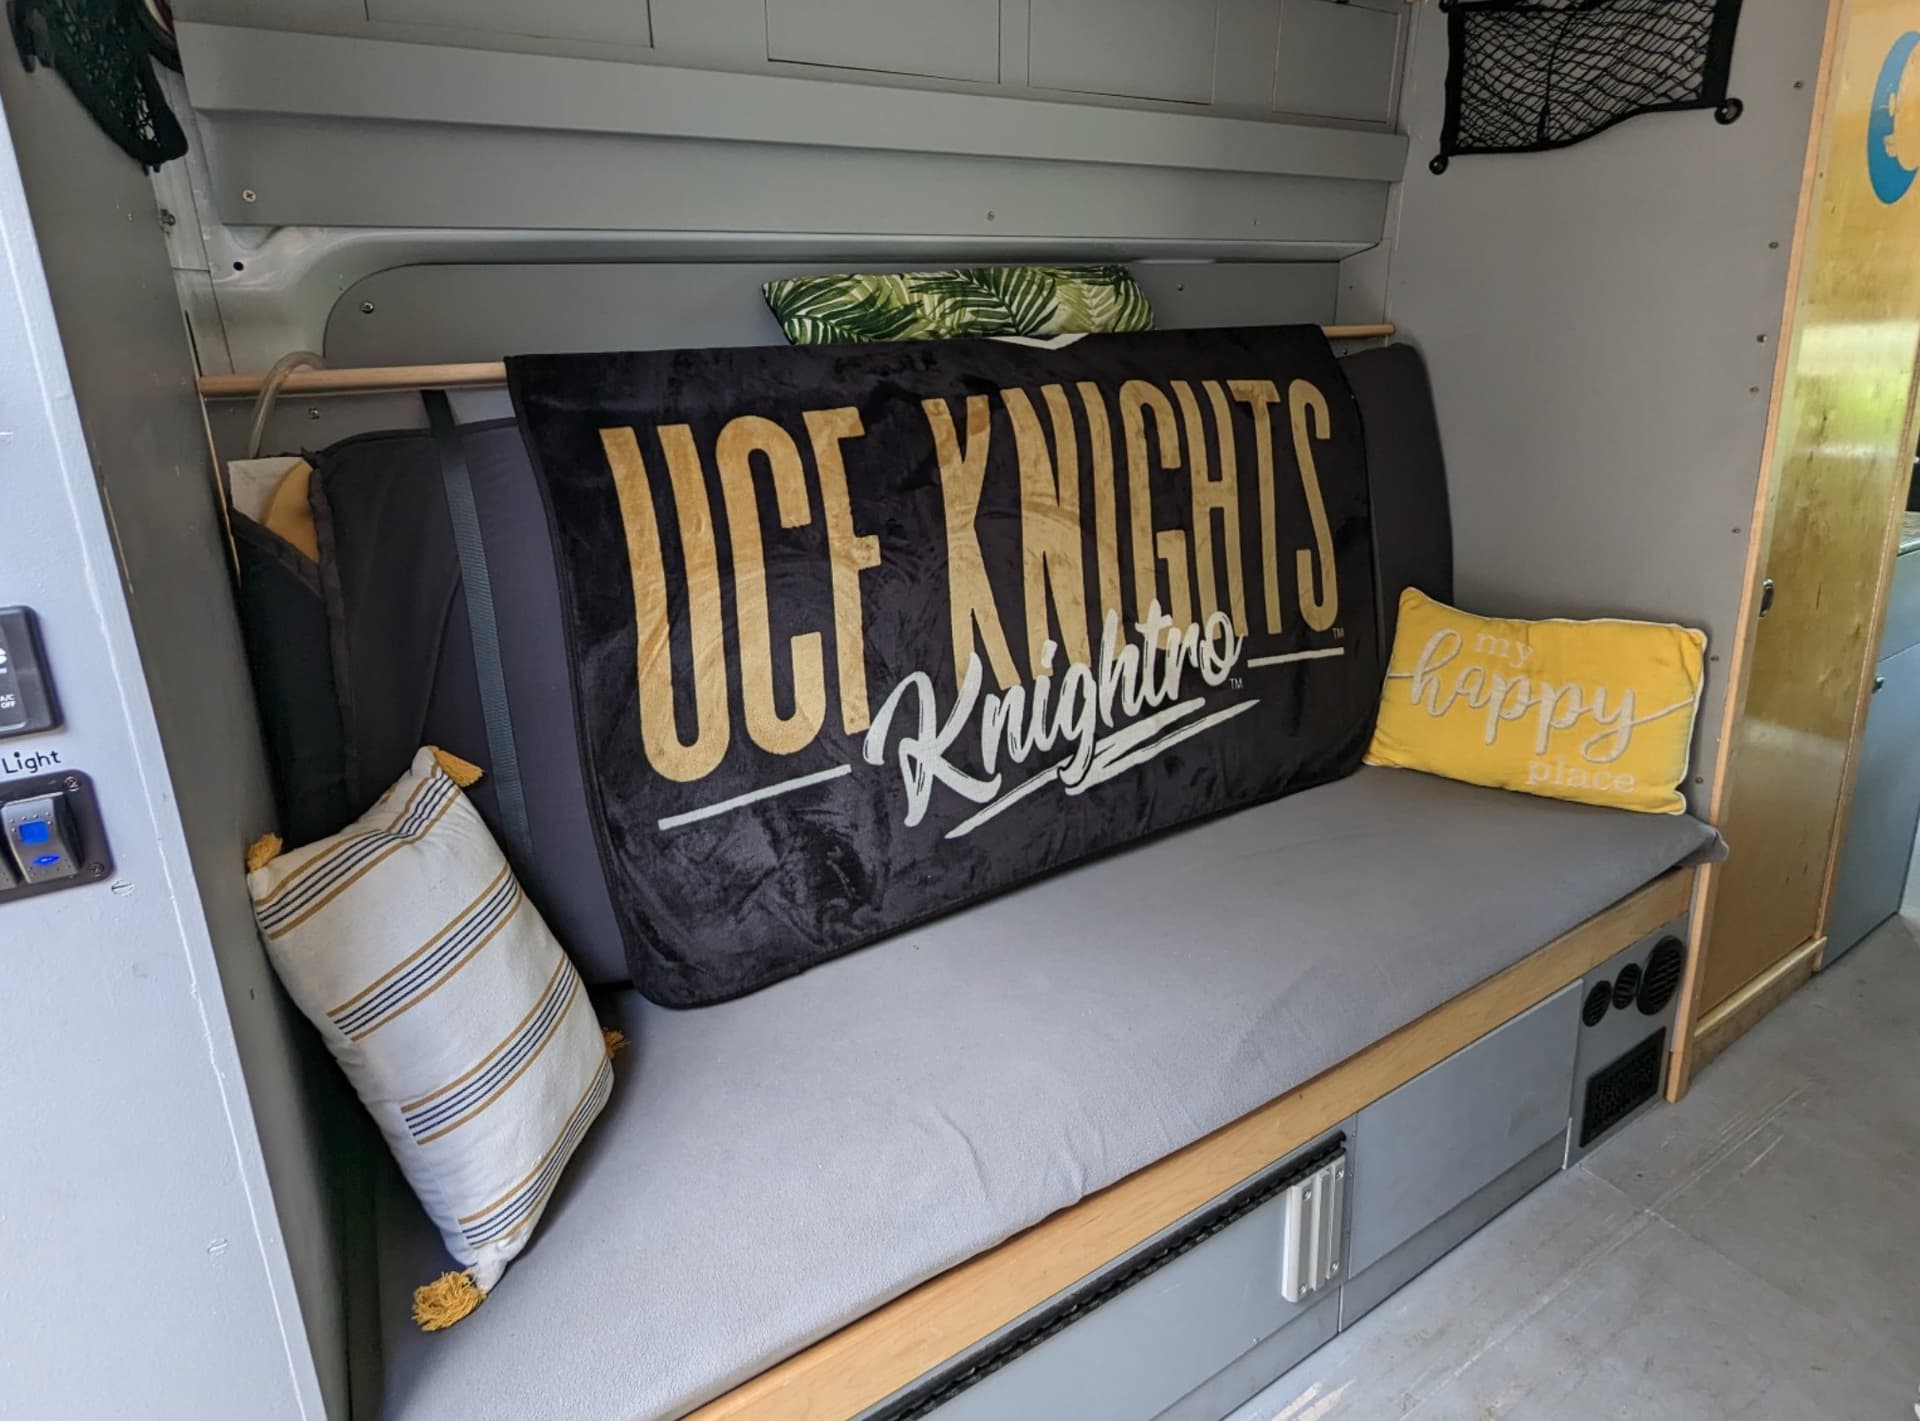
The bunk bed design is an important part of our layout. It allows us full access to the van from front to back. With the center aisle of the van open, we can use both the sliding door in addition to the rear door. From time to time we also carry e-bikes, a paddle board, or other fun equipment, all tied down with L-track. The van does not seem quite so small.
We refer to the rear half of the van as The Bunk Room. It can be isolated from the rest of the van with the removable door jamb, and this increases air conditioning efficiency by more than 50%. But I digress, this post is about building bunk beds.
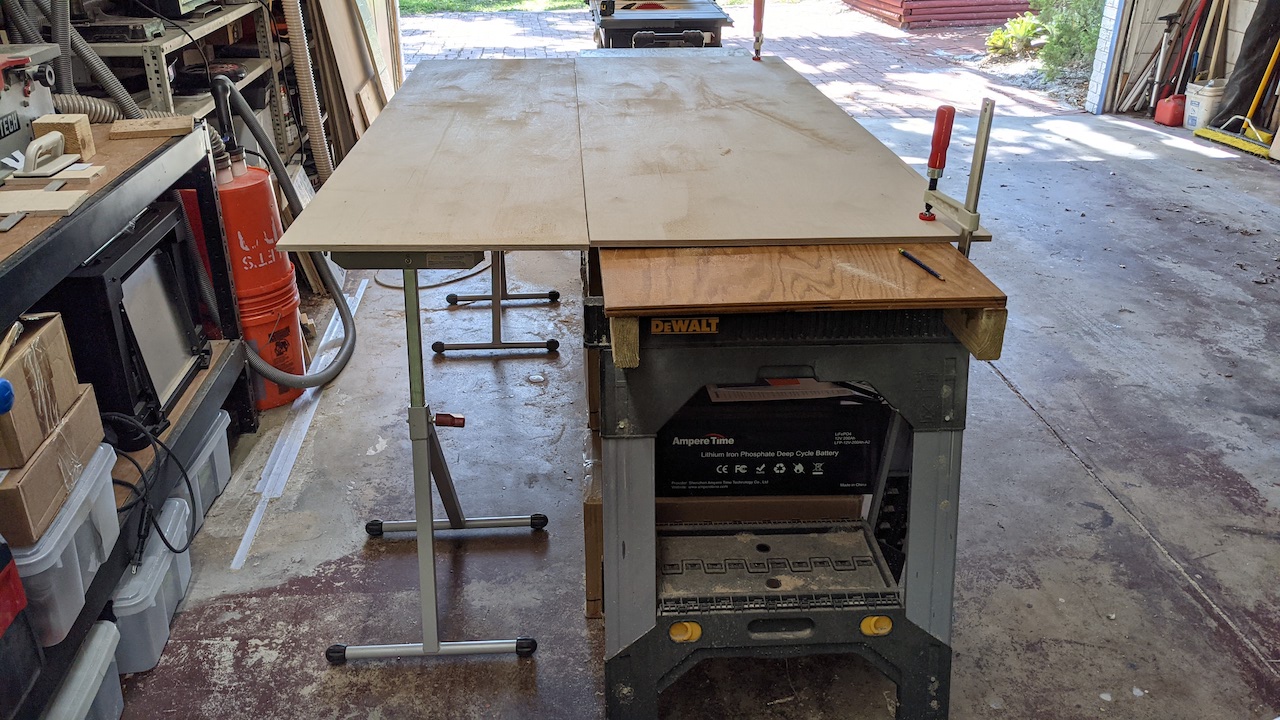
The bed frames are made with a 1/2" baltic birch bottom and 3 1/2" x 3/4" hard maple ends and sides. Don’t be tempted with 3//4" plywood, it is heavy and you just don’t need it.
Weight in an RV is important and the lighter the better. Not only are the bed frames lightweight but the sleep number mattress is incredibly light.
Either you are burning gas by accelerating, or wearing out your breaks when stopping.
Extra weight in your RV is NOT your friend, lighter is simply better. The short answer is 1) 1/2" baltic birch, 2) hard maple, and 3) Sleep Number mattresses.
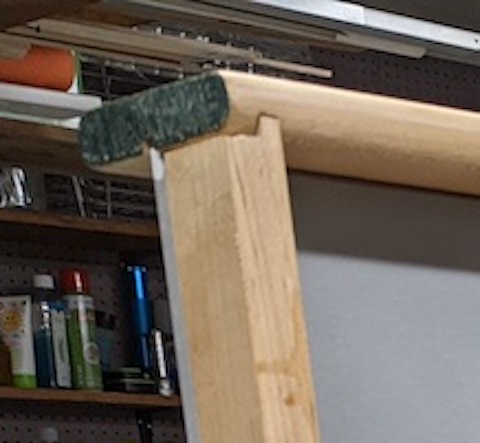
The bed frame is made in nearly the same way you would make a drawer. The QQQ (quarter-quarter-quarter) system is ideal for this purpose by interlocking all of the parts.
In the QQQ system, cut a 1/4" slot along the backs and sides, then mill 1/4" off of the edges of the bottom, 1/4" deep. Use quality glue and some clamps and you have a frame that can handle a 300 pound person with no problem. How build with the QQQ method.
All of the sharp edges are milled with a round-over bit using the router. In this photo, we have not sanded off the green paint remaining from the manufacturing process.
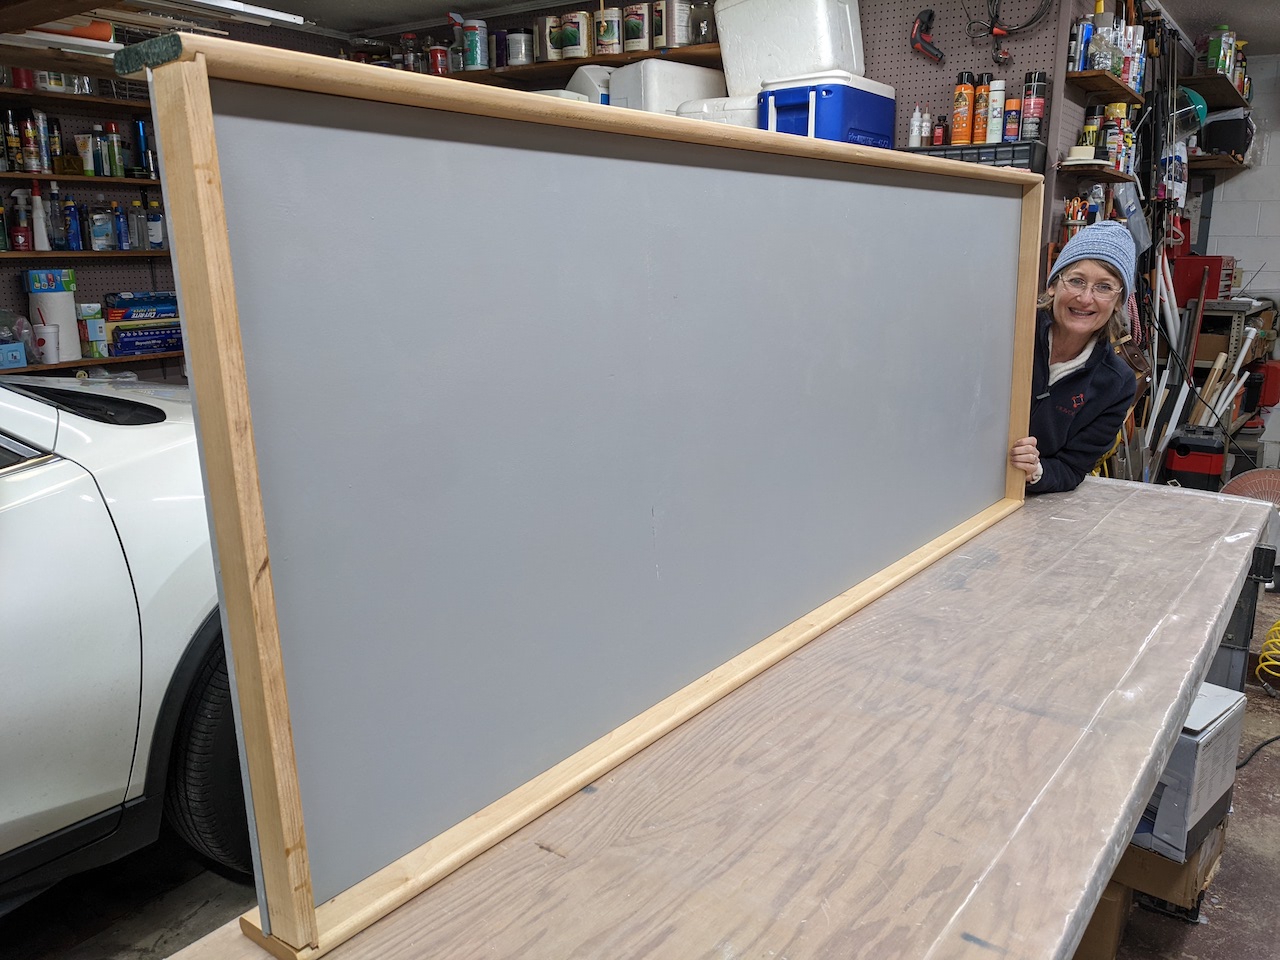
There are a couple of approaches to finishing the bunk. You can either build it, tape it off then paint it, or you paint it first, then do the final glue-up, we chose the latter. Varnish is a good choice for the hard maple frame.
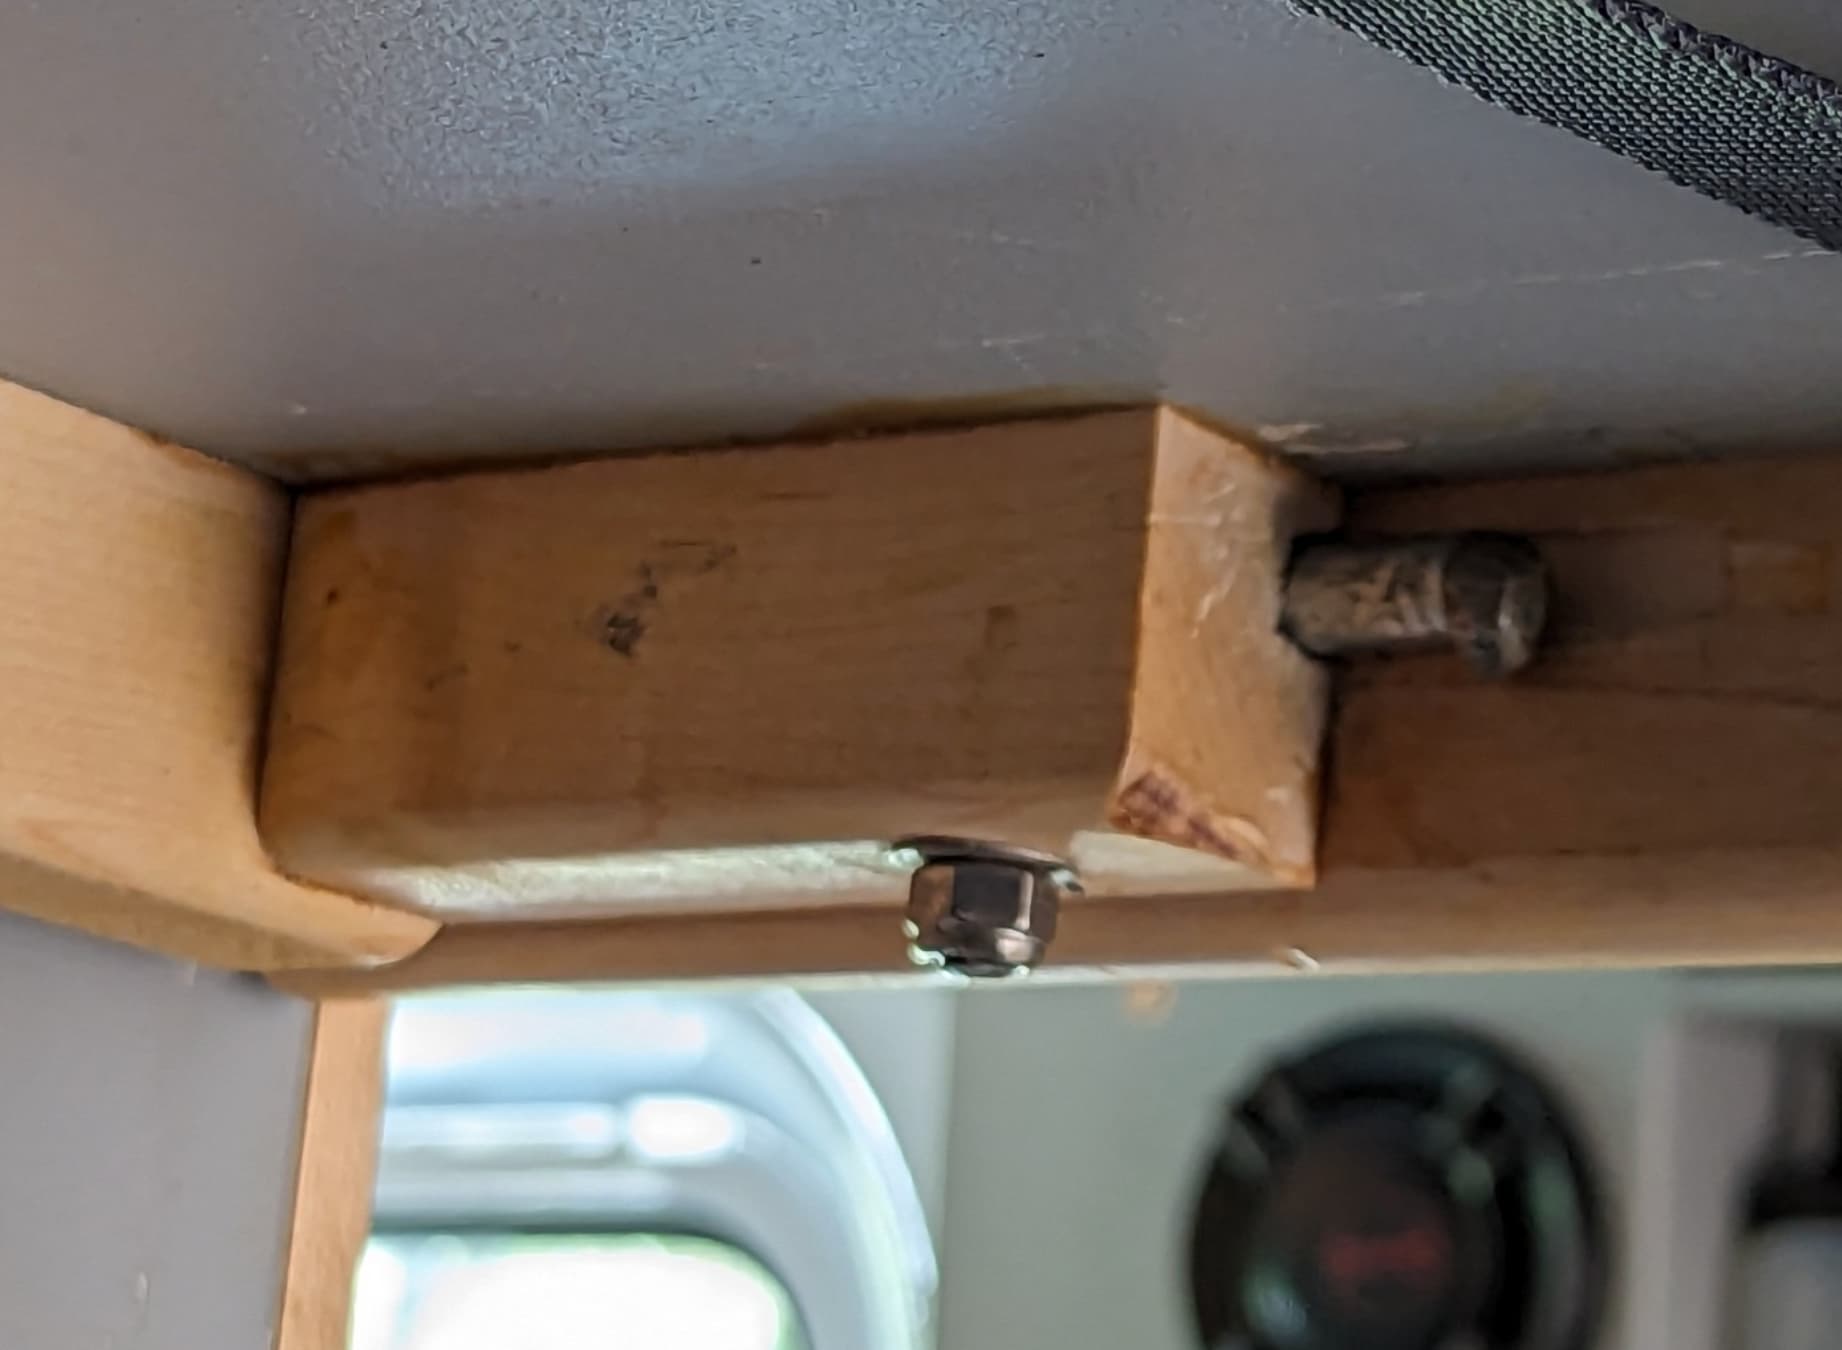
A wooden block is glued into each corner of the underside of the bunk. A hole is drilled and a bolt is run through each block to align with a specific structural element of the van. The back two bolts serve as hinges and the front two bolts, one is shown, lock the top bunk in place. Each of the front two bolts are suppored by square aluminum tubing.
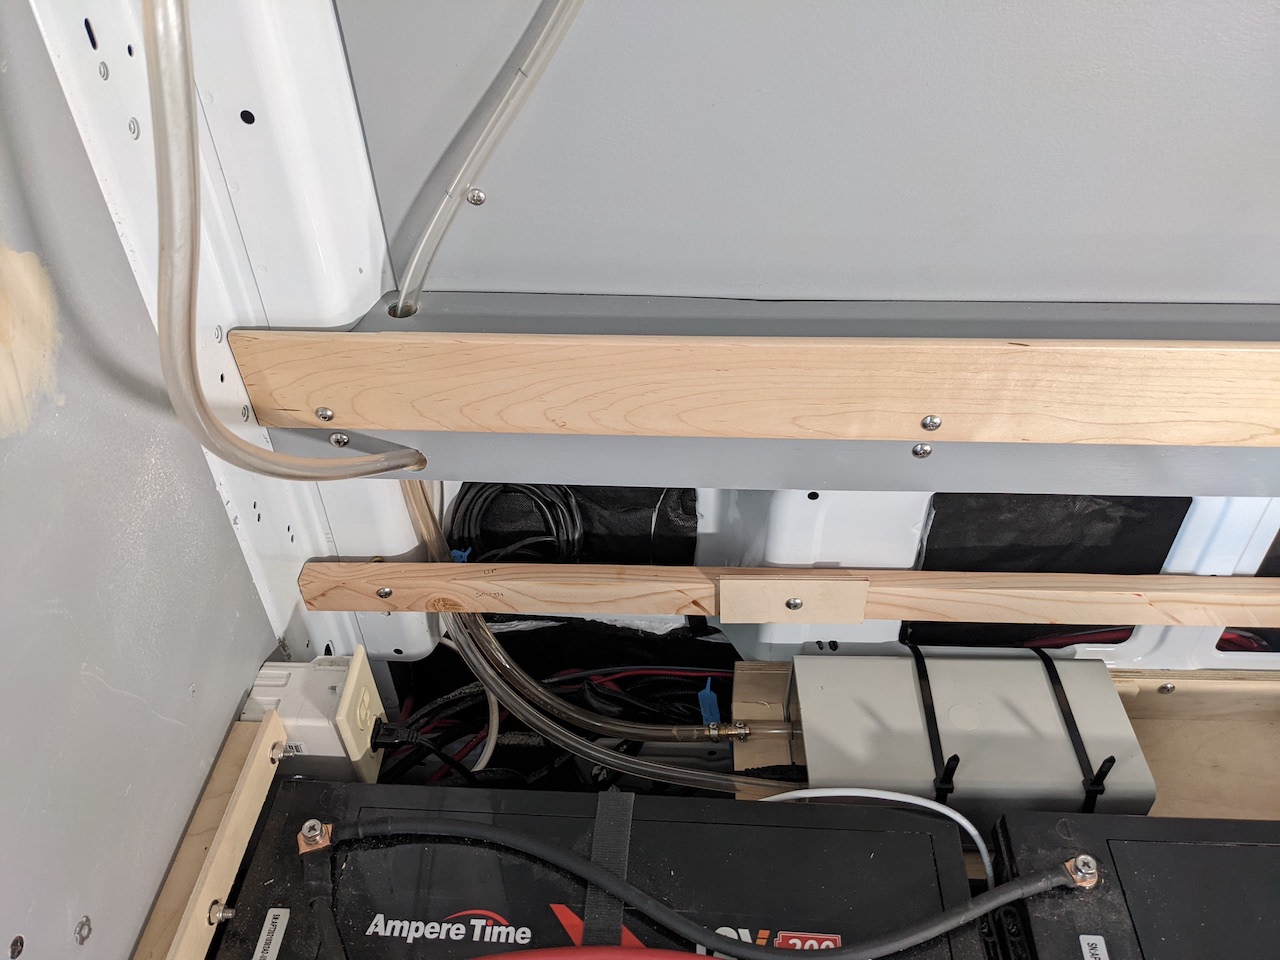
The standard Sleep Number air hoses were plenty long enough for our application. I made a tray to hold the pump under the lower bunk and routed the hoses through a couple of access holes. I installed a 110 volt outlet and routed wire to the 110 breaker box.
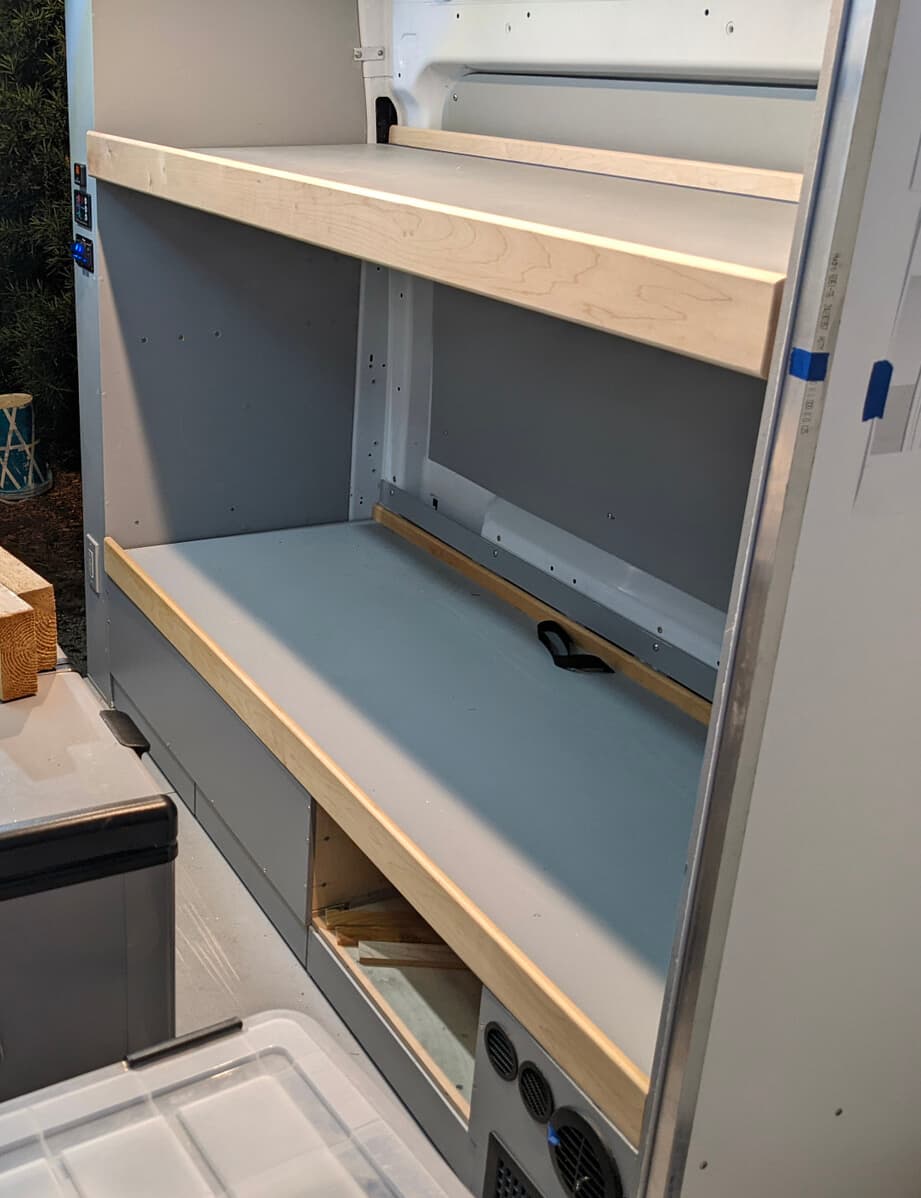
Here are the bunks in the initial placement with several important features to point out.
- On the right side of the photo, note the square aluminum tube. This was added for it’s strength and rigidity. It is bolted to the bunk wall using rivet-nuts. There is similar structural aluminum on the opposite end of the bunk that you cannot see in this photo.
- There is a black nylon strap attached to the back edge of the lower bunk. This makes it easy to remove the bottom bunk to gain access to the batteries, furnace, air conditioner, and sleep number controller below.
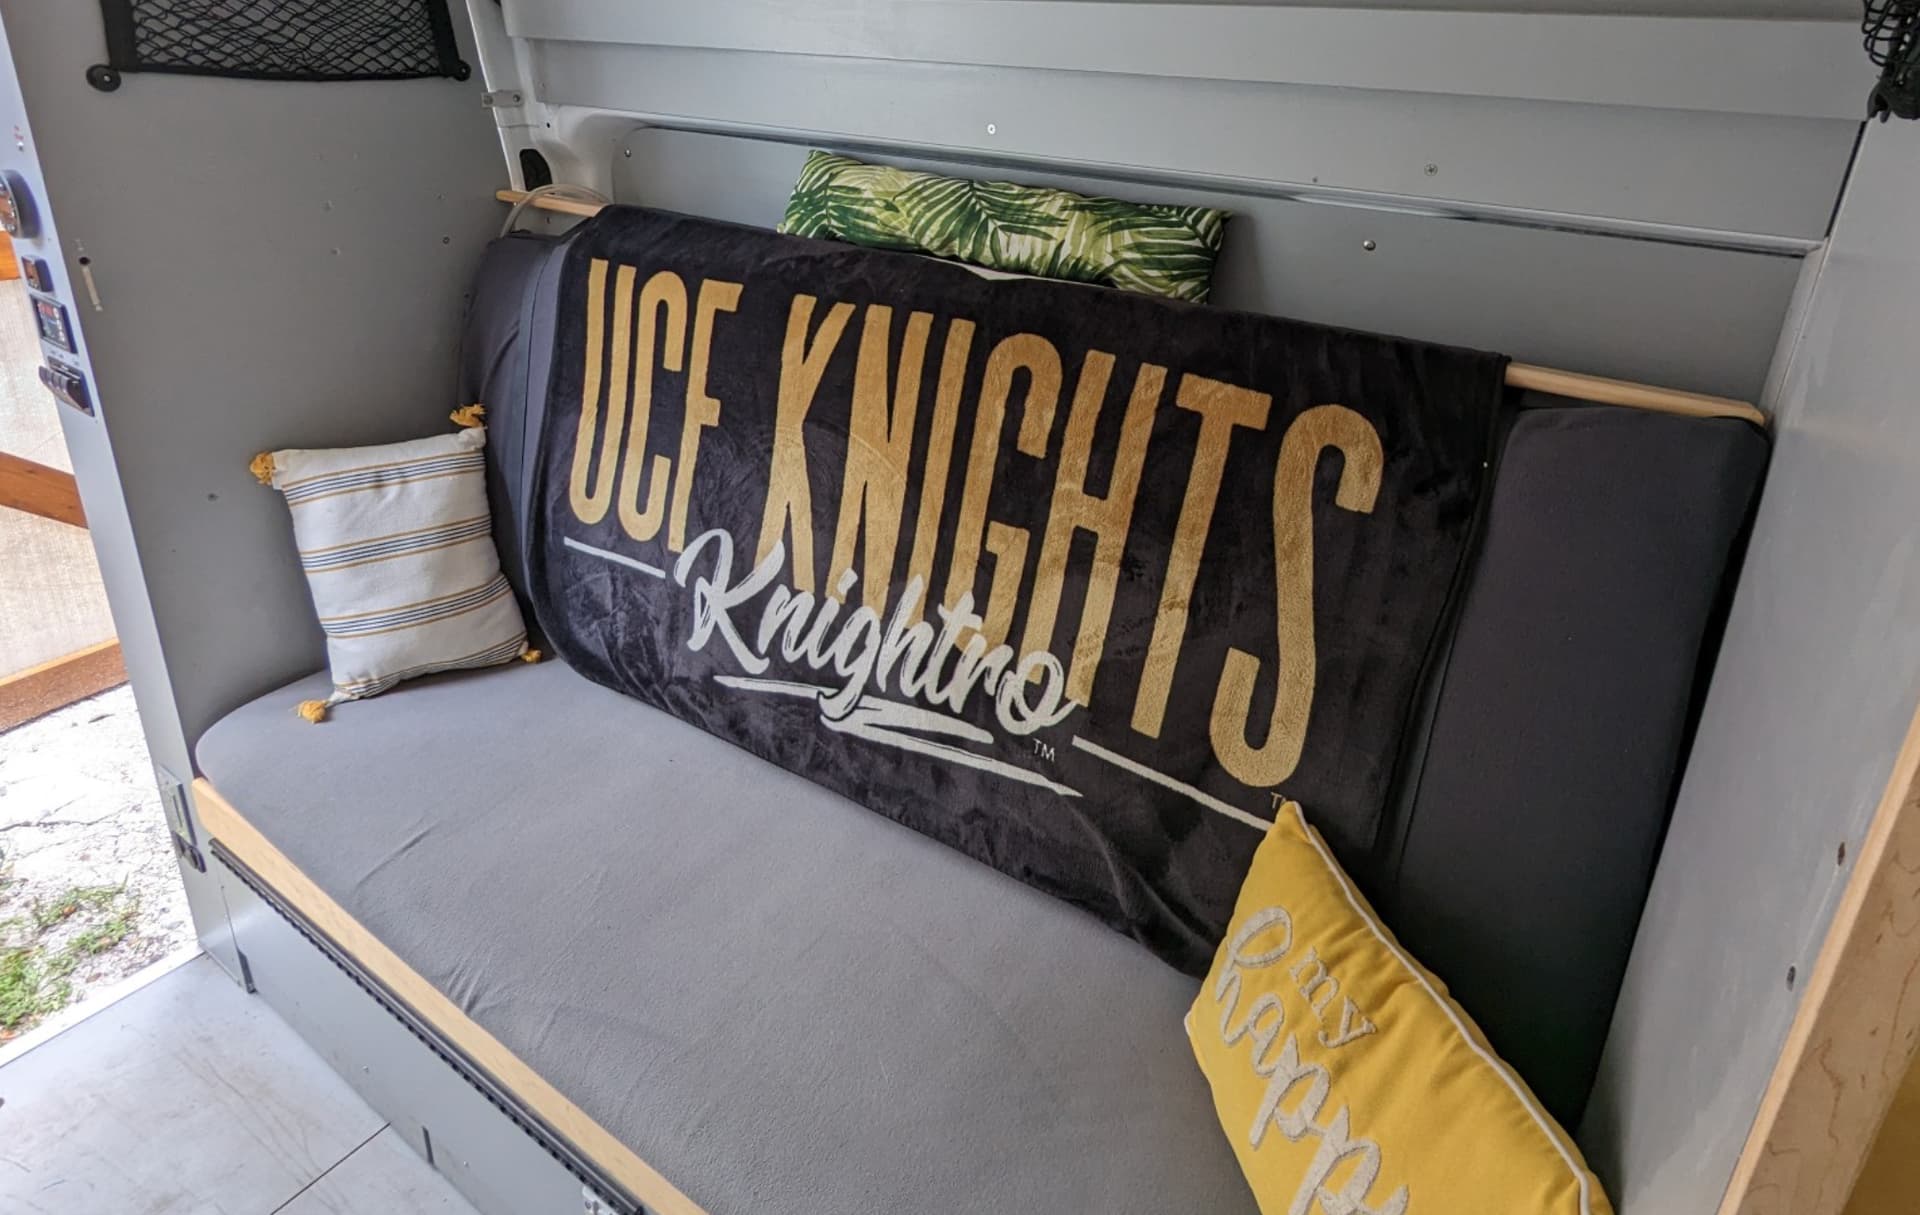
Finally, a nylon strap is threaded through two slots at each end of the bunk to secure the mattress in place.

There you have it, flexible, functional, and very comfortable Sleep Number bunk beds. We also made a center bunk that aligns with the lower bunk. See Center Bunk, Cuddle Configuration.
See also: